learning log #12


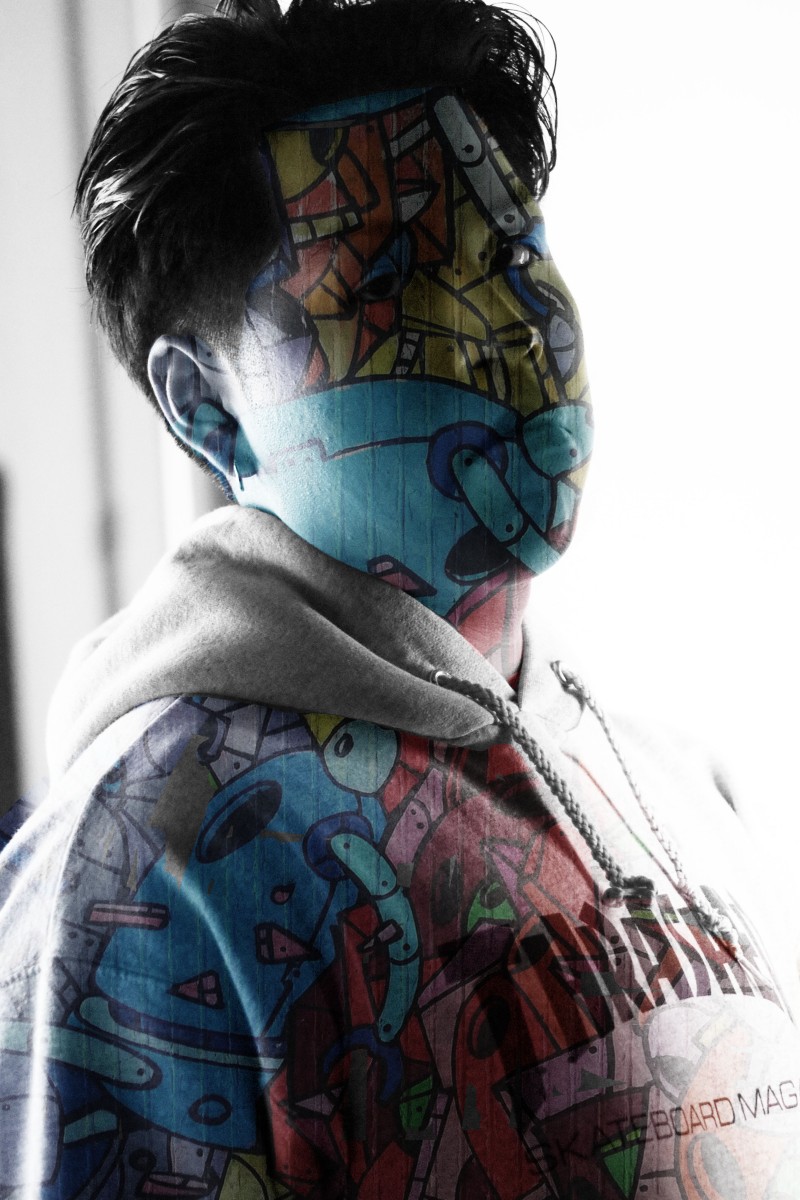
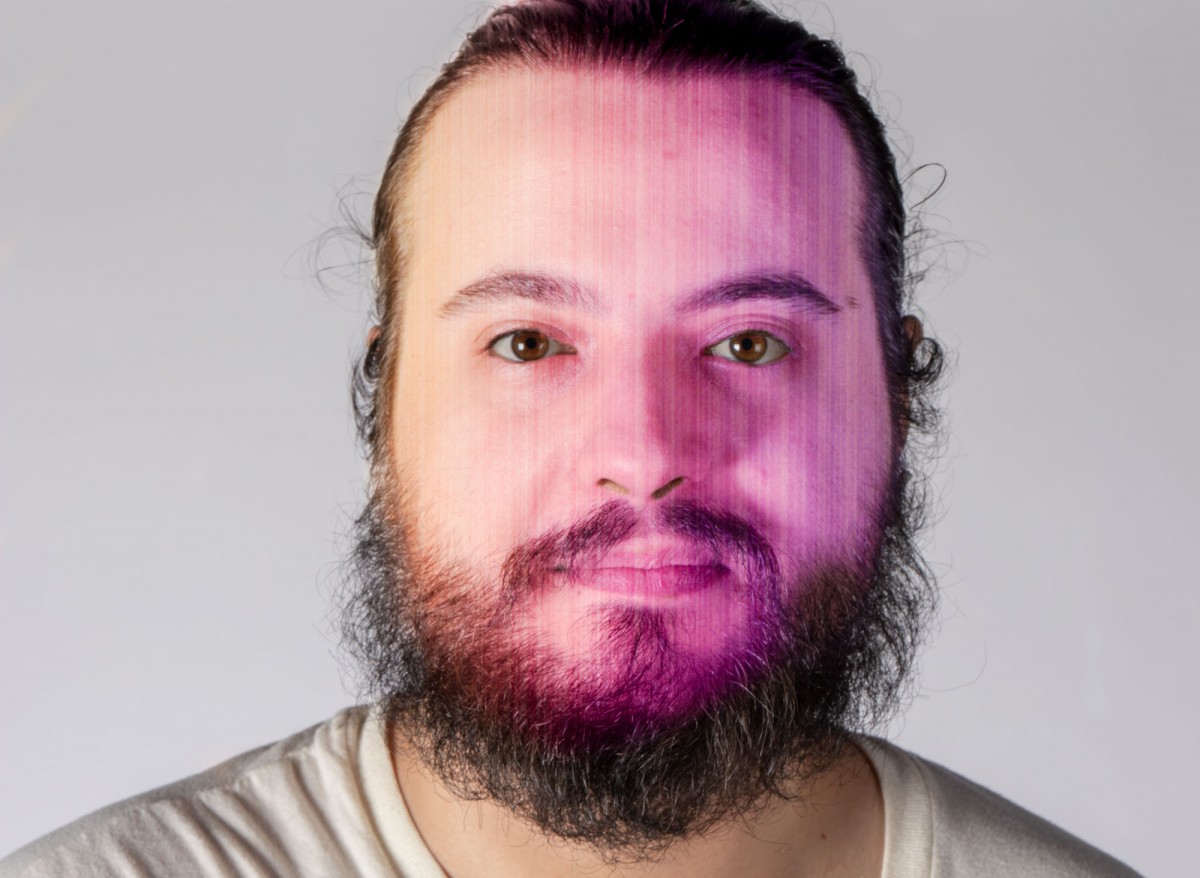
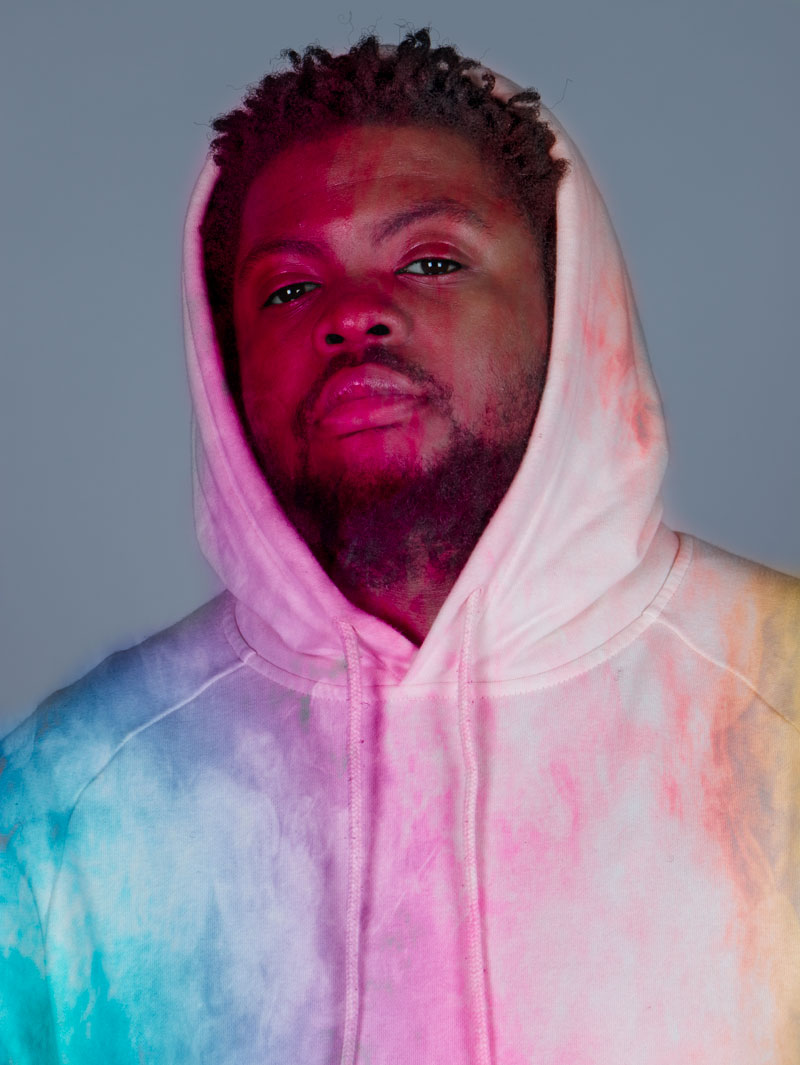
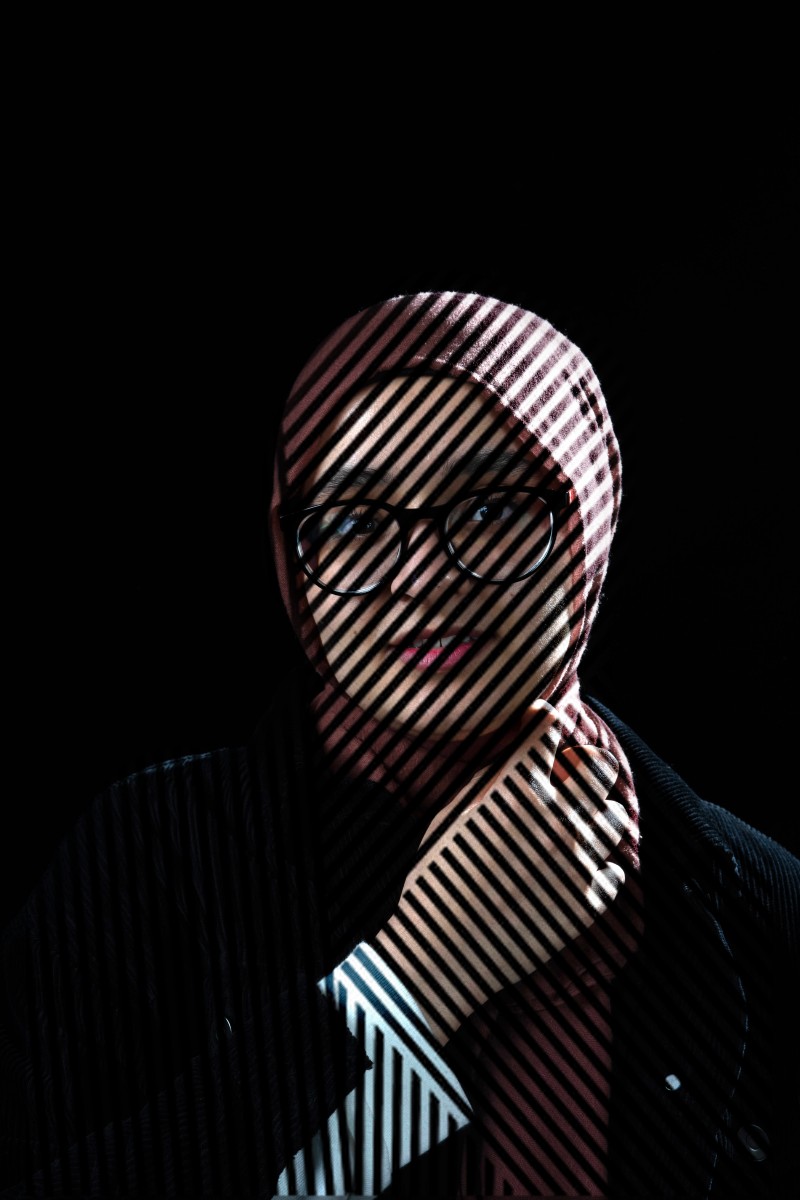
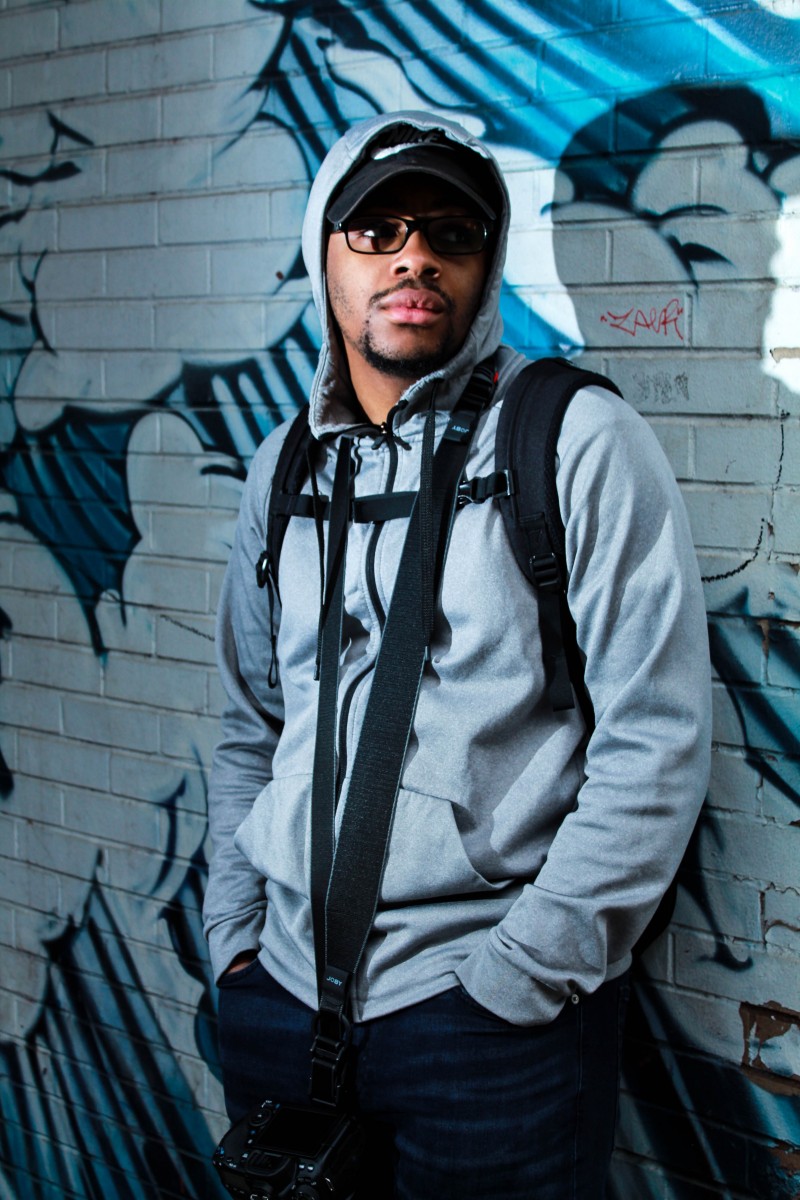
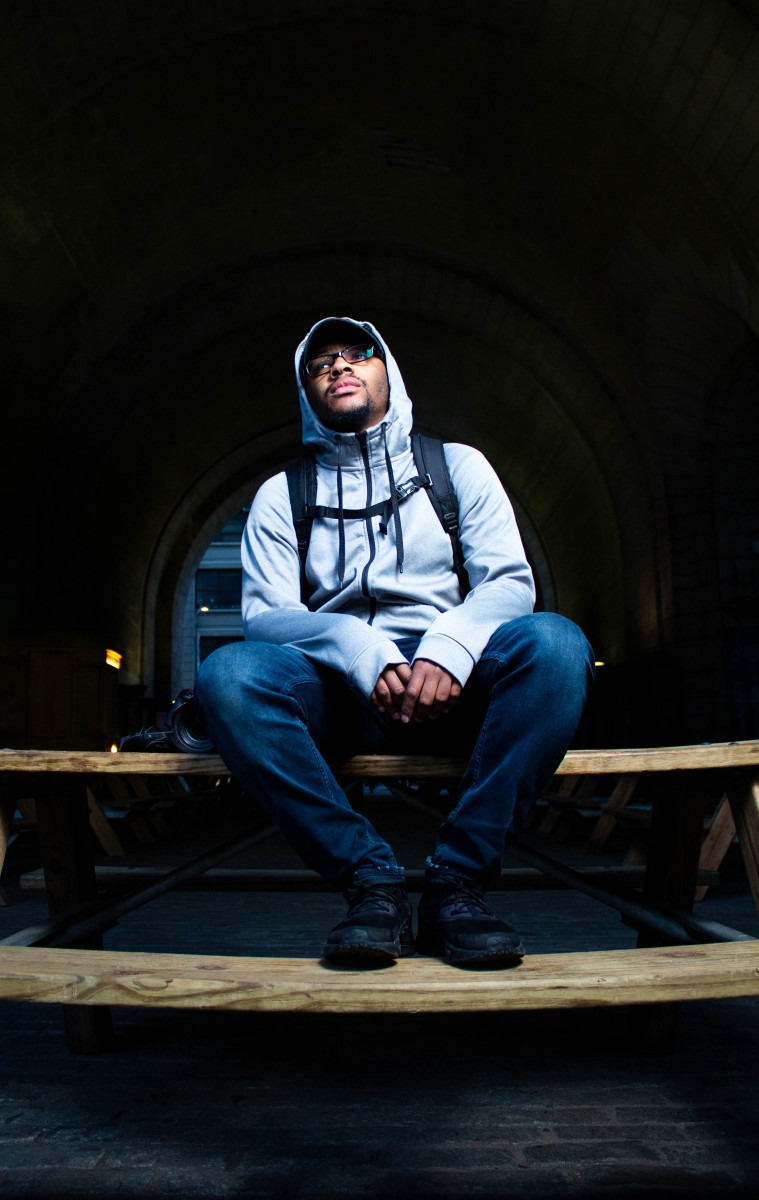
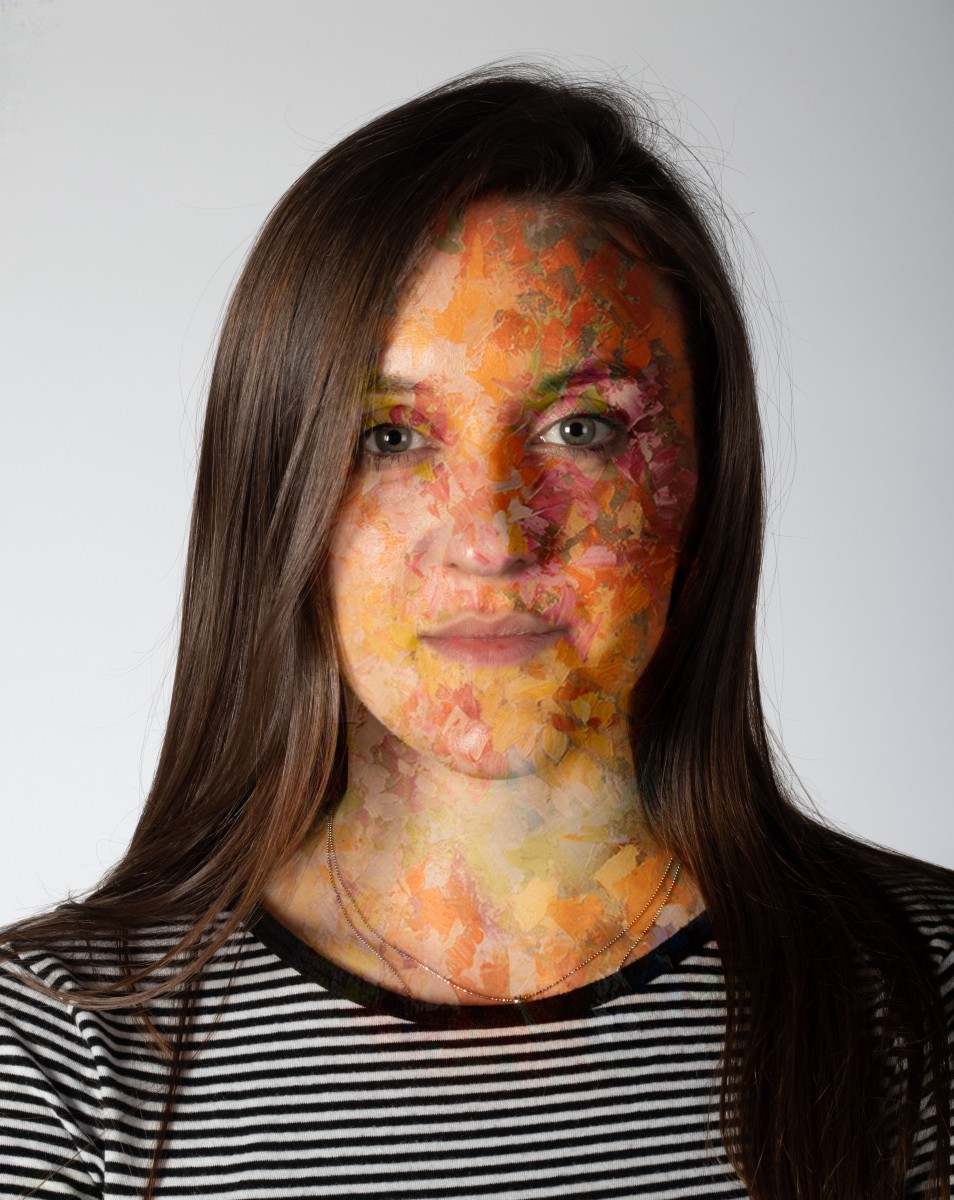
For these photos I had to get in close because they’re headshots. I had the shutter speed at 200. In addition for the white background There was a light towards the back and two lights towards the subject. For the black background there was a light at the front side and one over the head.

Learning Log #12 – Antone Herbert

blackbackdrop 

whitebackdrop

coloredit

For the first two images my shutterspeed was around 1/160th of a second, my iso was 100, and my aperture was f8 – f10. For my third photo I blended a color background with my subjects face using layer masks, and the brush tool. I placed the color layer above my subject layer. Then I chose my blend mode which was overlay, and painted out the mask, only leaving the areas on his face.

Learning log #12

Today in class we did headshots. For this picture I had white background. The aperture was f/11, shutter speed was f/125 and the iso was 100. Then after editing in lightroom, I switched to photoshop to get this nice background that is blending in his skin. The first thing what I did was get a colorful background from google images. Then I went back to photoshop to open the file. This only consist of two layers. In order to get this background I had to overlay colorful background with original picture and then create a mask. From there I had to use the brush to get rid what i don’t want. Then I created another copy, but this time i changed the opacity to make it more realistic. I also use the brush tool on his eyes to make it pop out more.

Learning Log 12

Today we learned how to construct head shots. To accomplish these shots i had to get close enough to my subject  that her face fills up the frame. I had two soft boxes on each side of her face creating a soft light effect. Additionally, i used Adobe Photoshop  to blend a colorful photo and my subject to create a paint effect.

learning log #12

for this assignment I used a 50mm lens and had my apetrure at f7 and shutter speed 200 to get a real classic clean portrait photo after that we uploaded the photos into Lightroom to touch up a little. the effects were created in photoshop by drawing and image in and masking it and playing with color over lat and opacity.


Learning Log #10

In this photo, I had to have the shutter speed slower than normal in order to get a certain amount of light with the flash to get what we were going for. The shutter speed was 1/50 , the aperture was at F5 and the ISO was at 100.

For this shot we had to raise the ISO to 800 because it got darker outside and we had to compensate for the flash that we were using.

1/60 3.5 ISO 800

1/60 F4.5 ISO 800

Learning log #11


For this class we focused on movement. For the first two photos I kept the shutter speed at around 1/25 of second and as I took the photo I moved slightly. For the last two photos I kept my shutter speed at 1/200 and 1/500 of a second and I also used the tripod.