Category Archives: Uncategorized

High & Low Key Lighting for Still Life

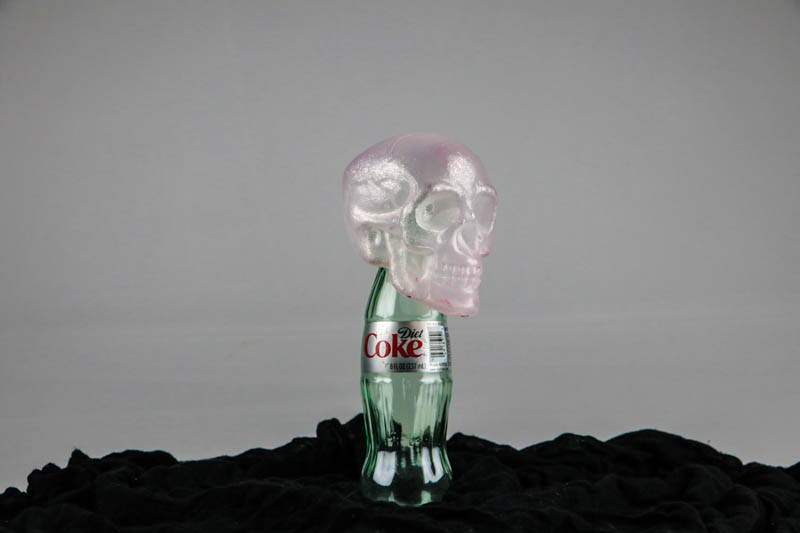
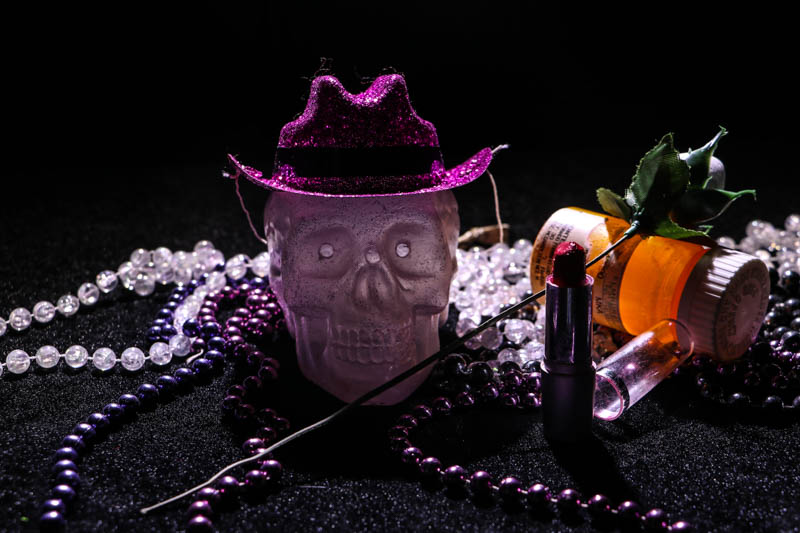
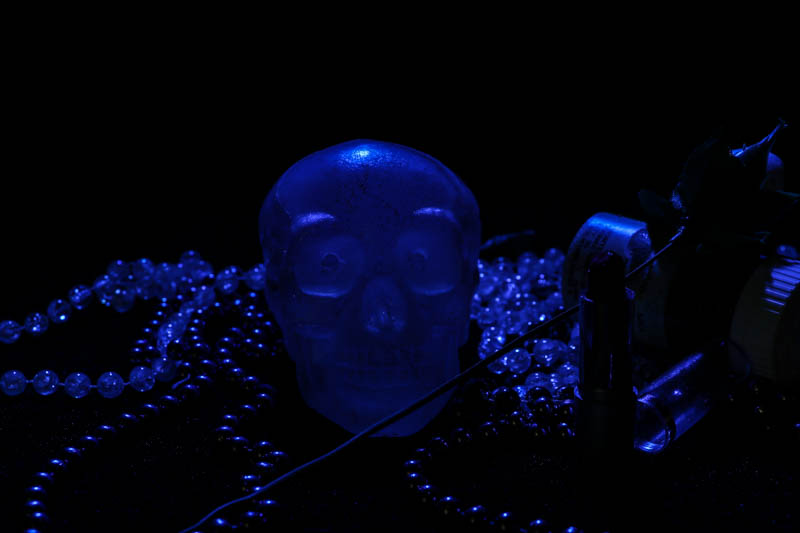
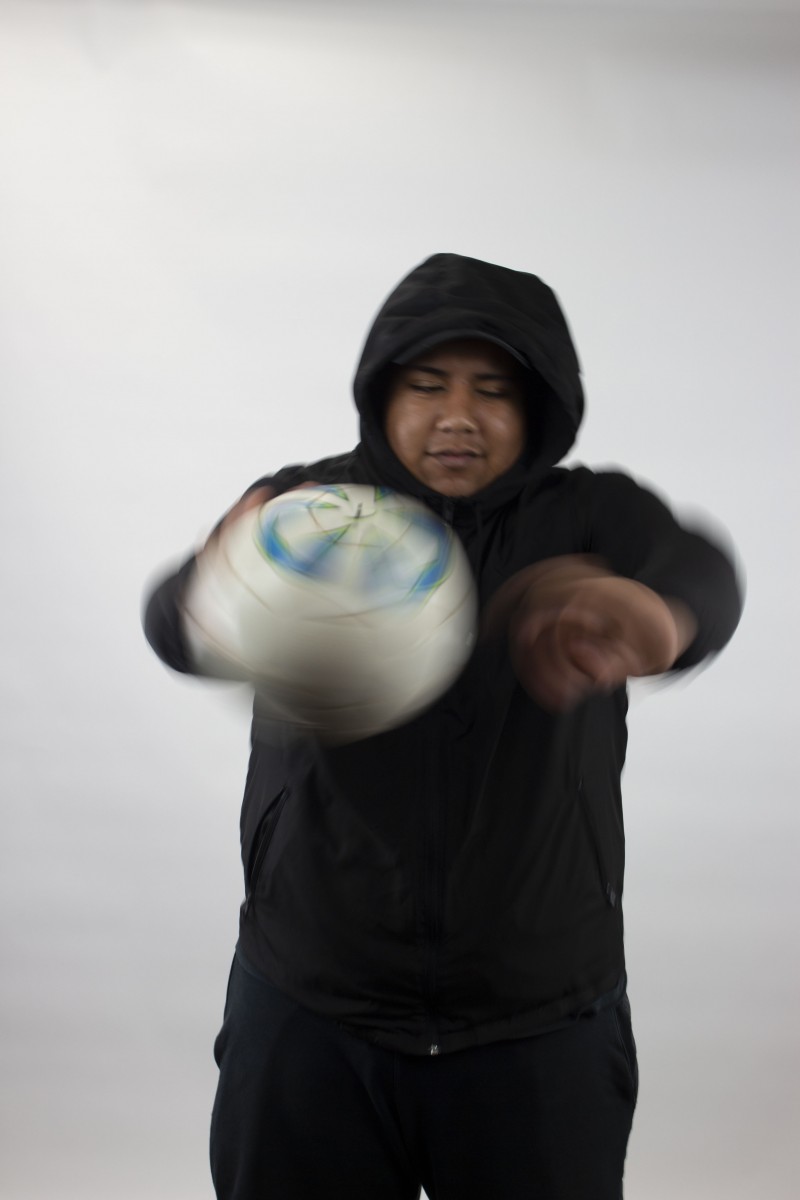
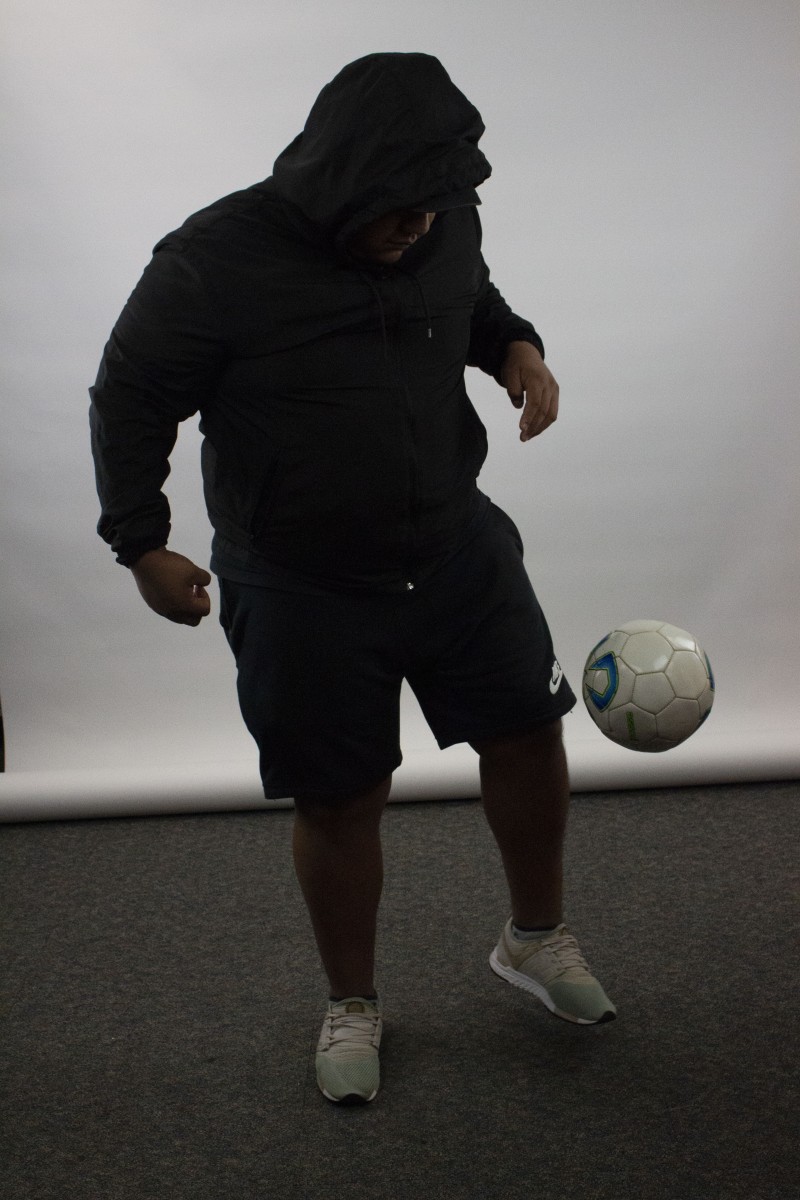
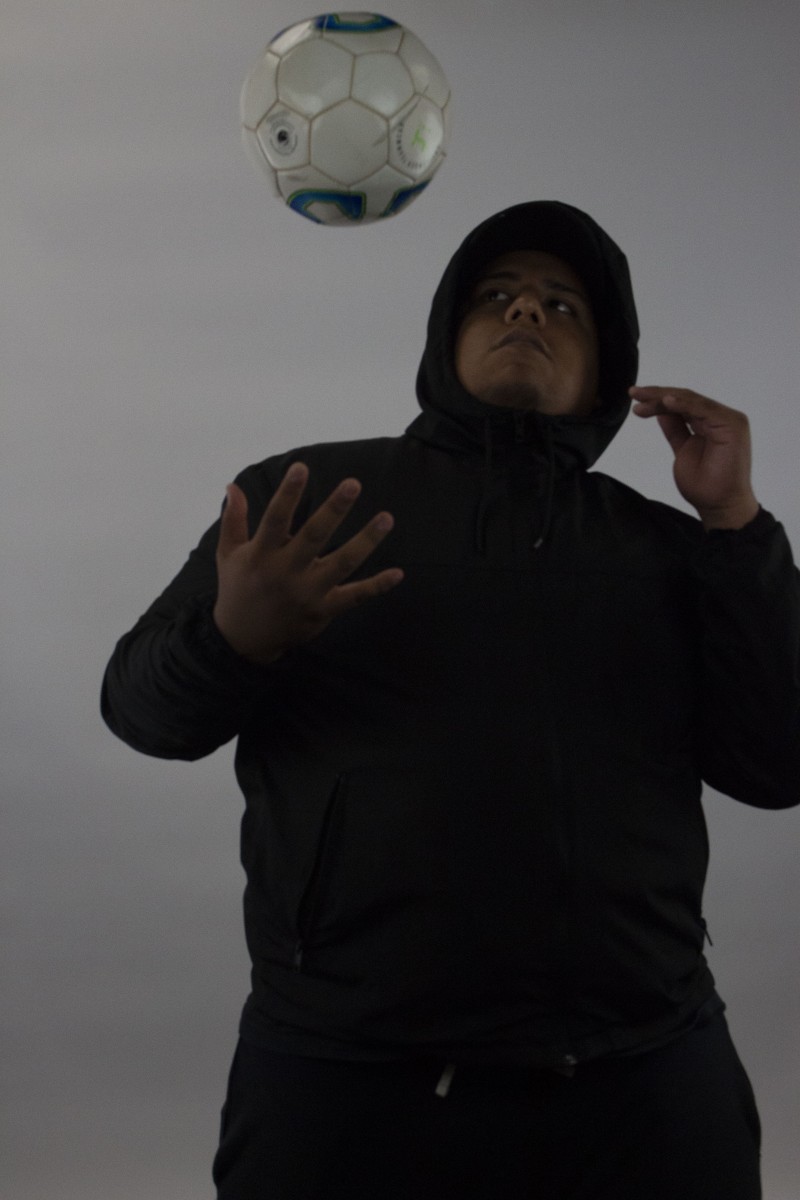
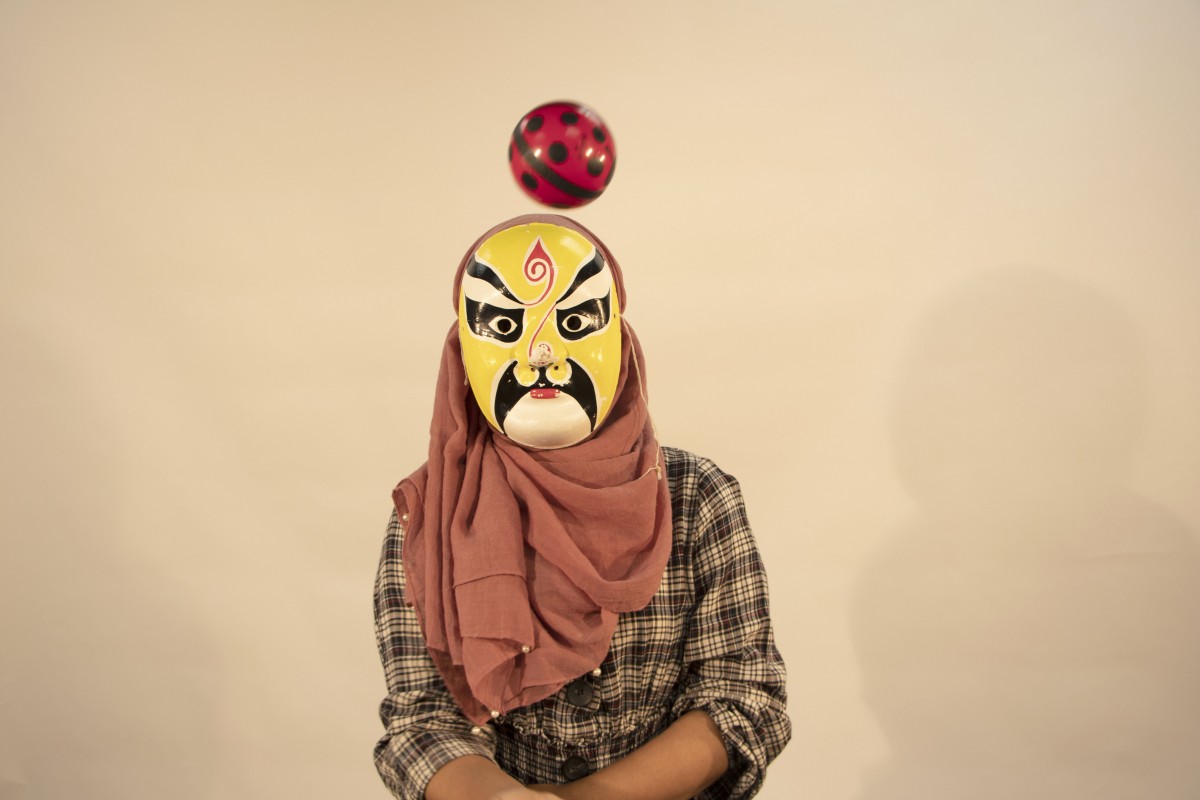
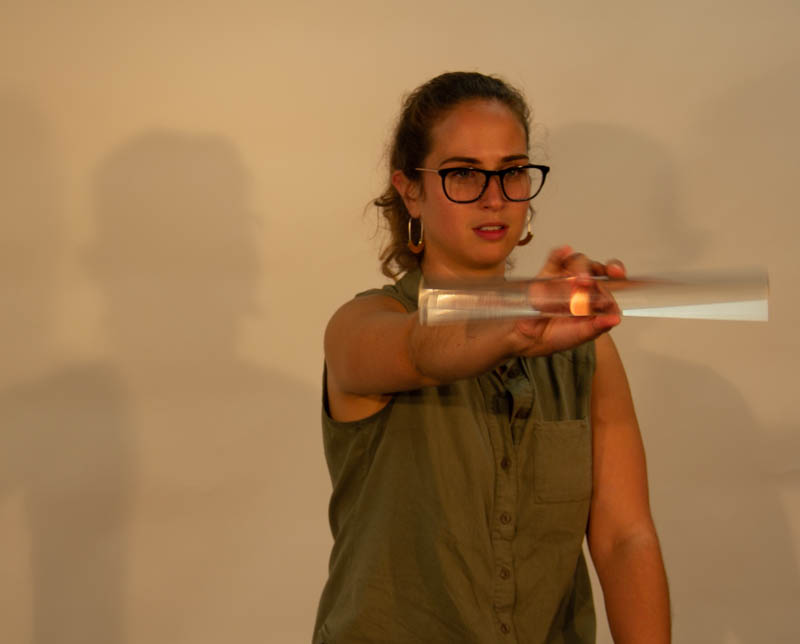
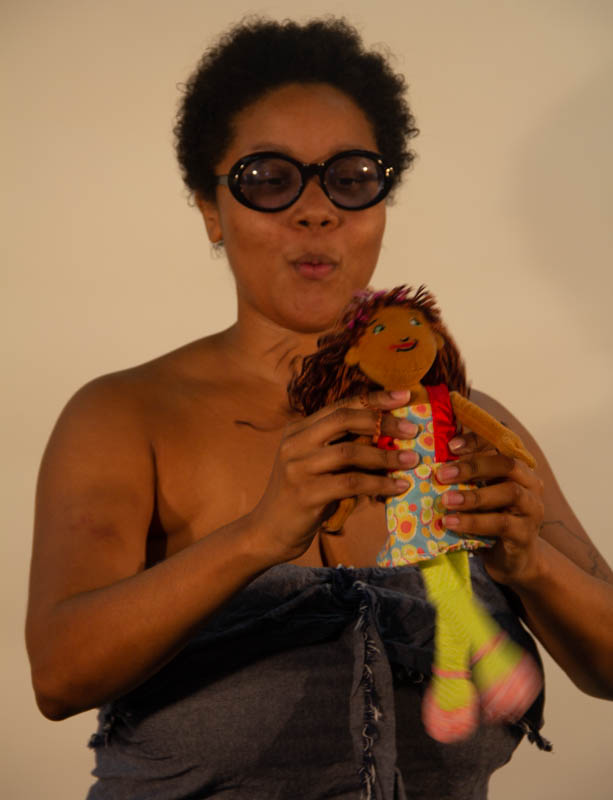
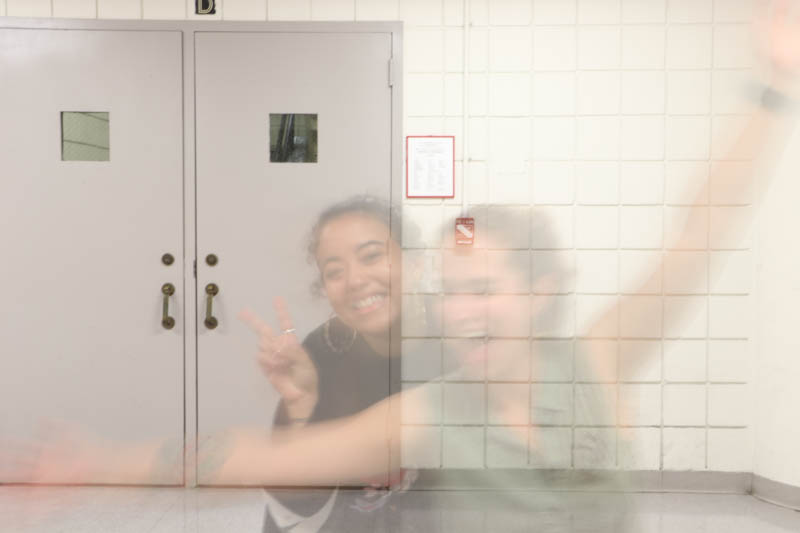
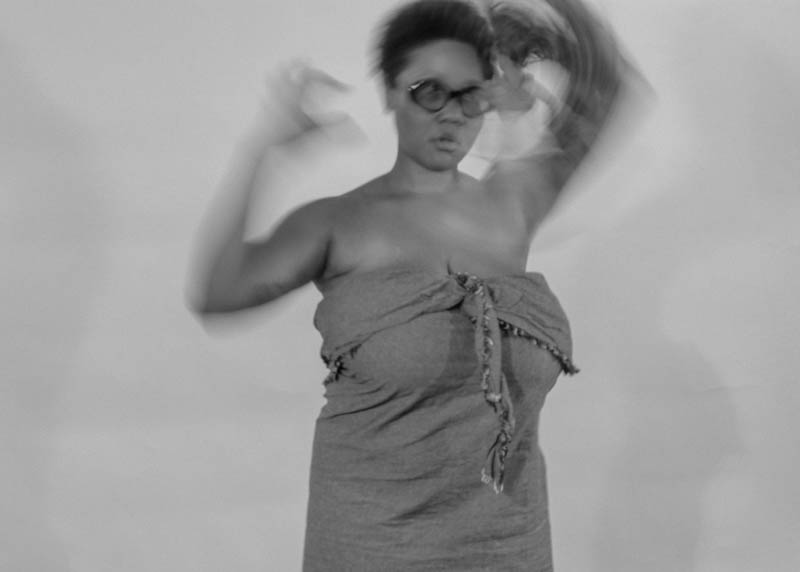
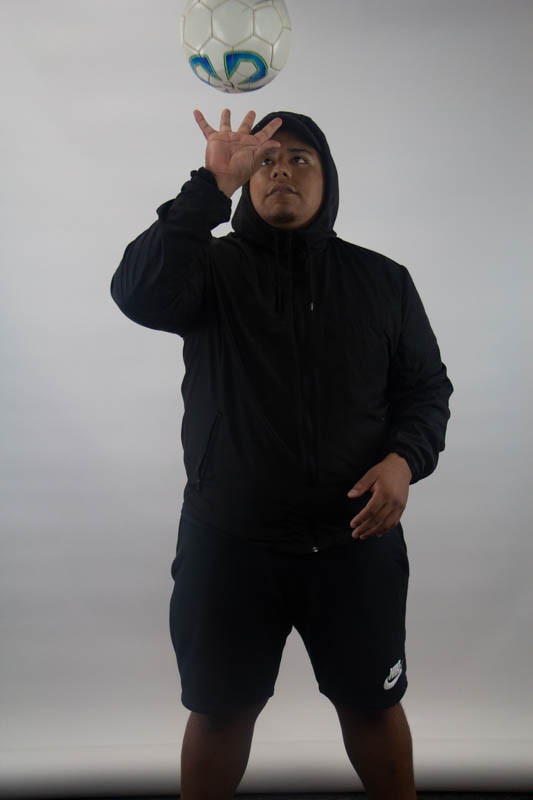
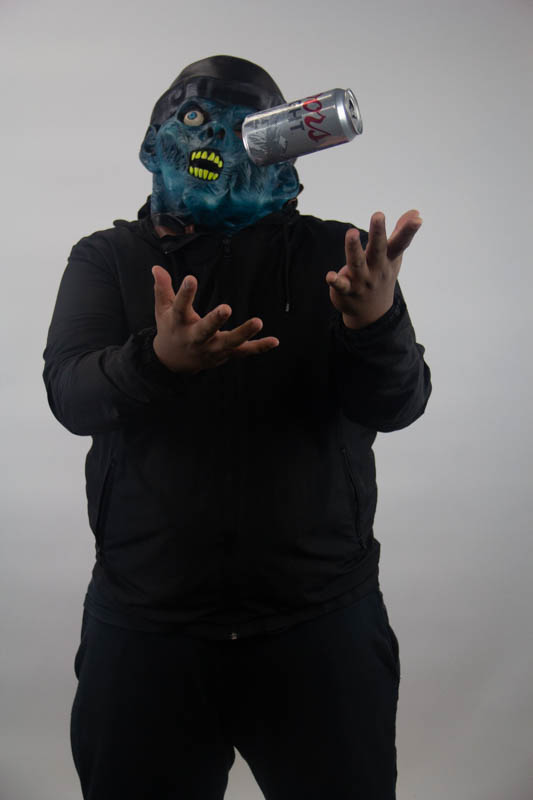
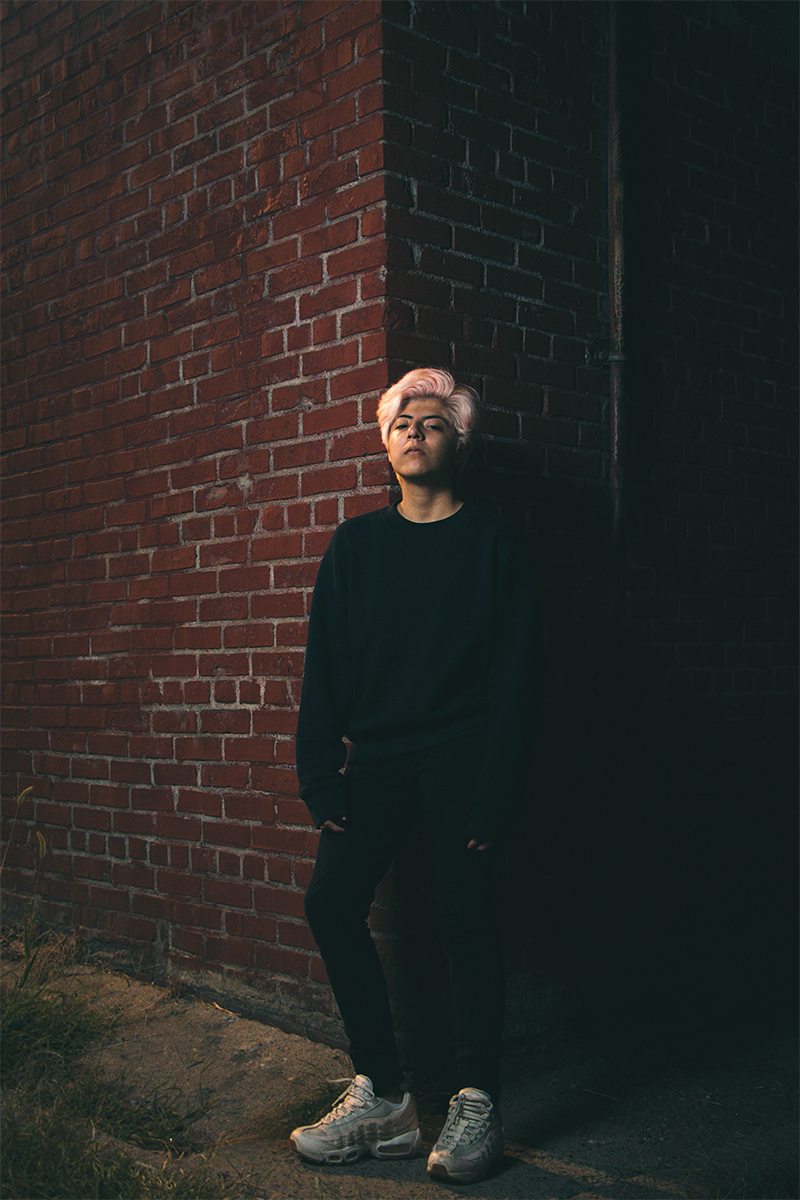
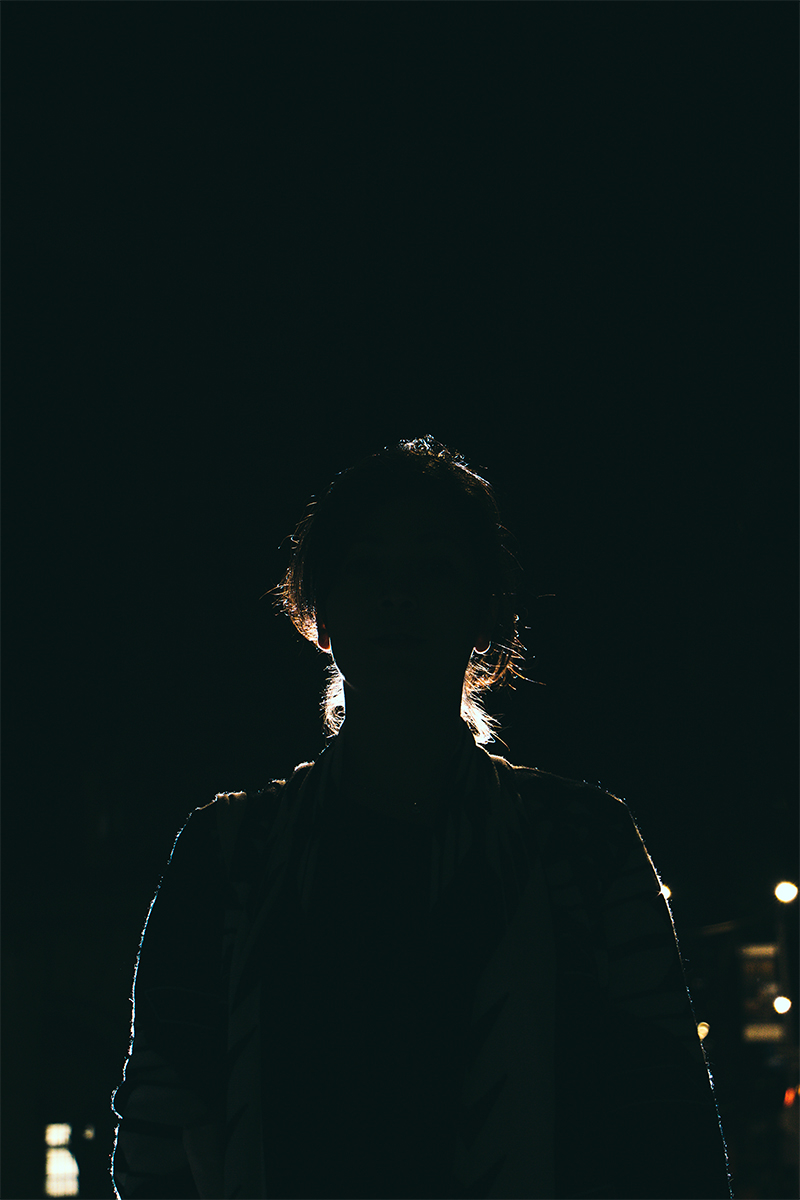
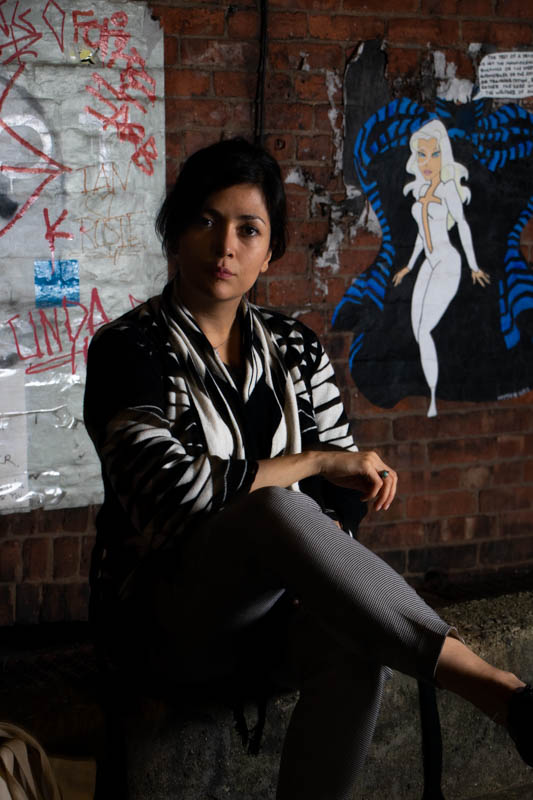
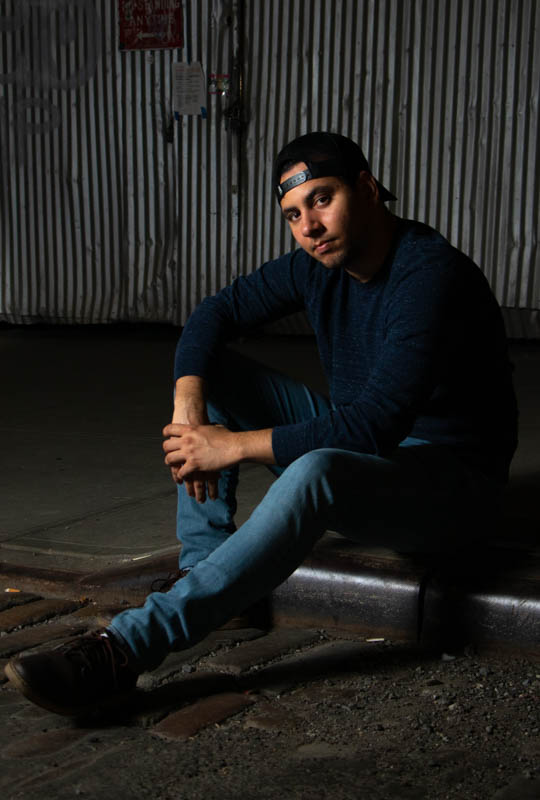
During this class session, we were playing with high and low key lighting. High key lighting as you can see in the two pictures has zero shadows and it is more intense. While, low key lighting is all about the shadows and the light is not so intense. Personally, I like low key lighting because it creates more intensity, like it is more dramatic. Color gels with low key light creates an even more intense shot, gives it a cool effect, especially because my still life composition contains a skull.

High Key Light High Key Light Low Key Light Low Key Light with Color Gel

Motion Photography


For this class the focus was to experiment with motion photography. In order to achieve these we had to mess around with different shutter speeds. To get the photos that seem frozen in time a high shutter speed was used and to get the more blurry photo a lower shutter speed was used. It was really fun to see the different effects that shutter speed had on the images. I prefer using the higher shutter speed to catch frozen motion more than using a lower shutter speed because I think the frozen motion looks cooler.

LL5- Movement


During todays class we worked on movement. I found it a bit difficult but fun. I feel that I lacked composition wise but accomplished some movement in my photos. The final image was the was fun to work on. We used a 10 sec shutter and only appeared for 5 of those seconds.

LL#5: Action/Motion Portraits

Semi Motion Frozen Motion Frozen Motion

The walking motion was a cool experience because the background is blurred and focus on the person walking so it gives it like a frozen in time effect. Second two pictures were interesting because the shutter speed determines if the object that is moving gets blurred or if it gets frozen. The higher the shutter speed the more focus the object will be and could be frozen during the motion. And that also means that the ISO gets higher as well.

Learning Log #4 Flash/Ambient


Flash photography was new to me and like the process of using it, figuring how much or less flashlight you and seeing the effect that creates on the subject. Mainly I used the flash to create a little dramatic effect on my model playing with the shadow and light. I’m very into flash photography hope to learn more.

LL4


Using the flash was new to me on this assignment but was interesting to learn about and use. At first it was difficult to maneuver both shutter speed after a few tries and  ISO, but I got used to it. I first tried to adjust the ISO then take a test picture and then adjusting the s peed. I mostly tried to use both light and contrast and create visible shadow and depth with the flash and ambient lighting.


LL#4 – Flash/Ambient


The images above were taken using an off-camera flash as well as ambient lighting from the scene. The most challenging part was trying to get both the subject AND the background using the flash. Once we got the hang of making sure the camera’s settings were correct BEFORE we adjusted settings on the flash, I think we were able to get some cool pictures.

LL#3 – Long Exposure

**Pictures coming Wednesday**

For this class shoot, we started working with long exposures. The duration of the shutter is longer than usual which caught the light from the cars passing by. It was really fun trying out different places to catch the light movements and see how they turn out. I learned the key to the long exposures is patience and it’s definitely worth trying out a shot multiple times to make any slight adjustments. Another interesting part was learning how to overlap the same image in Photoshop to create layers of different light movements. I posted one of the results of the Photoshop image above.