Spit
Loop
Rembrandt
Broad
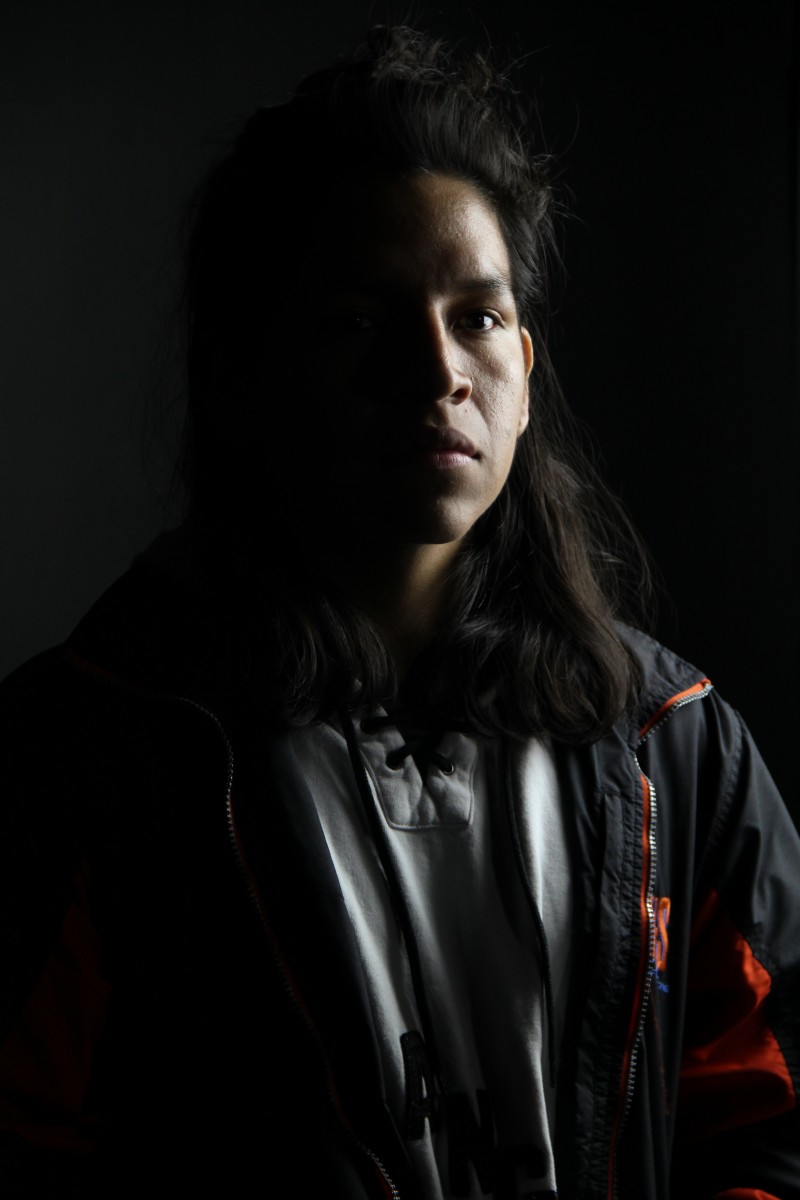
Short
Here are my pictures for portraits.
Spit
Loop
Rembrandt
Broad
Short
Here are my pictures for portraits.
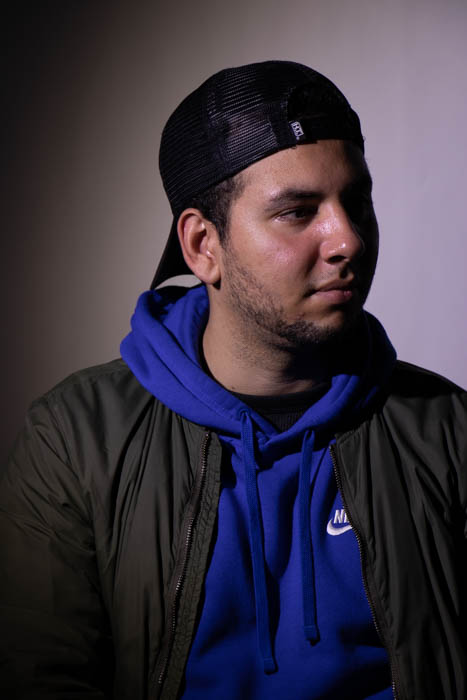
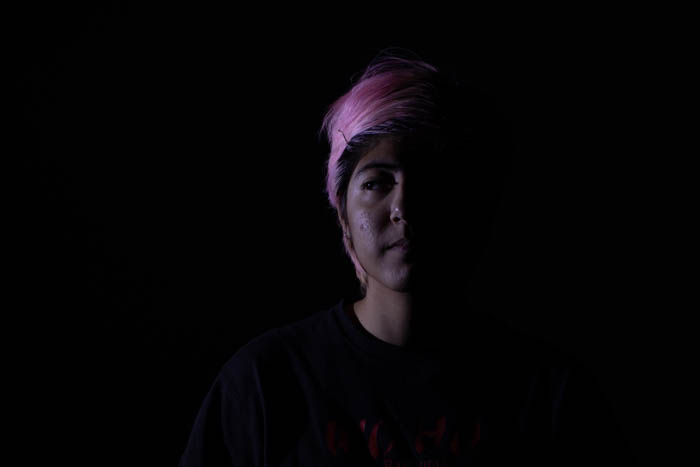
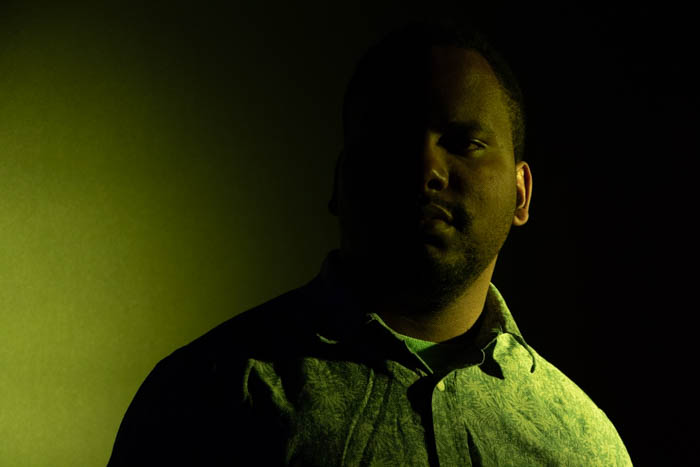
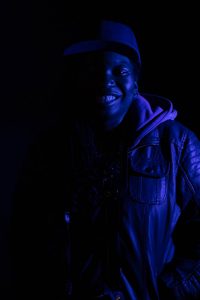
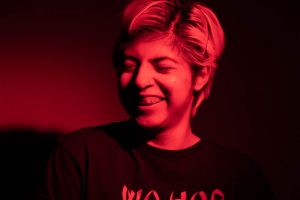
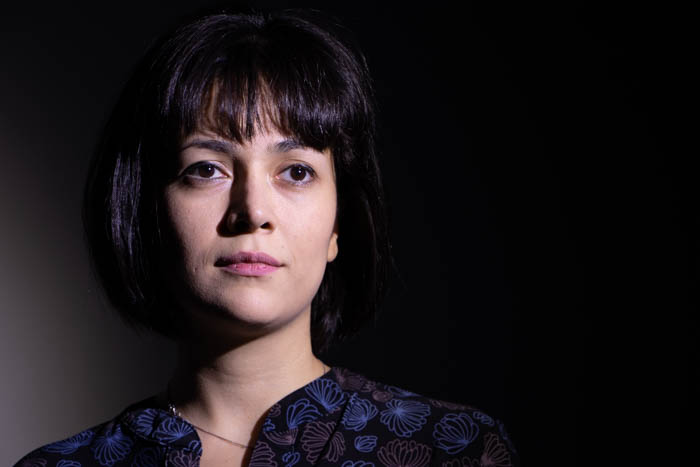

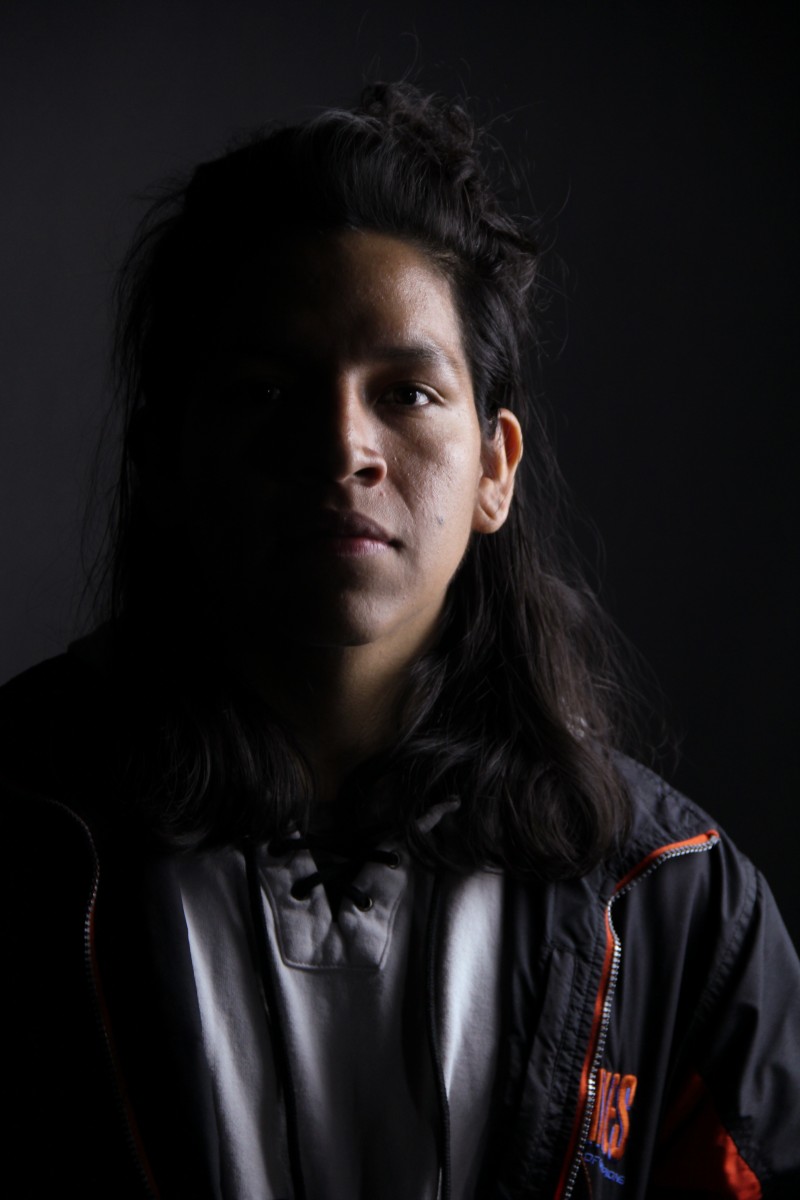
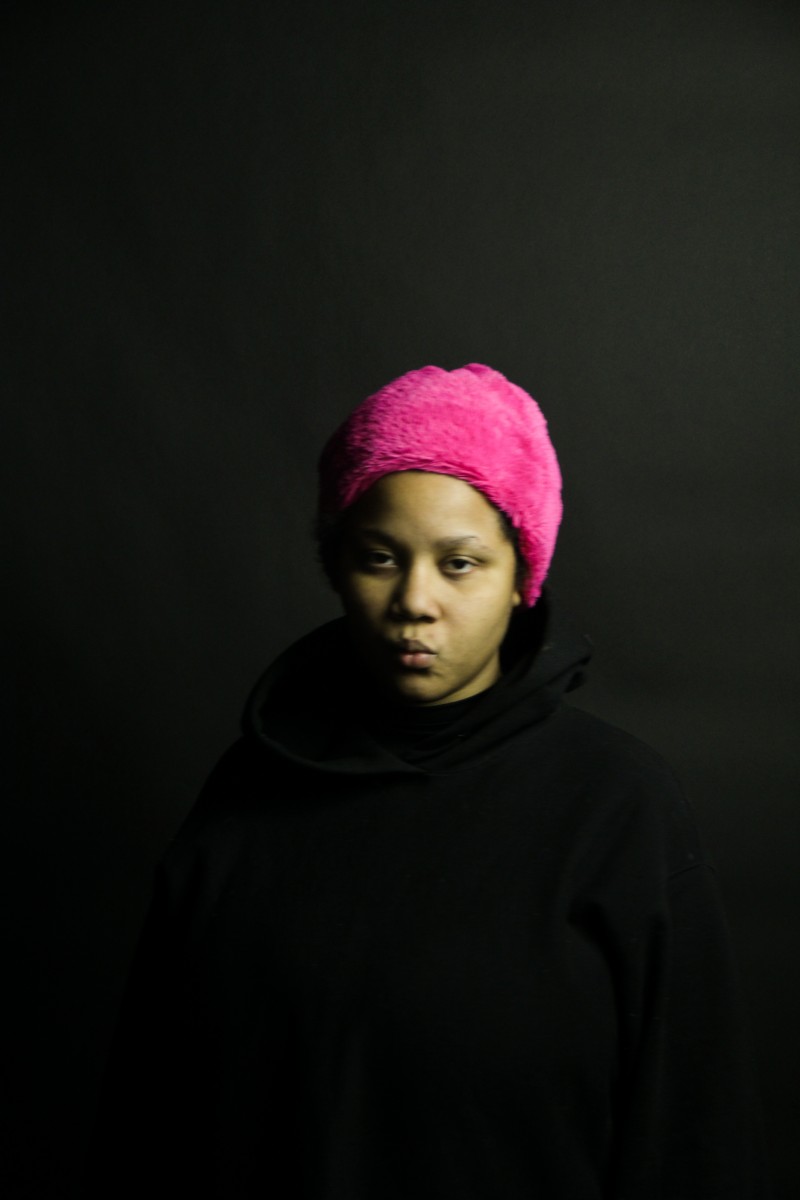
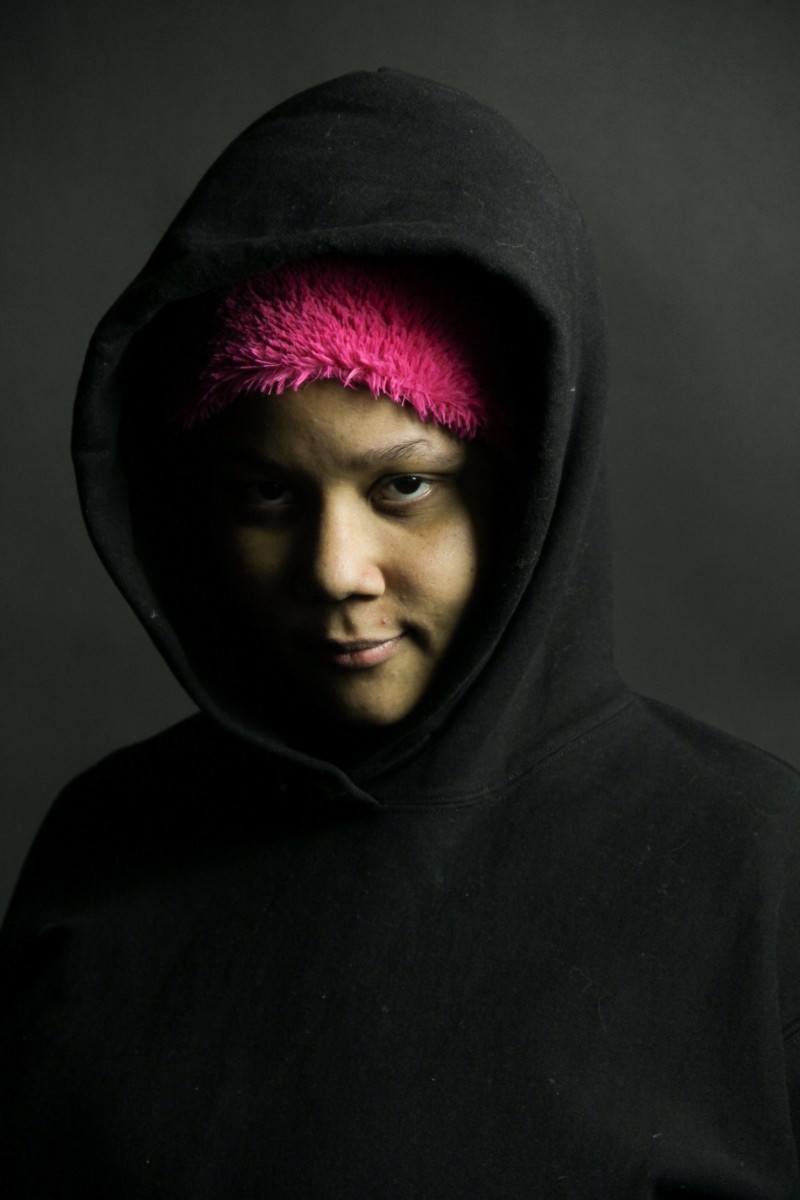
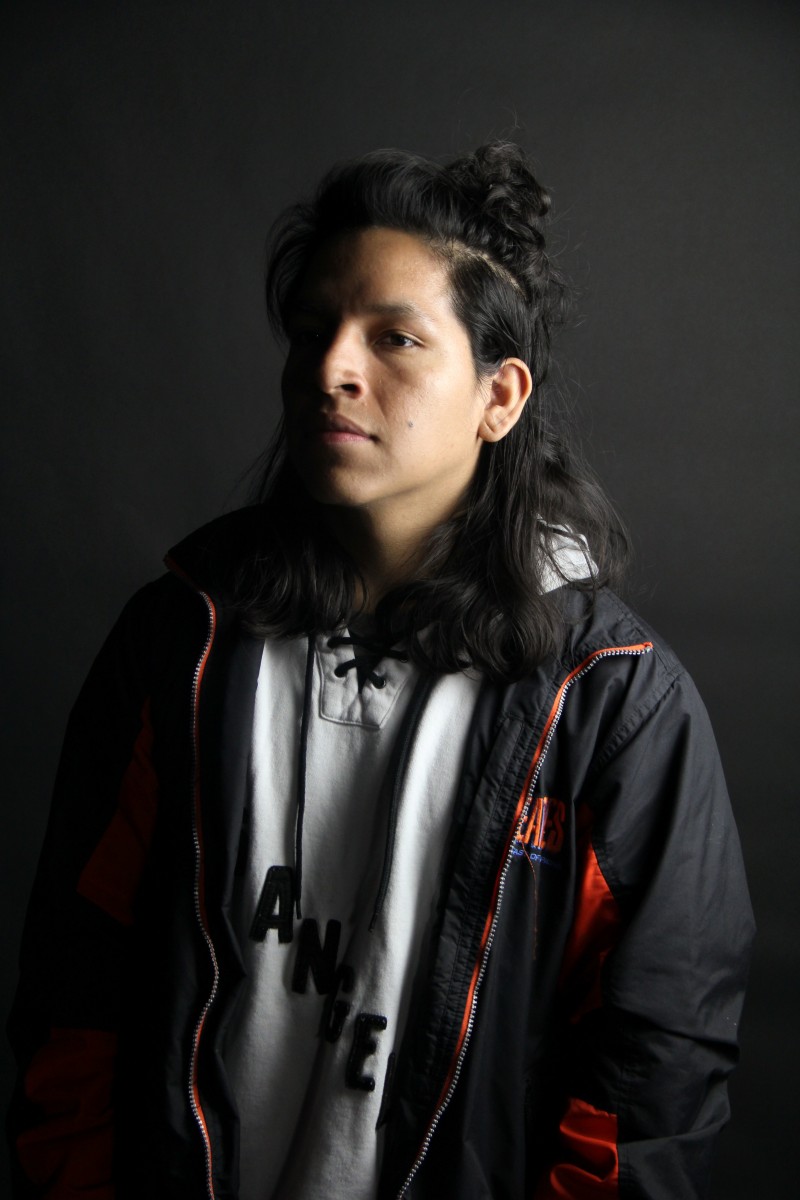
In class this week we worked with various photography lighting styles. The six we focused on were: broad (top left), split (top right), short (second on the right), broad Rembrandt (third on the right), Rembrandt (bottom left), and oop (bottom right). I was able to understand most of the lighting concepts but struggled to get the physical light in position (I suppose that’s the most difficult part, ha). I found it easiest to obtain Rembrandt as well as loop. I found the short lighting to be the most challenging. Overall, it was fun to experiment and see how long people in the class would sit still with a hot, glaring light on them. 🙂
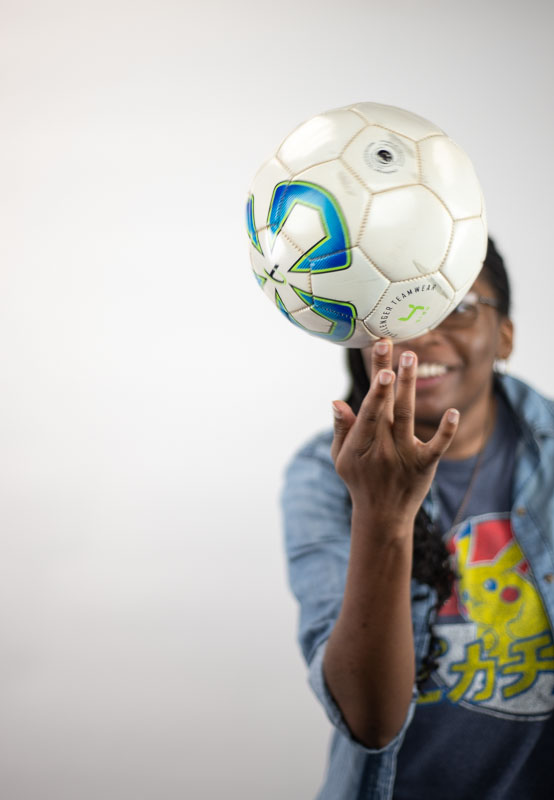
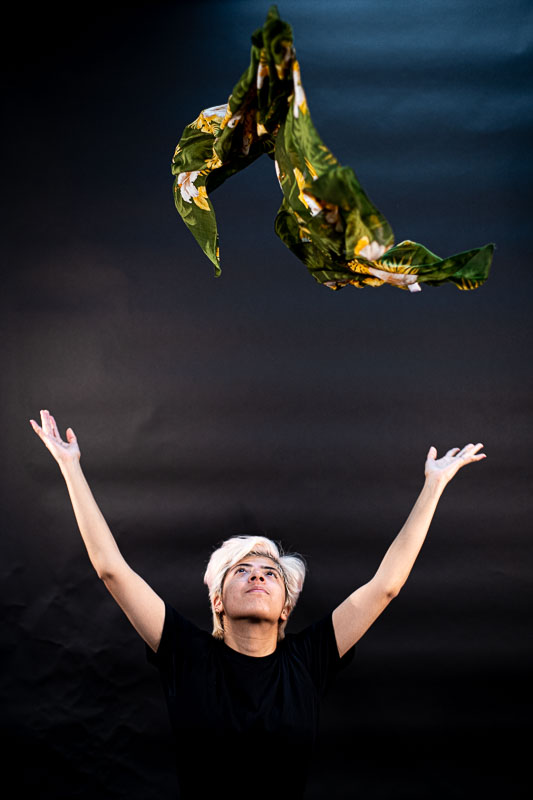
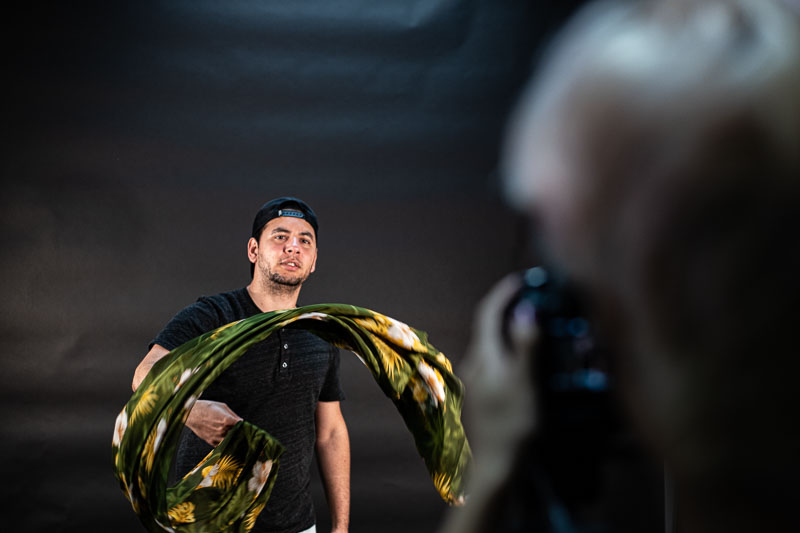
During this class we practice motion photography, with the help of shutter speed we achieved different results: we freeze the motion with fast shutter speed and and blur the motion with slow shutter speed.

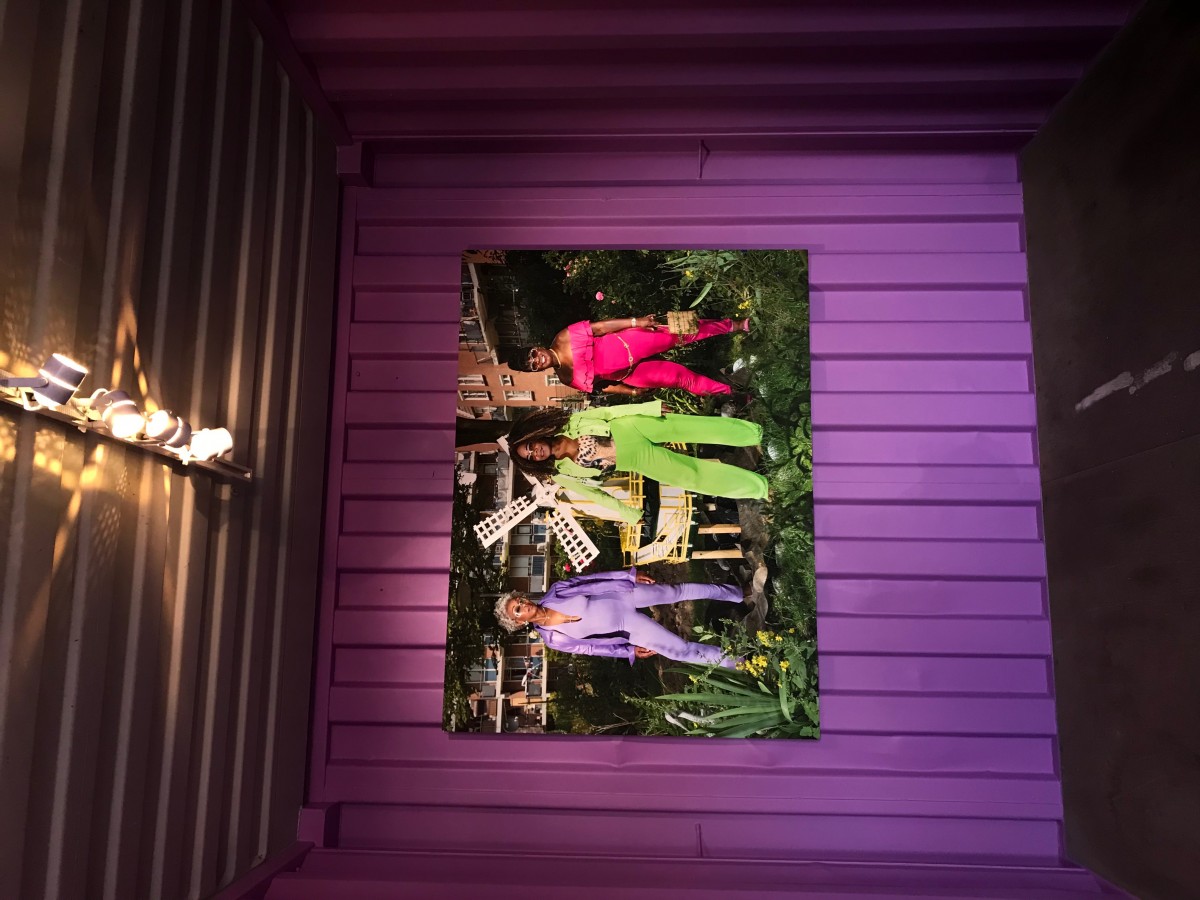
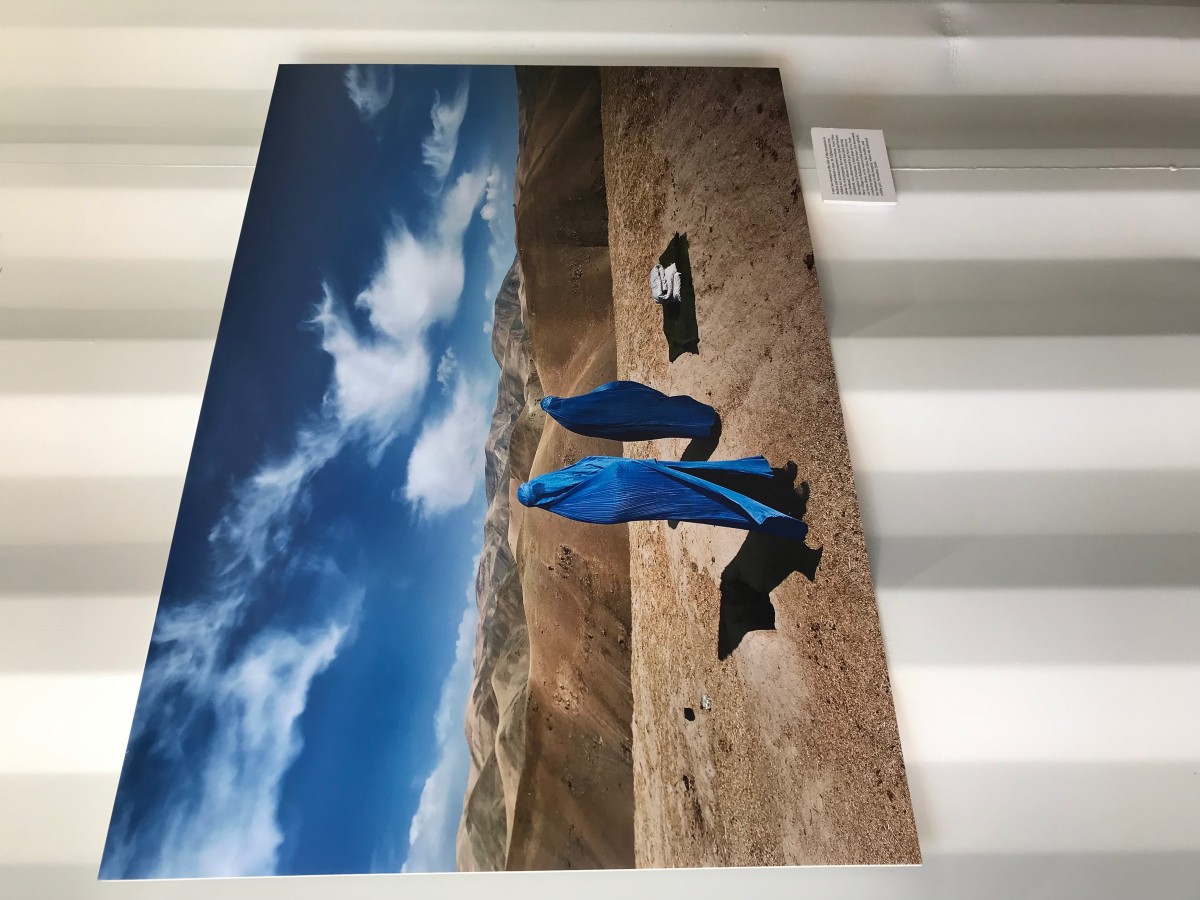
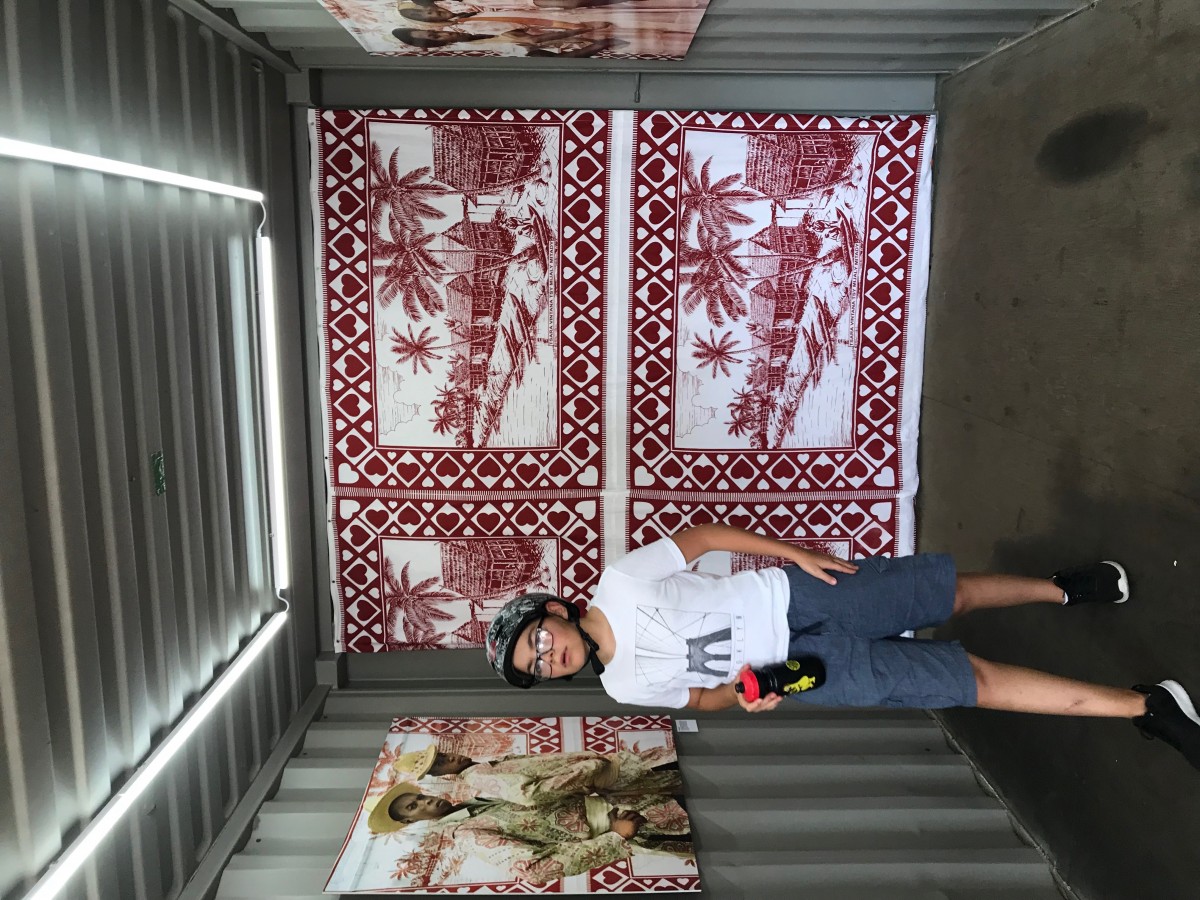
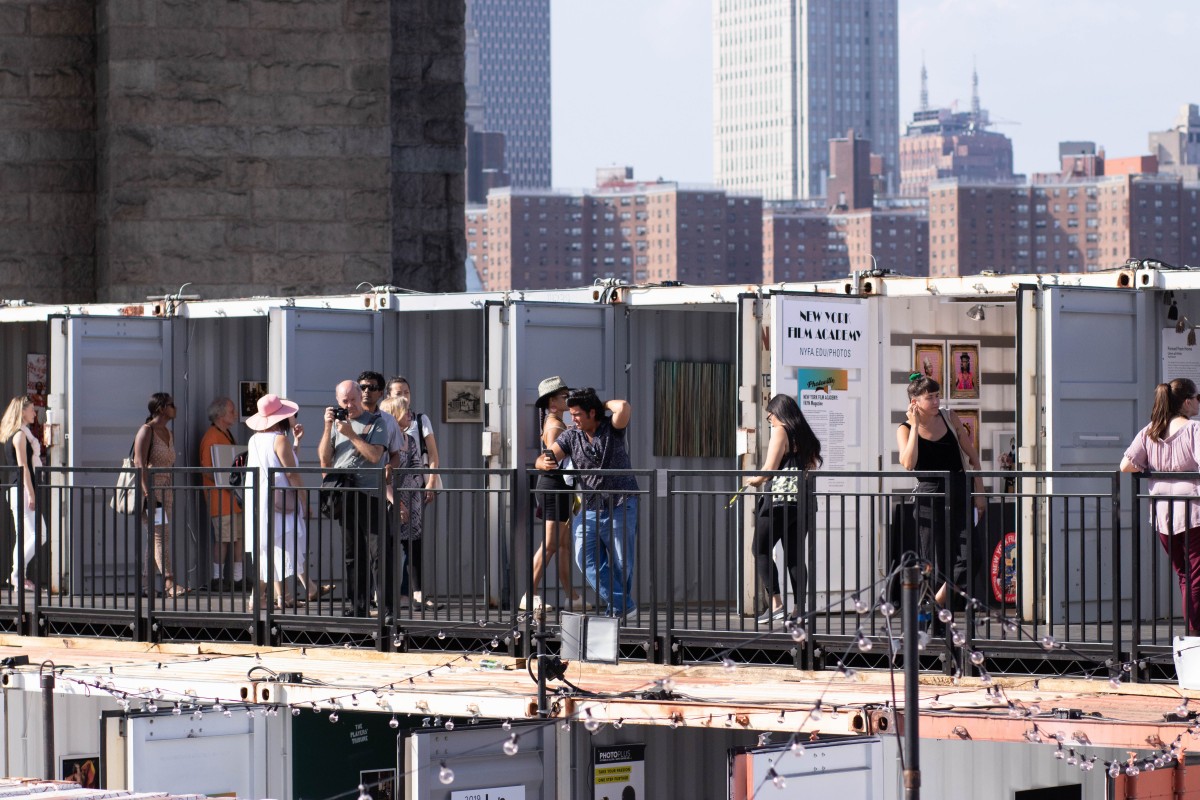
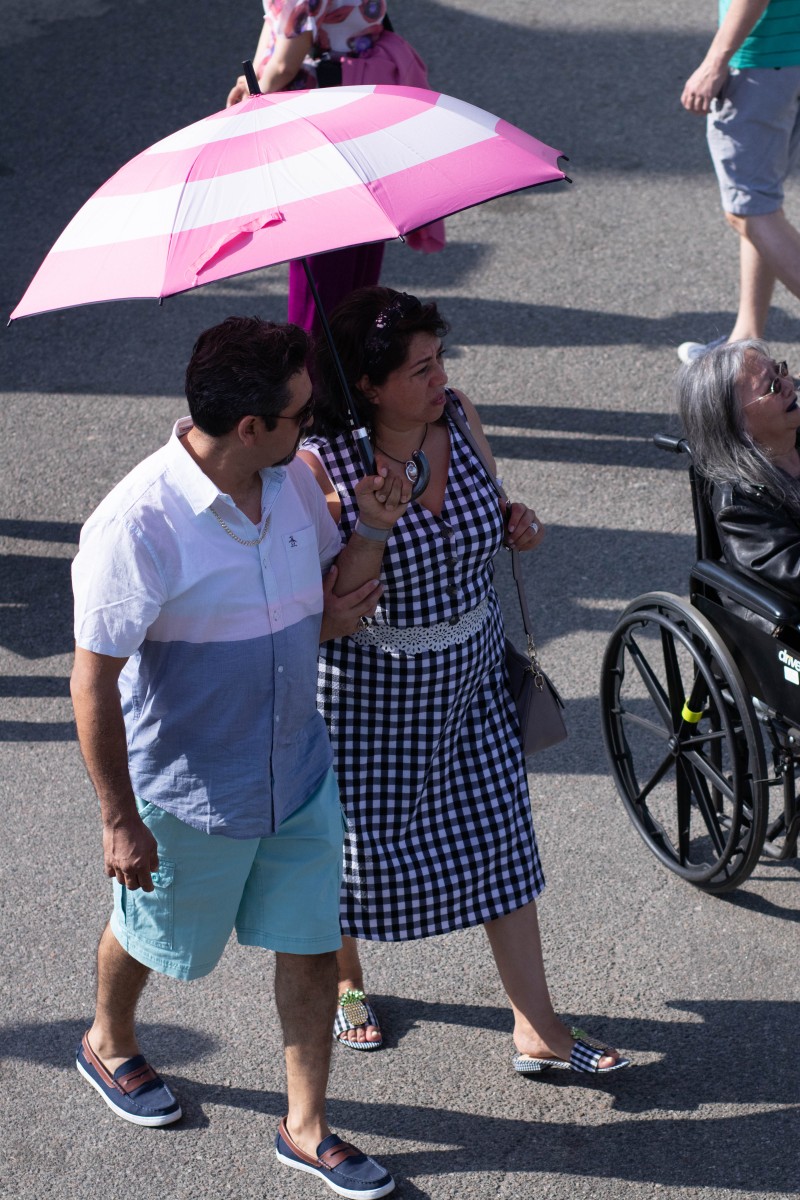
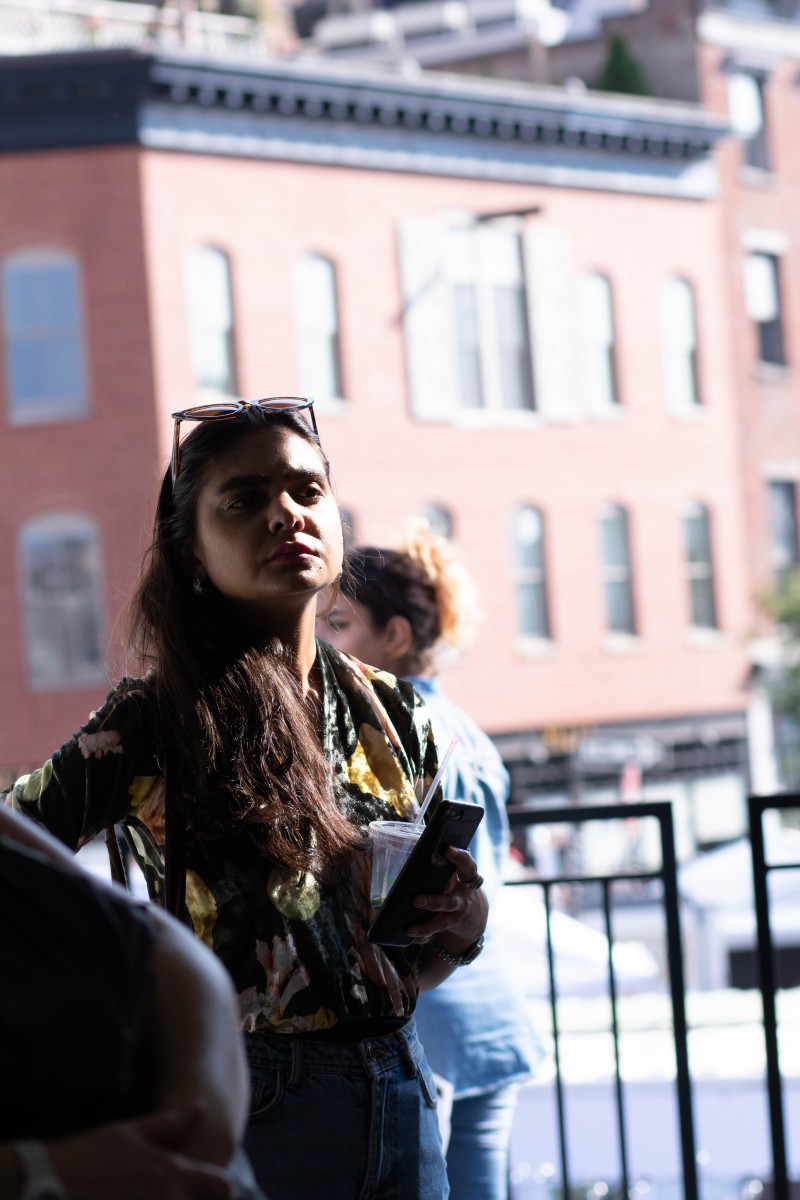
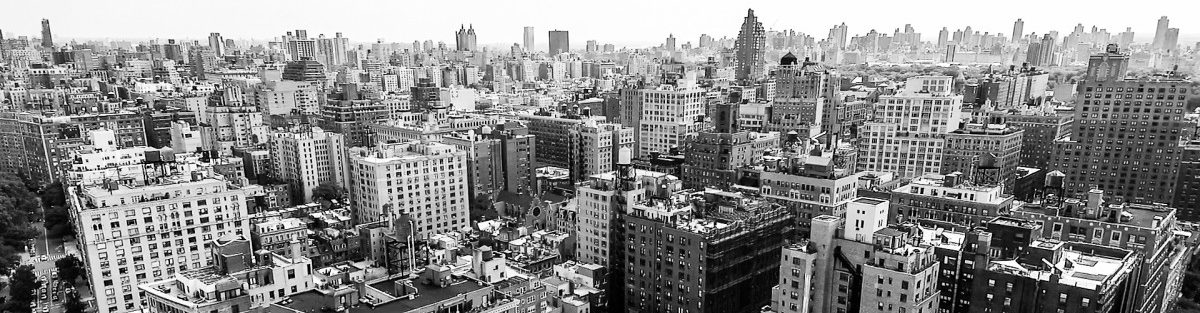
I got to learn about photoville last year while doing an internship with the NYC Department of Records. I wanted to visit but I couldn’t manage the time. This year I was able to visit because of this class. I am glad that I did. It was so interesting to walk around to see photographers from around the world. I took a bunch of photos and there are some of my favorites.
Last class, we learned what is high key and low key is. Later we learned how to take high key and low key photography using burn lights on a white and black background using still life props. This was my first time shooting high and low key. We had trouble with low key photography trying to figure out where to place the lights. But I enjoyed learning both high and low key. Here are some of my best shots.

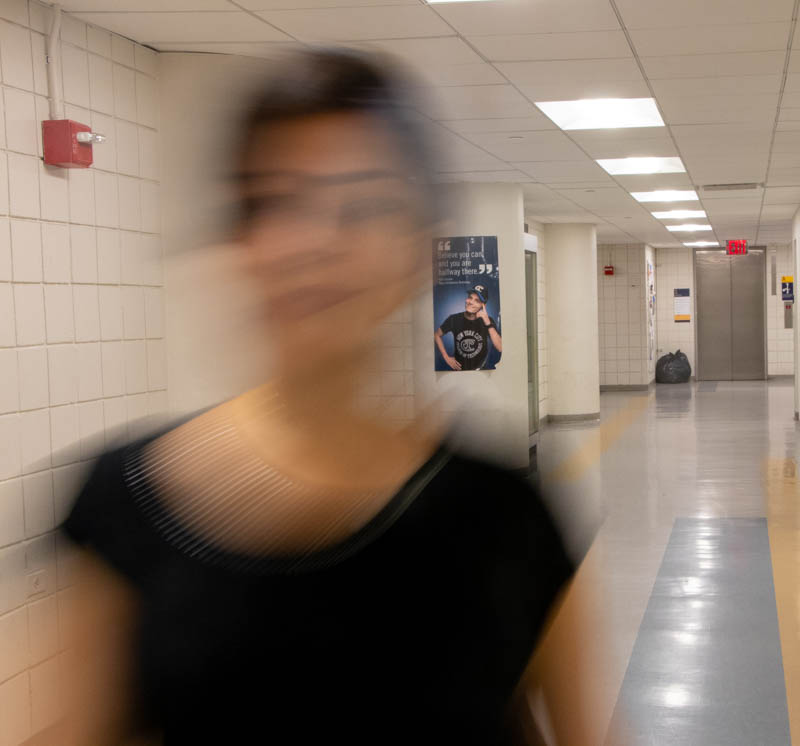
Doing motion photography was fun and a good exercise to help with other types of methods. I used high ISO and a low f stop for most of the frozen in motion photos. I used a slower shutter speed for the “ghost” shots.
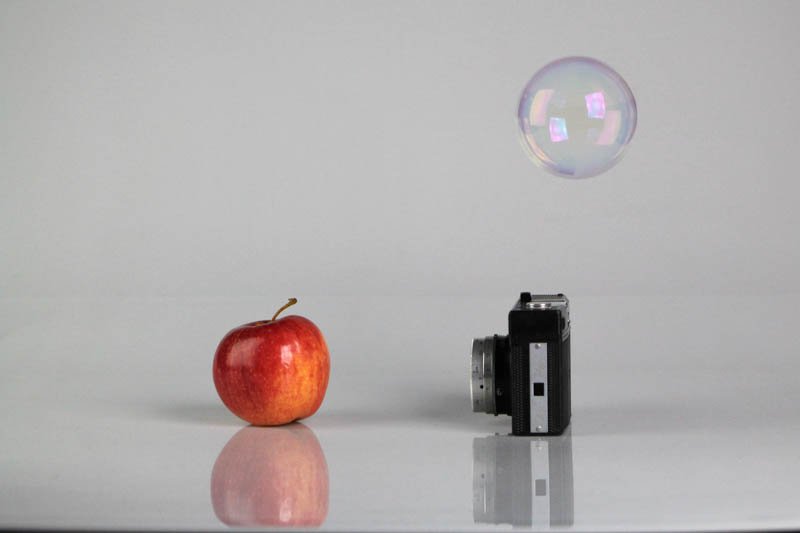
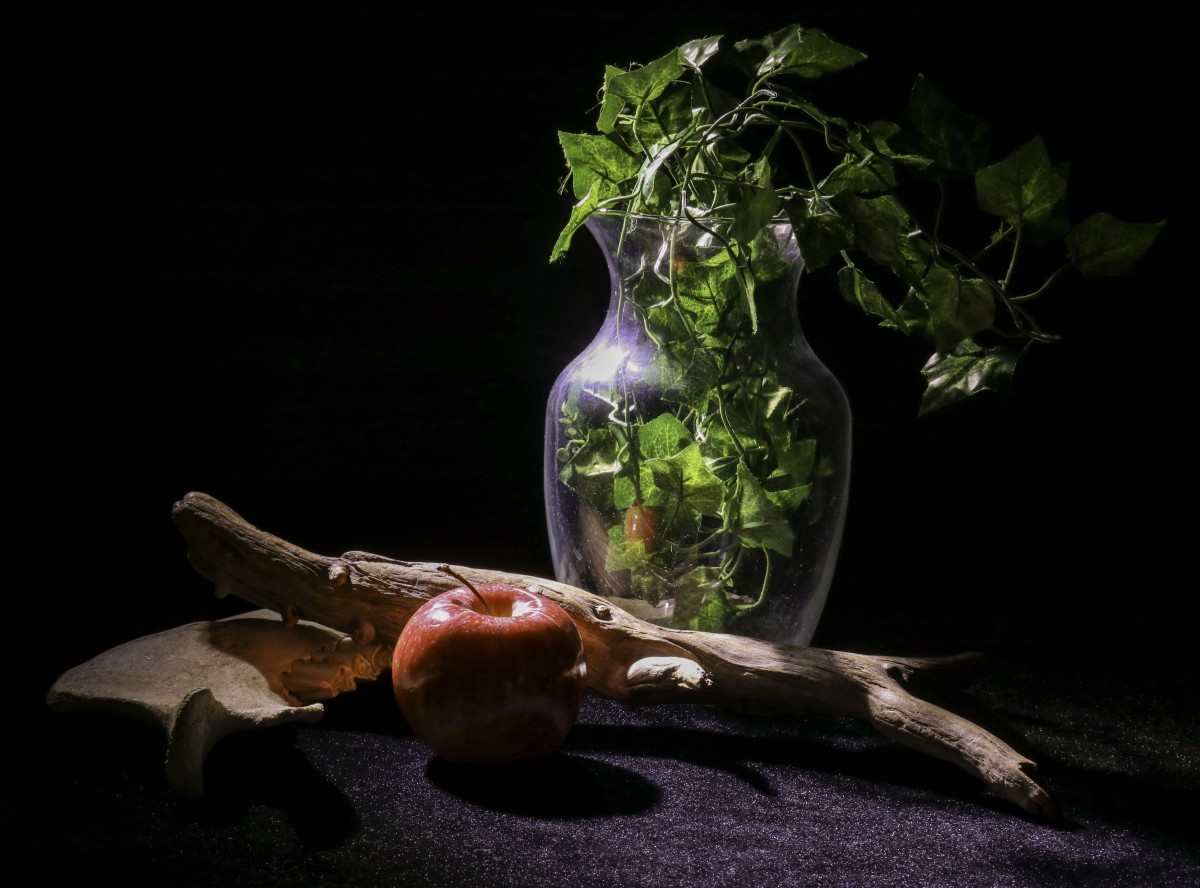
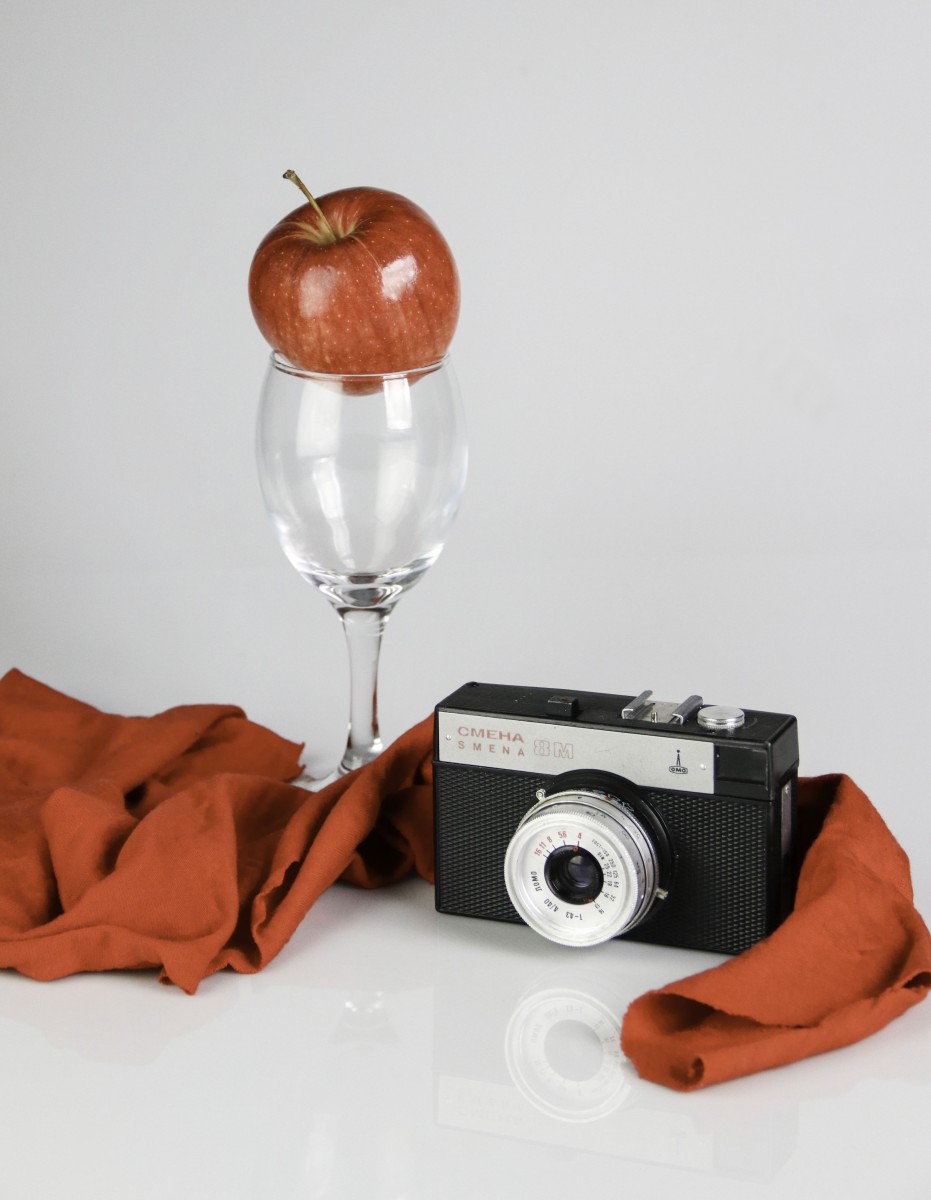
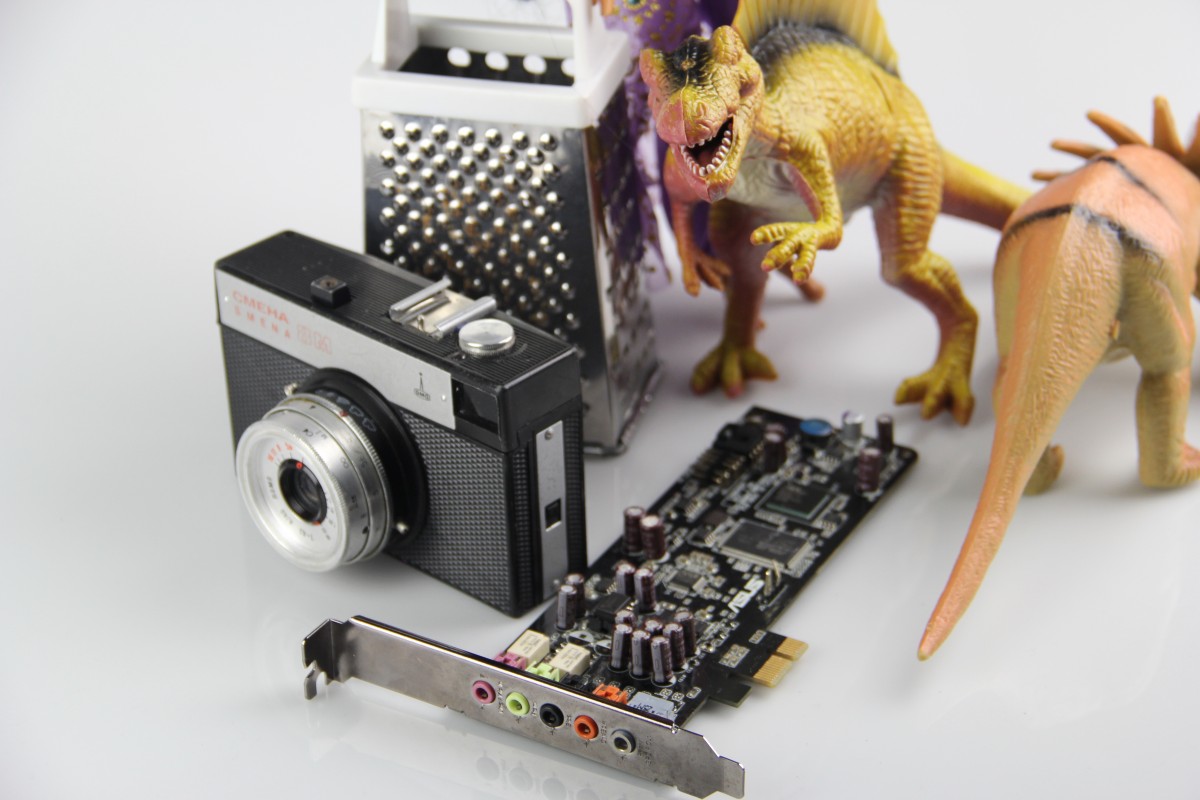
Photographing a still life was fun because I thought it would all look like stock photos or from an advertisement. The range I got was very diverse and interesting. Using different lighting and color really helped elevate the moods I achieved.
I learned how light can impact the way photo can be taken while shooting in studio. I like trying the different lighting setups each table had. I learned the difference between low and high key photography. I used the camera stand and freehand to take the pictures. I like that when I used the camera stand I could use a longer or shorter shutter speed to take the photos.
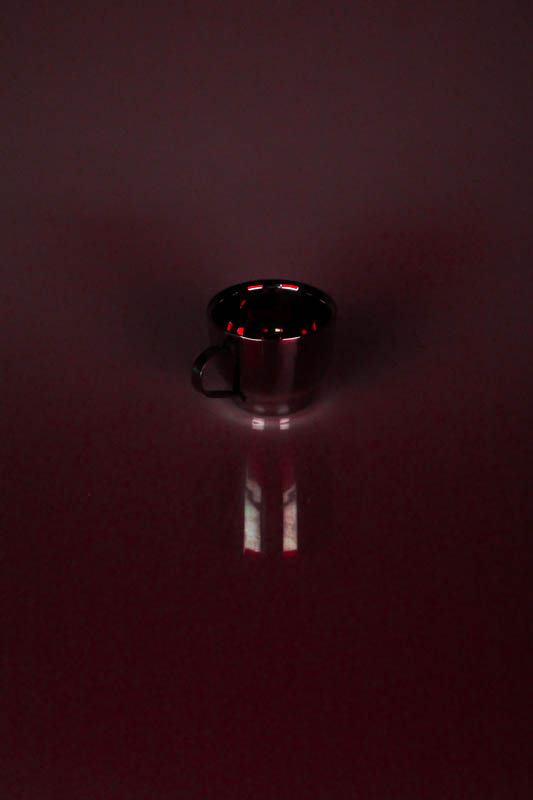
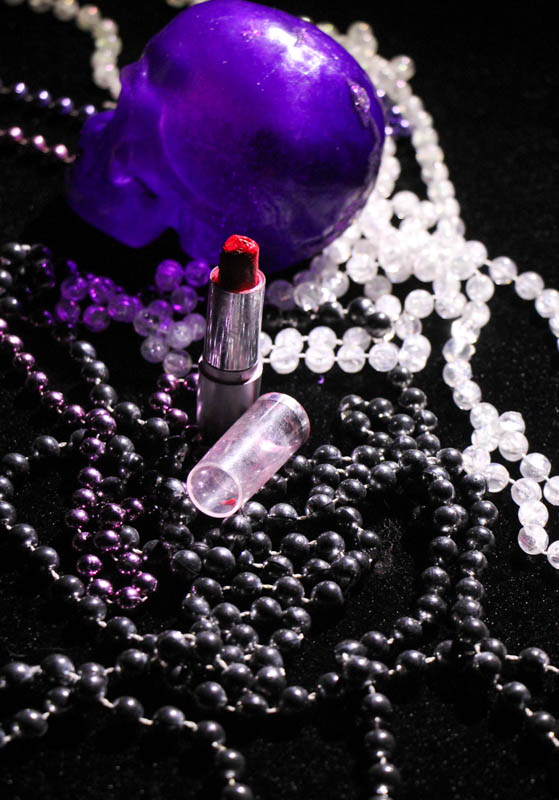
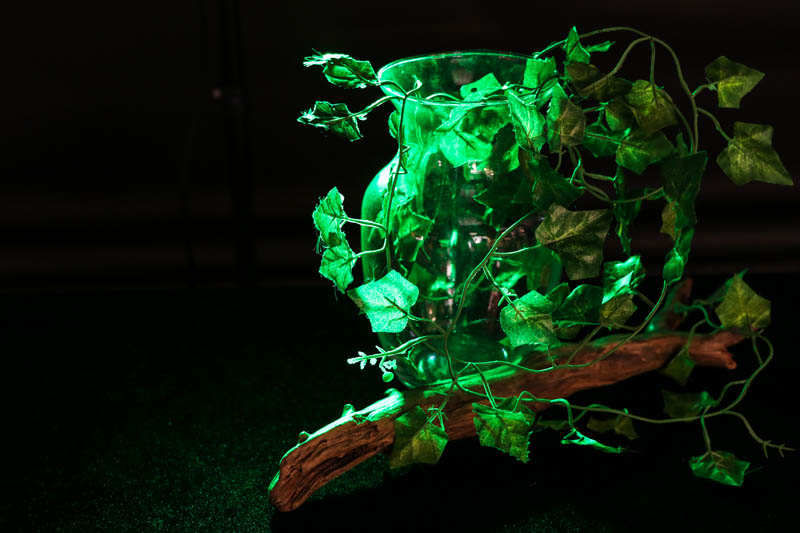
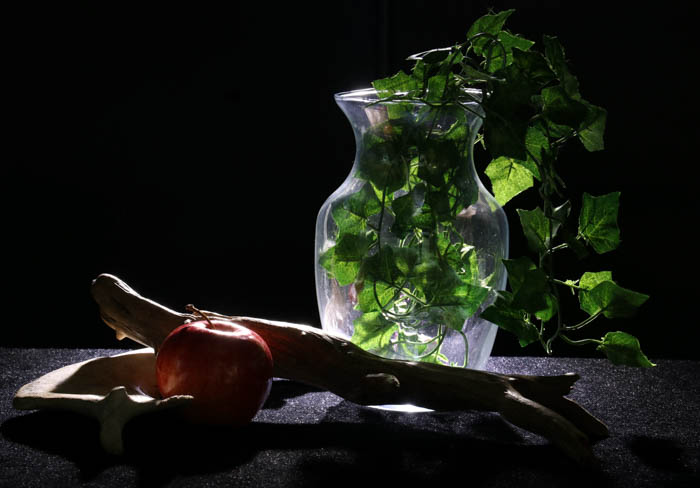 This past week in class we learned about high and low key lighting techniques in photography. Using the black background and black cover for the table I really wanted to try to get the highlighting effect from the video. Especially since we were using a vase in our still. I think I was able to create a similar effect and mood. The photo with low key lighting has little to no editing done to it.
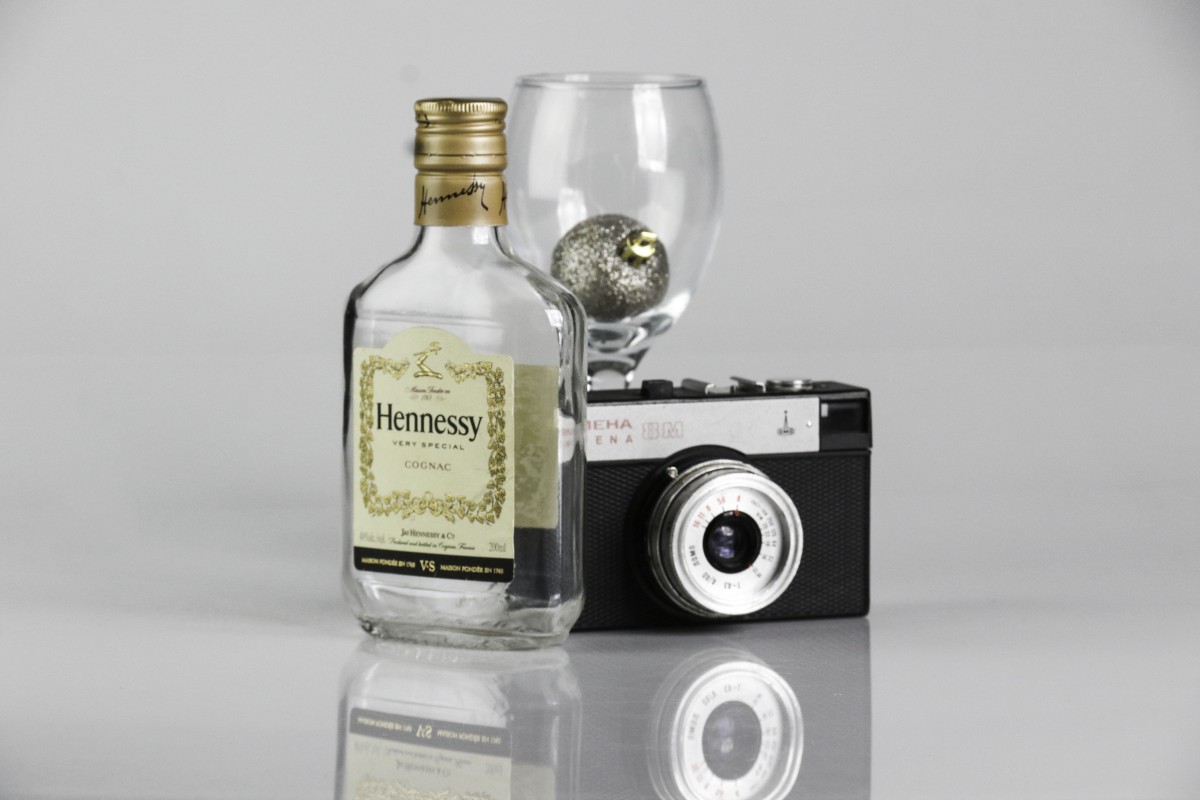
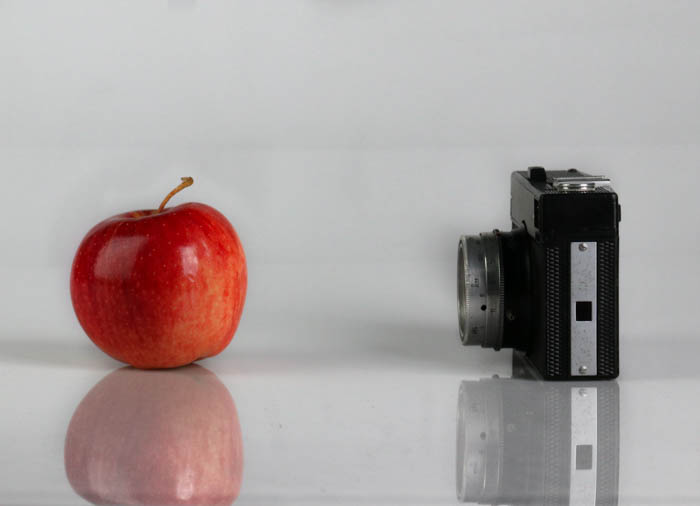
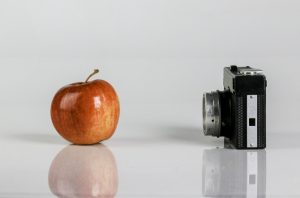
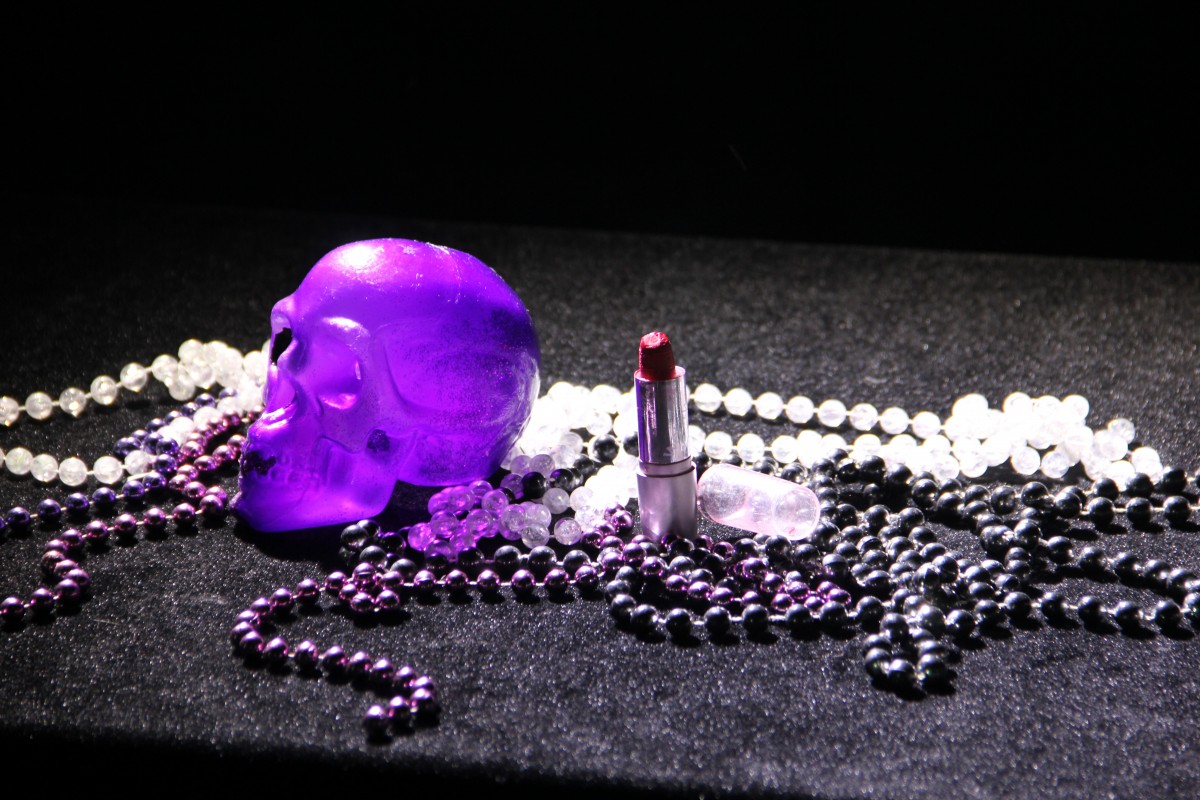
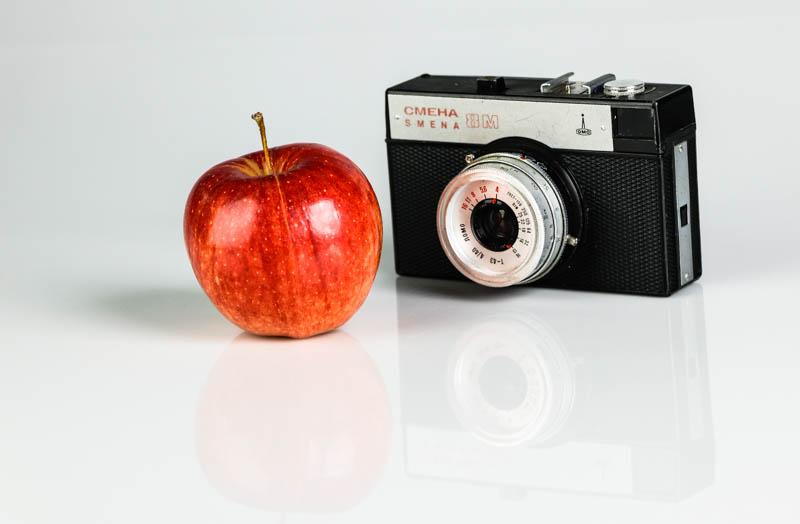
For the high key lighting, I wanted a simple and clean composition with the apple and camera in the still. The high key lighting shots were my favorite since they came out so clean and bright. I especially like the clean reflection on the table. I also used some of the brush techniques we were shown in Lightroom. I was able to bump the clarity of the reflections as well as retouch a weird spot that showed up in the picture. I just wish there were no shadows!!
I learned how to use the benefits of light while shooting in studio low key photography. I learned the difference between low and high key photography. I learned how to shape the light to get the best to shoot with just one continue light. I learned how the distance, position, intensity of light affect the photo. I practiced shooting objects with continues light, shooting with color gel, practiced shooting with tripod and without.

The OpenLab is an open-source, digital platform designed to support teaching and learning at City Tech (New York City College of Technology), and to promote student and faculty engagement in the intellectual and social life of the college community.

