-

- A bird’s eye view of the model, showing the aperture door, the primary mirror, and the secondary mirror.
-

- A rear view of the model.
-

- A front view of the model.
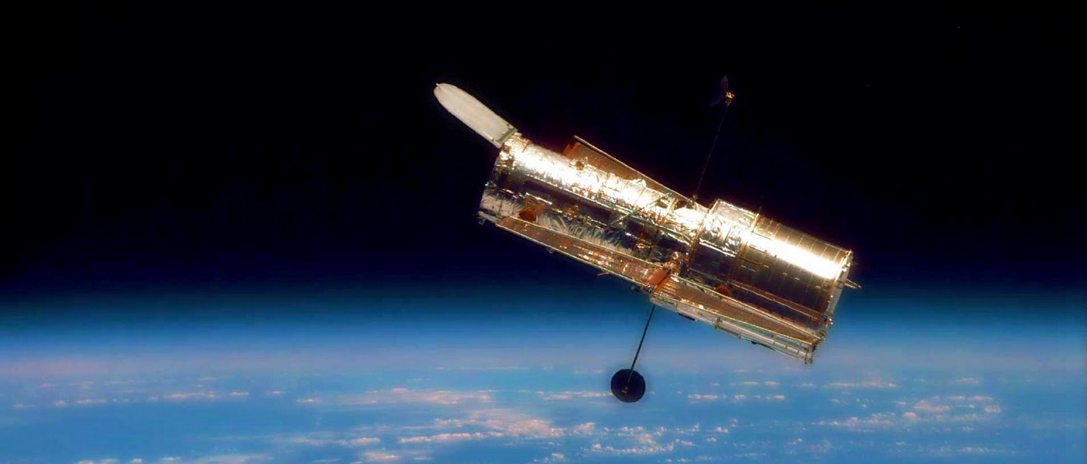
The Hubble Space Telescope, launched in 1990, is one of the most impacting contributions to NASA’s space exploration. Taking advantage of the Hubble’s ability to not only see more of space, but also see farther and deeper into space allowed astronomers to explore and gain knowledge about many of the universe’s mysteries. In fact, it has assisted in “determining the age of the universe, identifying quasars and the existence of dark energy.”
When given the opportunity to build a model of the Hubble Space Telescope, I was excited to begin. As someone who is creative, a visual learner, and good with my hands, it seemed like the perfect project for me to utilize my skills. However, as soon as I began gathering materials for construction of the model, I began encountering some difficulties. I had trouble with finding a 1/8” wooden dowel, and the process and result of printing the pattern onto cover stock.
I visited Michael’s craft supply store to find the dowel, but their selection of wooden dowels wasn’t very well stocked. I considered using something of similar shape and size – chopsticks! However, I decided against it due to the fact that the chopsticks wouldn’t have been long enough to pass through the diameter of the telescope while still having room to accumulate the solar panels. In the end, I settled for a wooden dowel with a larger diameter.
To print the pattern on cover stock, I visited my local Staples to use their copy and print center. It should have been a quick and painless experience, but unfortunately after attempting to print it in color, it came out of the black and white printer on regular printer paper. I spoke to an associate after waiting nearly 20 minutes for help, and she said she would reprint it in color on the cover stock for me free of charge because I had already been charged for the incorrect printouts. It took close to an hour and a half, but eventually she managed to print it for me and I had everything I needed to begin construction.
After reading through the entirety of the instructions, I began to construct the model. I hardly even got to the second step before realizing that the larger dowel would pose some challenges. Having a larger dowel meant that it was made of a harder, denser wood – making it much more difficult to precisely sand than something much lighter, such as balsa wood. I accidentally snapped a piece of wood while trying to sand it, but I was able to fix it with glue and now it’s not even noticeable on the model.
I went back to work until I encountered my next challenge at step seven. Previous steps instructed that I glue together the main cylinder of the aft shroud of the telescope, the part that holds most of the mechanics. However, I think that the woman who printed the pattern at Staples didn’t have it 100% to scale, because the circle pieces to go at the top and bottom of the cylinder were both too big! I trimmed the bottom one to get it to fit, but it still doesn’t look perfect, and the top piece slightly overlaps the cylinder as well.
After building the forward shield and the light baffle, the next challenge became apparent in steps 12 and 14, the building and installation of the primary and secondary mirrors. The only real difficulty with this step was the fact that the paper for the secondary mirror was not sturdy enough to easily glue inside of a cylinder. The primary mirror was also a little too big, once again leading me to believe that the scaling of the pattern was not perfect.
I then connected the forward shroud to the aft shroud, built and assembled the aperture door, and was up to step 20 before the next problem occurred. It turned out that once again, Staples had made a mistake. The last page of the pattern hadn’t been printed on cover stock, but on regular paper. To resolve this issue, I glued the regular paper to a sheet of cover stock before cutting out the pieces for the solar panels. They didn’t look very good though, and I was unhappy with the result.
My very last struggle to complete the project once more involved the wooden dowels at step number 24. This step required that the dowels are passed through the cylinders, but because the dowels used were bigger than those intended, they intersected with each other. In order to make it work I had to cut paper where it wasn’t supposed to be cut, but it still looks okay.
Overall I am quite pleased with the outcome of the model. Despite quite a few mishaps and challenges, it still came out fairly nice. Ideally, I would have liked the model to come out as it was intended, but building this one was still a learning experience and perhaps one day I’ll try to perfect the model. Either way, I was still able to learn quite a few things about the mechanics of large-scale telescopes, how they are built, what they are used for, and how they work.
The OpenLab is an open-source, digital platform designed to support teaching and learning at City Tech (New York City College of Technology), and to promote student and faculty engagement in the intellectual and social life of the college community.

