Project II
Group A Members: Jailyn, Dileydi, Errick, and Brandon
Group B Members: Sapphire, Natasha, Margarita, and Sandra Patricia
On the day of the final exam, after you taking the test, you will execute Project II on the same day. You should have more than 2 hours to work on the project. This coming Friday, we will start discussing the project, and will form two groups. To give you a heads up, please find the project related into. described below. This will give you some extra time to think of the content!:
Project II Requirements (Criteria)
It will be good to think of creating some short scenes/situations to adopt these required techniques.
HPX 170 on Steadicam
These are the required techniques, which were also included in the instructional Steadicam video. We screened them in class:
– Film as you switch from Missionary (operator facing the subject & walking backwards) to Don Juan
– Wait for an actor to walk by. Instead of tilting up, do booming up and down, and keep filming the actor walking away
– Panoramic shot (we haven’t screened this segment in class yet, but in the instructional video, the operator goes around flowers. It is one way to do a “panoramic shot” for this project).
– Going around the corner (You must go around a corner of a building or possibly an object like a large monument. This is one of the stylistic techniques)
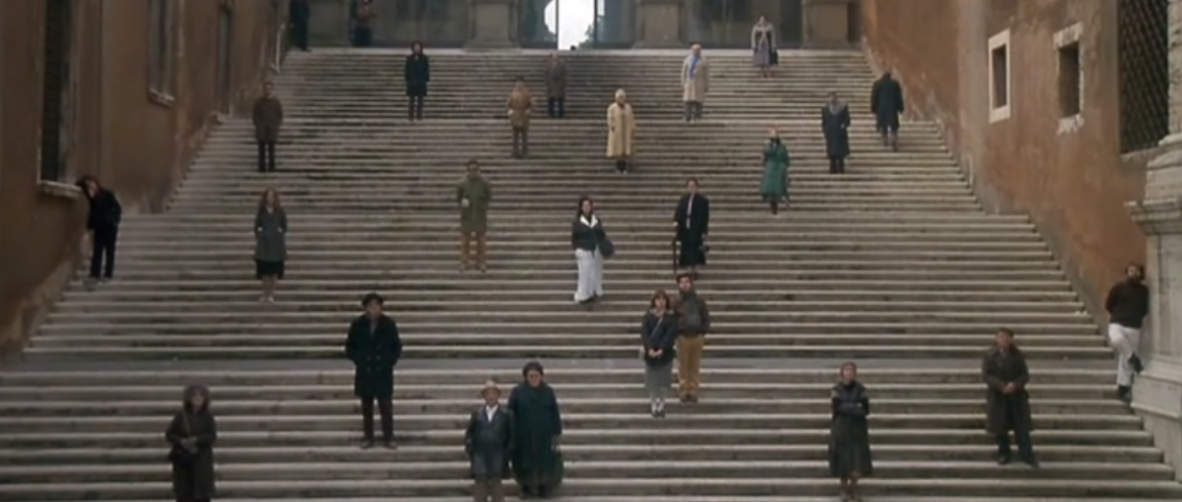
– Stairs (it must be “missionary,” going forward is for safety reasons)
– Walk along with your actor, and film trees, posts, and column or even people between the camera and the actor.
This is from a poster session day last year (took advantage of posters): https://youtu.be/WwhKZMQ6U2U
HPX-170 on Tripod, slow shutter speed (motion blur):
– Shutter speeds (on this camera, you can set it as slow as 1/15 of a second. When your shutter speed is slow, you often need to close down the F-stop
e.g., the opening scene of “The Gladiator,” especially after 03:55:
DSLRs (5D or 7D)
– Effective use of polarizer (e.g. reduce reflections on a window etc.) We have only one polarizer, and so the two groups must communicate with each other to time it.
– Effective use of ND (Make the sky darker blue, for example. ND is usually used for exterior settings)
– When you use filters most likely, you need to compensate (open up) the F-stop a little.
– In terms of content, think about a scene. Don’t just film anything with the filters. They are used to tell stories. It could be a scene that is as simple as someone is waiting for someone else.
Pull focus
– CU or MS of Actor 1 facing the camera (this person is in focus), in the background Actor 2 enters the frame, Actor 1 turns around, and Actor 2 is in focus. Actor 1 turns back to the camera, and the focus is on actor 1 again. These are some examples from an in-class exercise, not a project in the past:
Example 1 http://youtu.be/mSyyNYUW0DU
Example 2 http://youtu.be/T7JuZfdwZxY
Example 3 https://youtu.be/jnlrFOS7yLU
Depth of Field Calculator:
http://www.dofmaster.com/dofjs.html
To think of story ideas, often it is a good idea to read some proverbs. They always give us very good hints!
Have fun!

