Edgar Alejandro
ENT 4499- Culmination
3D And 2D design
SIRENIA (GAME PROJECT)
Executive Summary
For my culmination I’ve deicides to take my skills that I have accumulated in the past four years at city tech. This has been an accumulation of things that have been learned in my track of game design. There are many aspects of game design one major aspect being 3D design and 3D art. This being the focal point of my skills that I want to incorporate for the project I worked on. The name of the game we are making is called Sirenia. I will 2D and 3D artist for the group Divergent Minds on the project Sirenia. My purpose on the project was to make sure that all 3D and 2D art could properly be used in the development of our game. This could have meant a variety of things such as Creating conceptual art that can be used at later stages of the games design period to flesh out and make a more immersive world that the player can see. The next thing would be the creation of assets that will directly be put into the game so the player can have a streamlined experience that can have the immersion to keep their attentions.
This will greatly benefit my portfolio as it will show off the skills in the fields I am most interested in after college This being 3D animation and rigging. these assets and world that was created from the ground up will serve as a tool that I will use to show off the amazing work that not only me but my group had crated over the past semester.
I predict the outcome of my efforts will be an effective understanding of group work and time management. Another goal would be
Method
The two parts that coincide with each other for this project will be the pre and post production aspect. These two laying out the groundwork for how the project will run with the group and how we will manage things. The tools that we will decide to use in order to get this production moving smoothly where google docs, discord, slack, and terllo. these being tools of communication to flesh out our story and game design.
The first stage of this production being the pre production in which we would create our story and flesh out the ideas of where our setting will be for our game. there will also be the creation of our sketch works and many concepts. This can be drawing out drafts for our home screen and how it will appear for the player, We will also create reference sheets and 3d turnaround sheets for the main character of the game .This will be done in programs such as Illustrator and Photoshop in order to keep it consistent to the adobe suite.
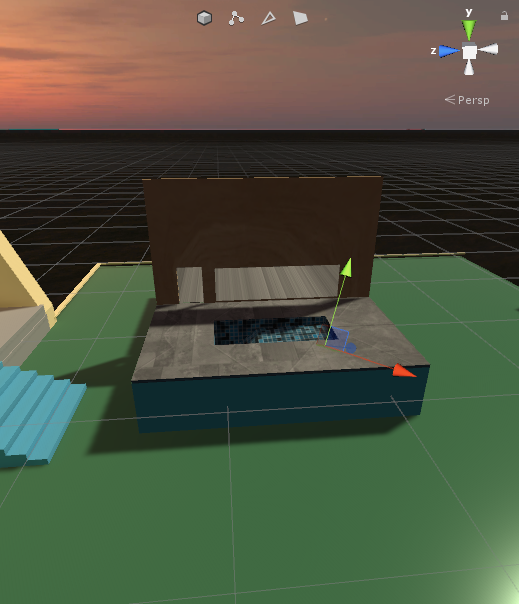
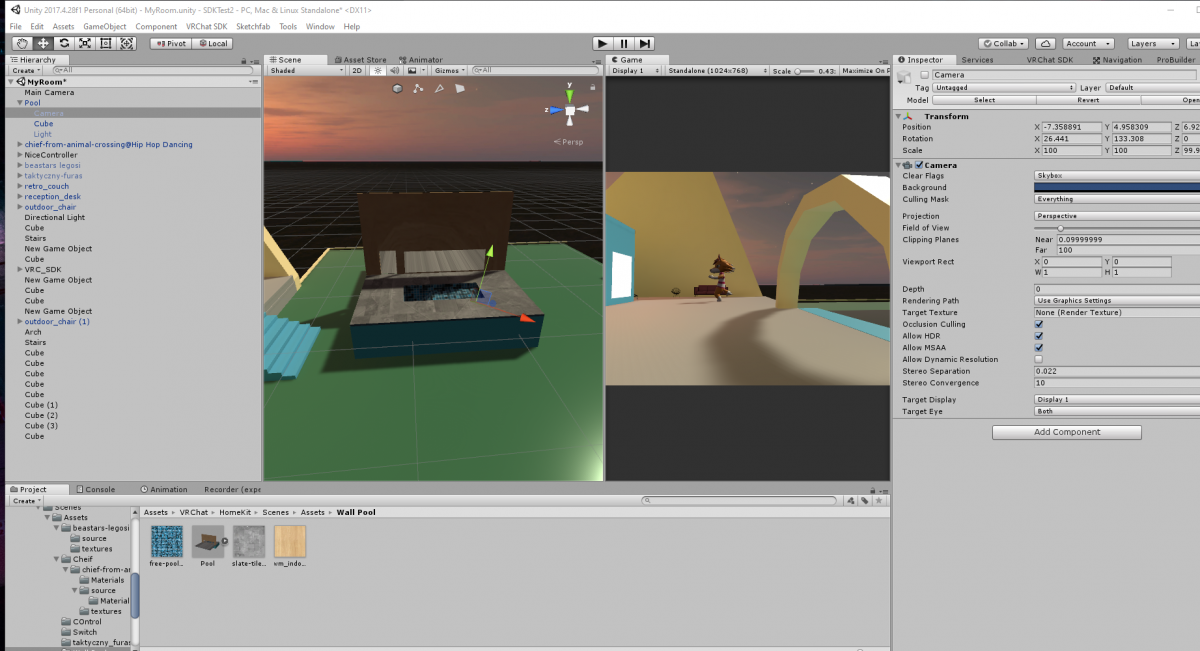
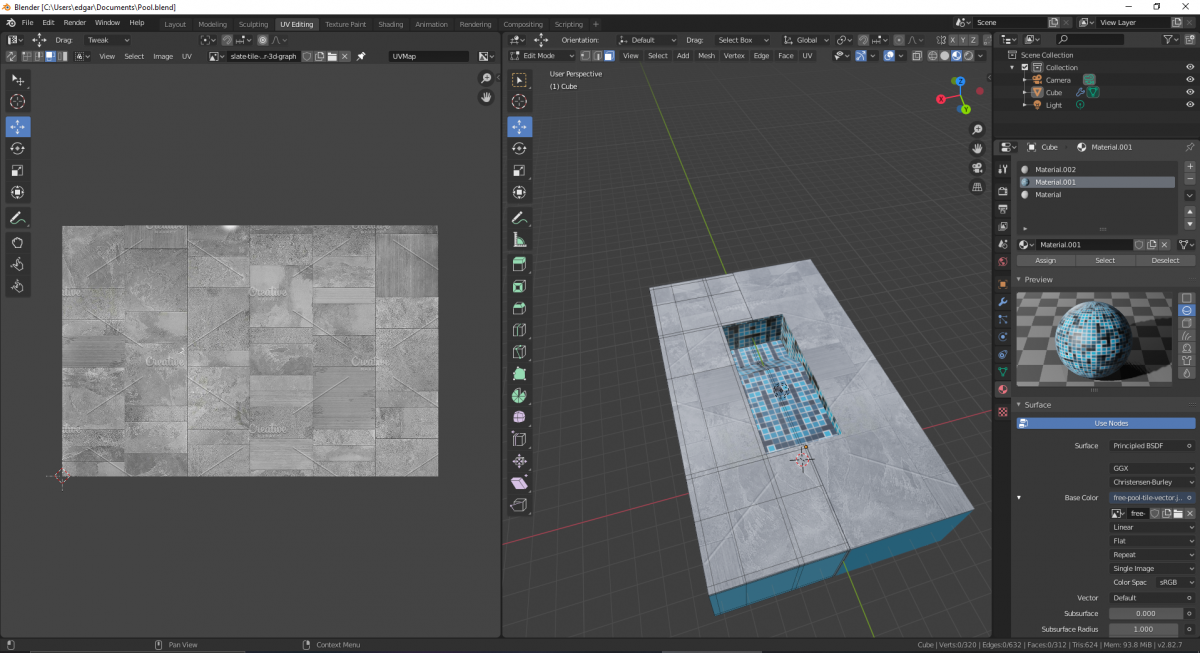
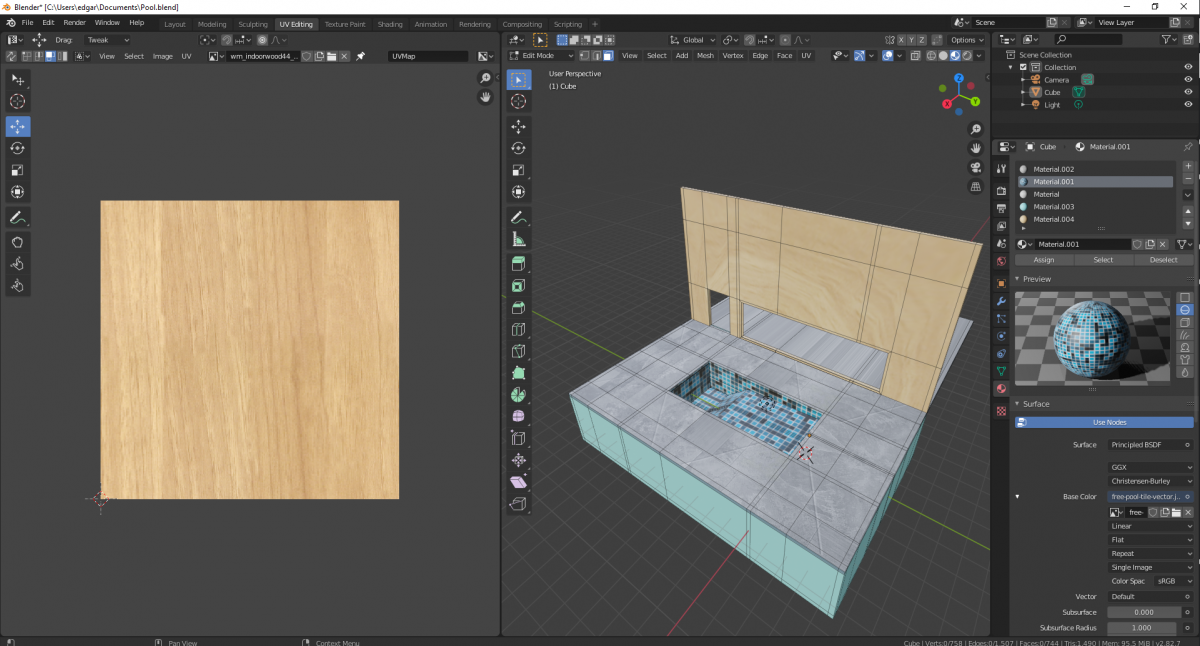
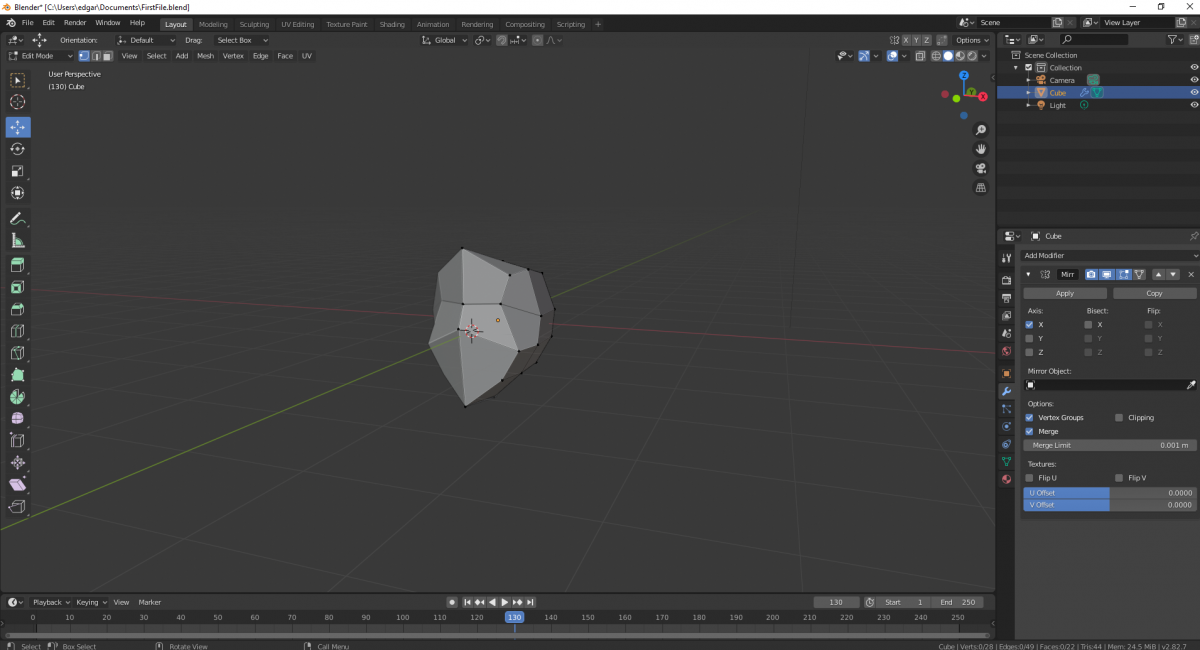
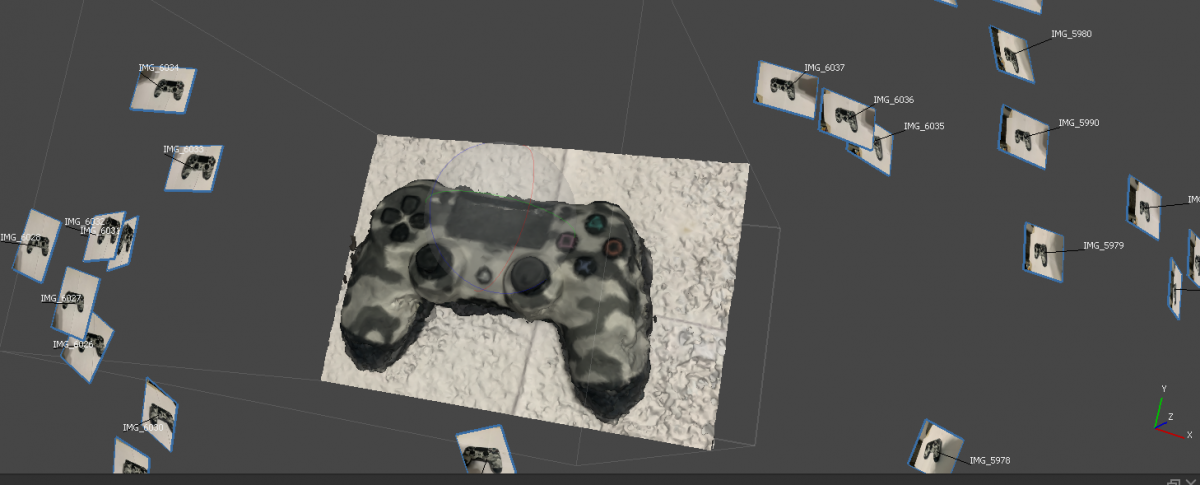
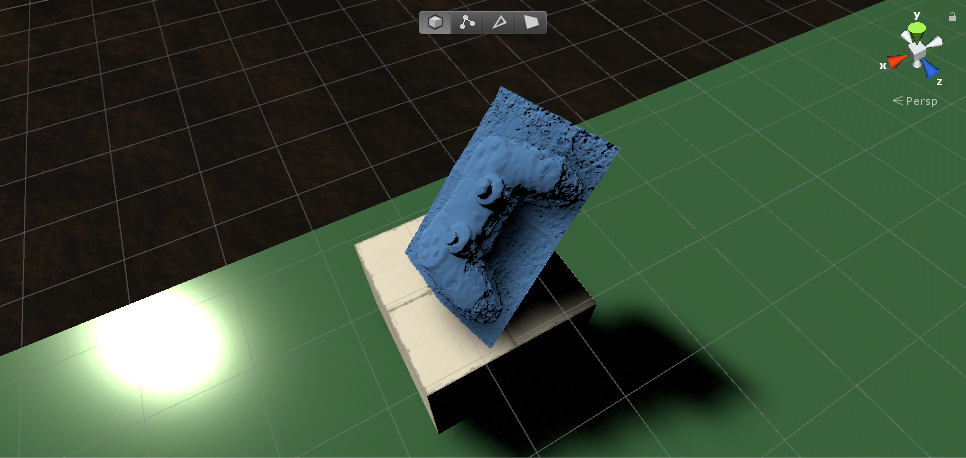
Then comes the post-production where we would create the 3d assets in blender where it will be a streamlined process where we make sure that our world elements can be made and placed into the game. There also comes the job of creating the main character in blender and assuring that she can be animated and useable for our game. We will make sure to take elements and outsource ideas from many underwater games that have came before but also the inclusion of new elements and new ideals for our game. Once this has happened we will make sure the implementation process is easy for the player and we make sure that elements from blender can transfer over to Unity for its use. This includes textures, lighting, and general shape of the models.
Gantt Chart

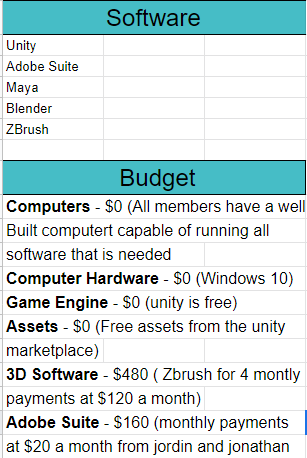
Budget