Shutter Speed is the length of time that the sensor is exposed to light to create the photograph. It is measured in seconds or fractions of a second.
The full stops for shutter speed are: 30”, 15”, 8”, 4”, 2”, 1”, . sec, ., 1/8, 1/15, 1/30, 1/60, 1/125, 1/250, 1/500, 1/1000, 1/2000, 1/4000, 1/8000
Doubling the time, doubles the amount of light that reaches the sensor.
When shooting with a cameraphone and the Lightroom Photoshop app, you can set the shutter speed of your cameraphone between 1/10,000 and 1/4 sec.
A good rule of thumb when shooting with a camera is: Any shutter speeds slower then 1/60 require the use of a tripod. When shooting with a cameraphone, you will need a tripod to shoot at 1/15 or slower.
Resource
Capturing of Motion
Your choice of shutter speed will change the way motion is captured in the photograph.
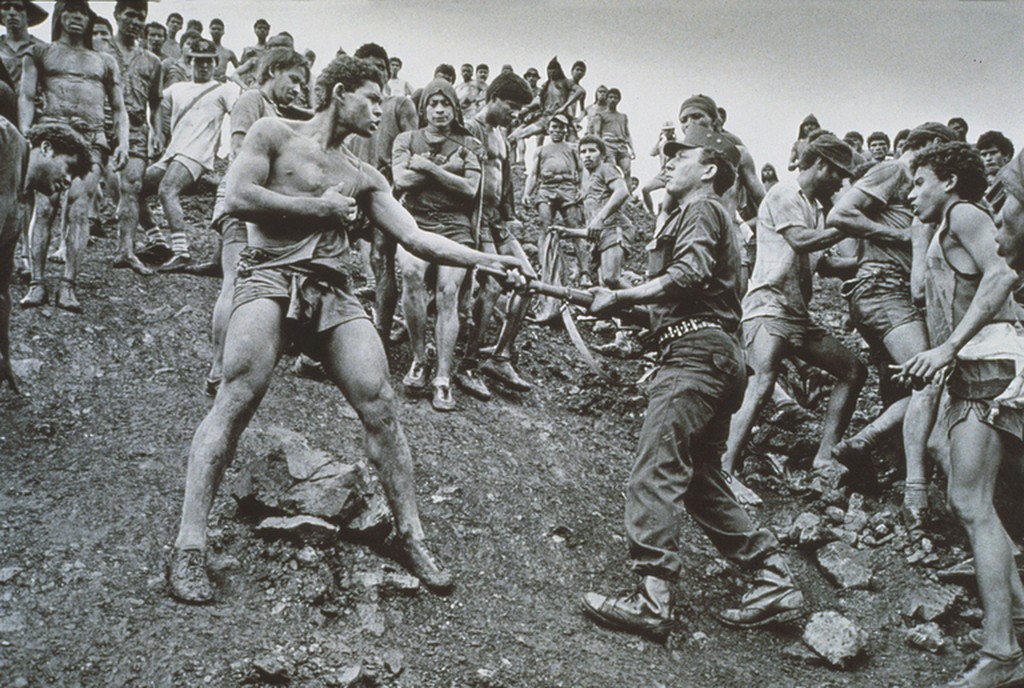
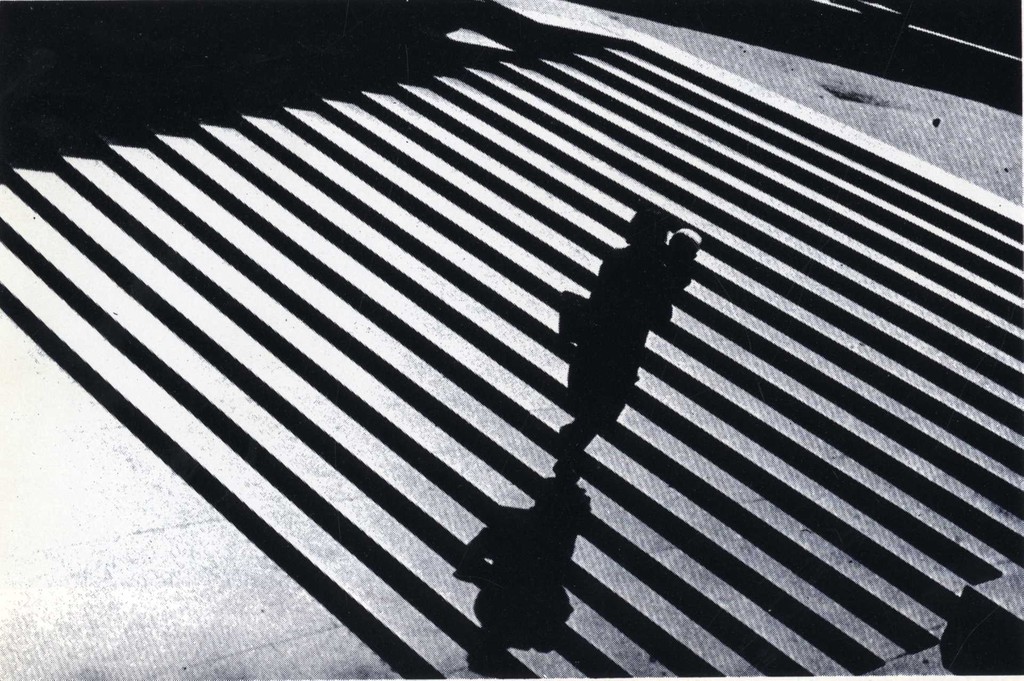
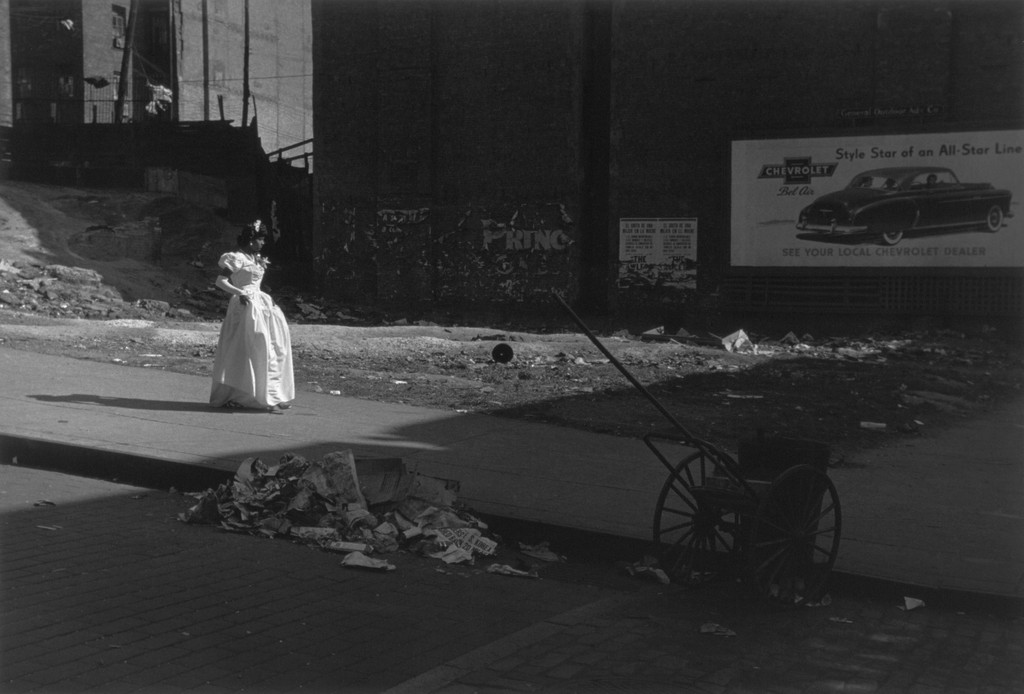
Frozen Motion-Motion is stopped and captured in the frame with a fast shutter speed.

Galloping horse (Sallie Gardner running). Eadweard Muybridge. 1878. 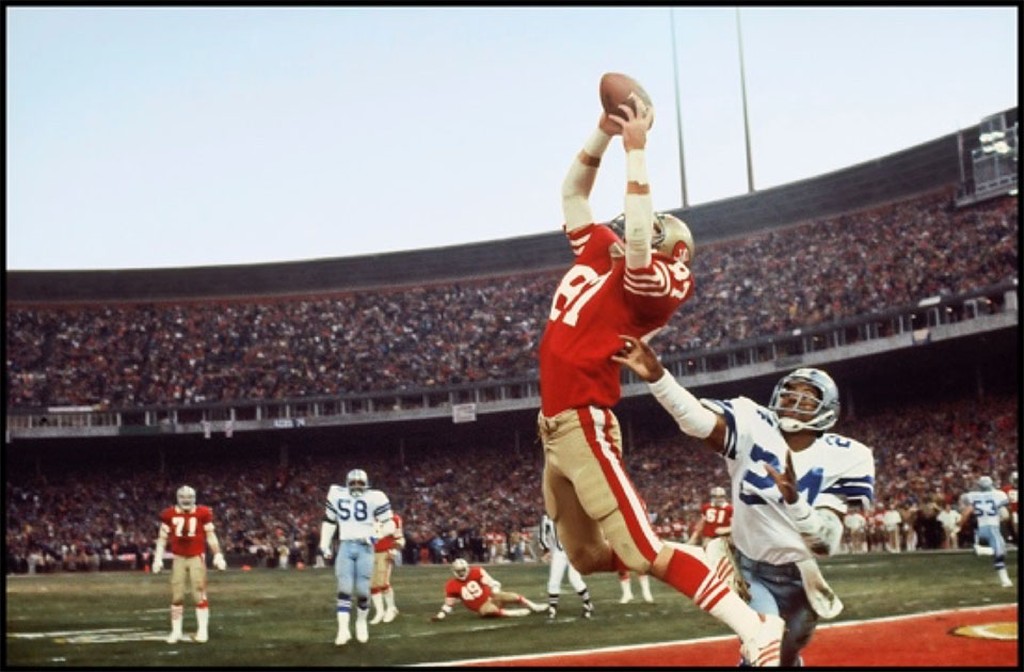
The Catch, 1/10/82 Dwight Clark from Joe Montana, Candlestick Park, S.F. Photographer: Walter Iooss. 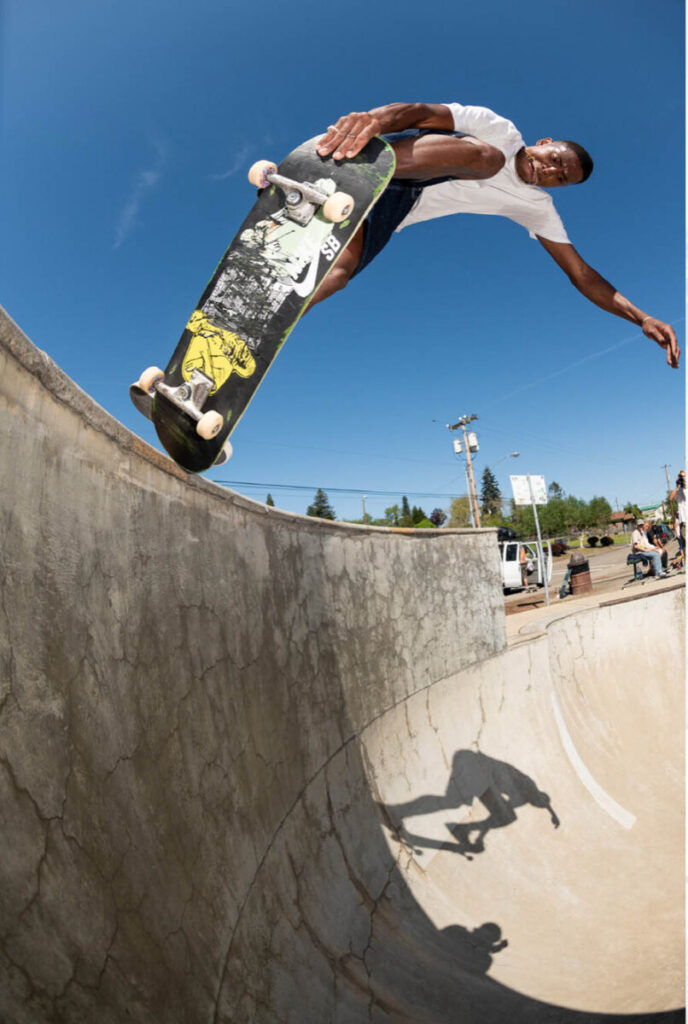
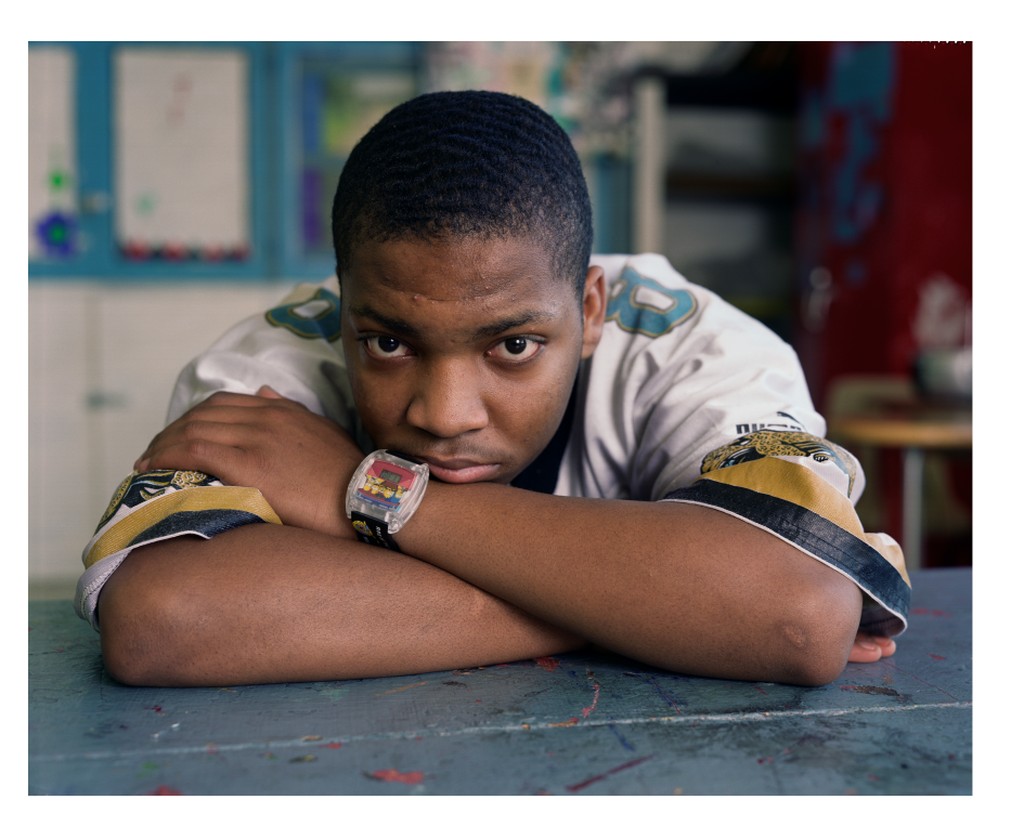
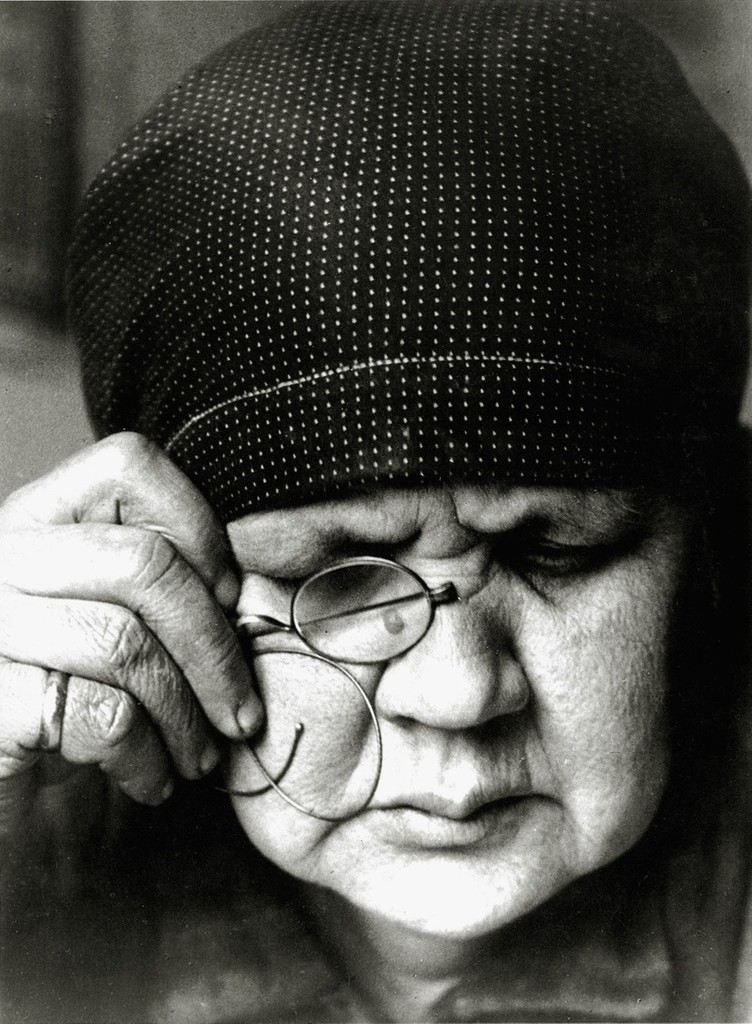
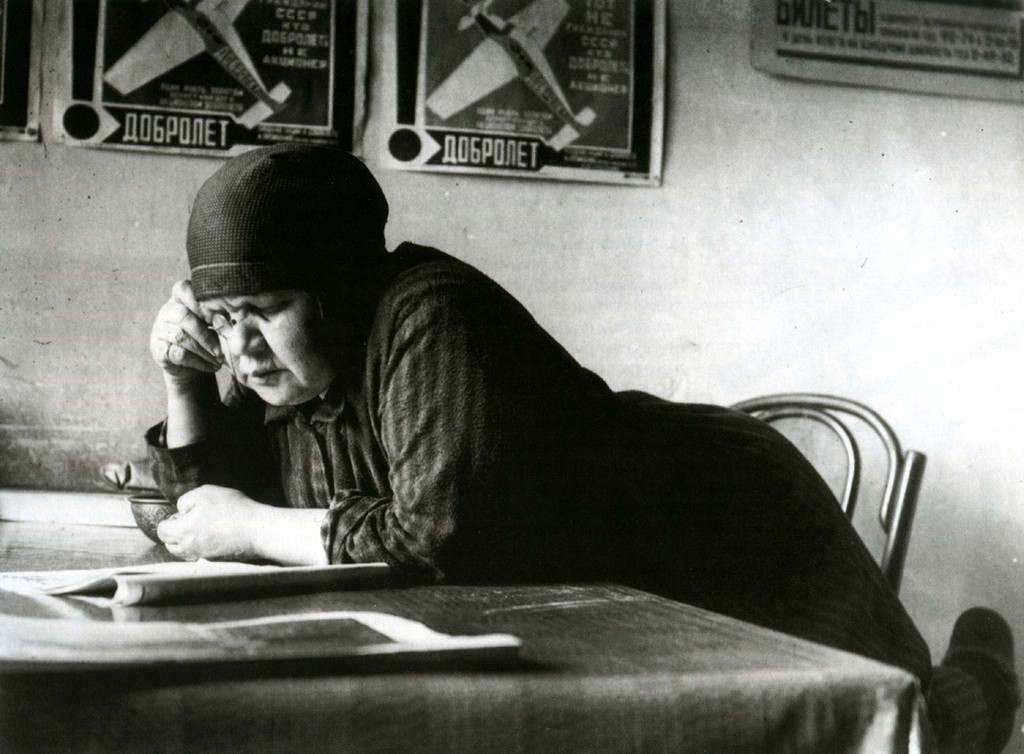
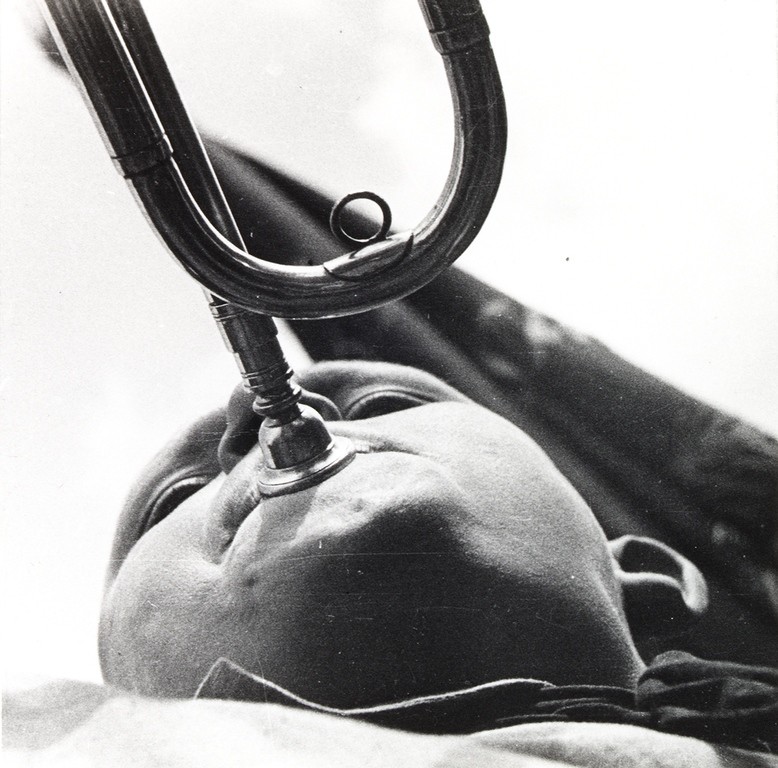
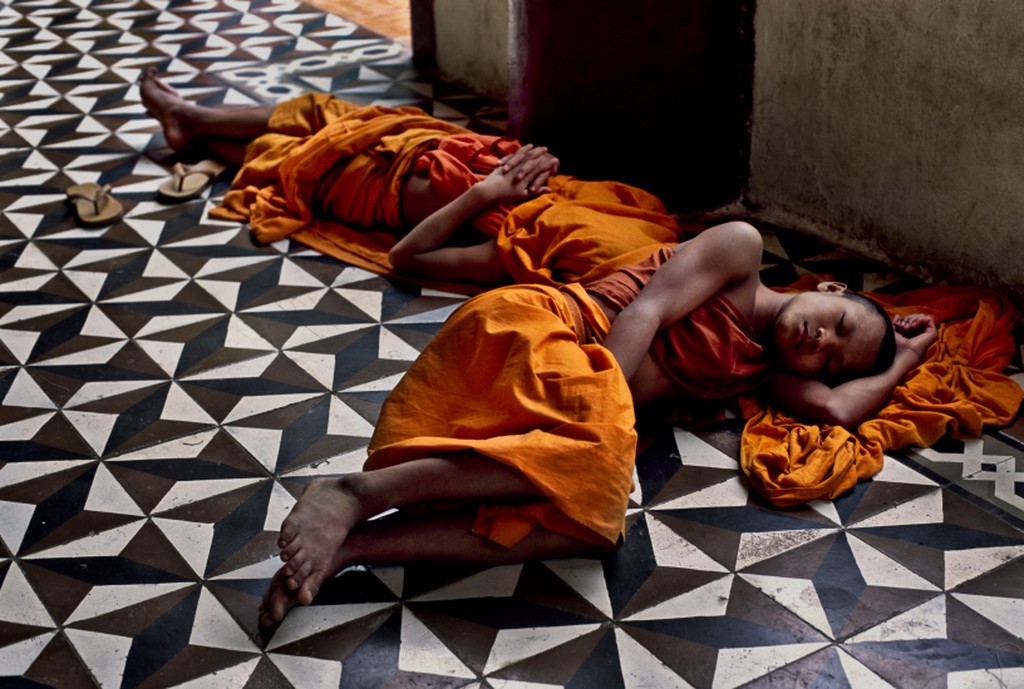
Photographer: Joe Brook 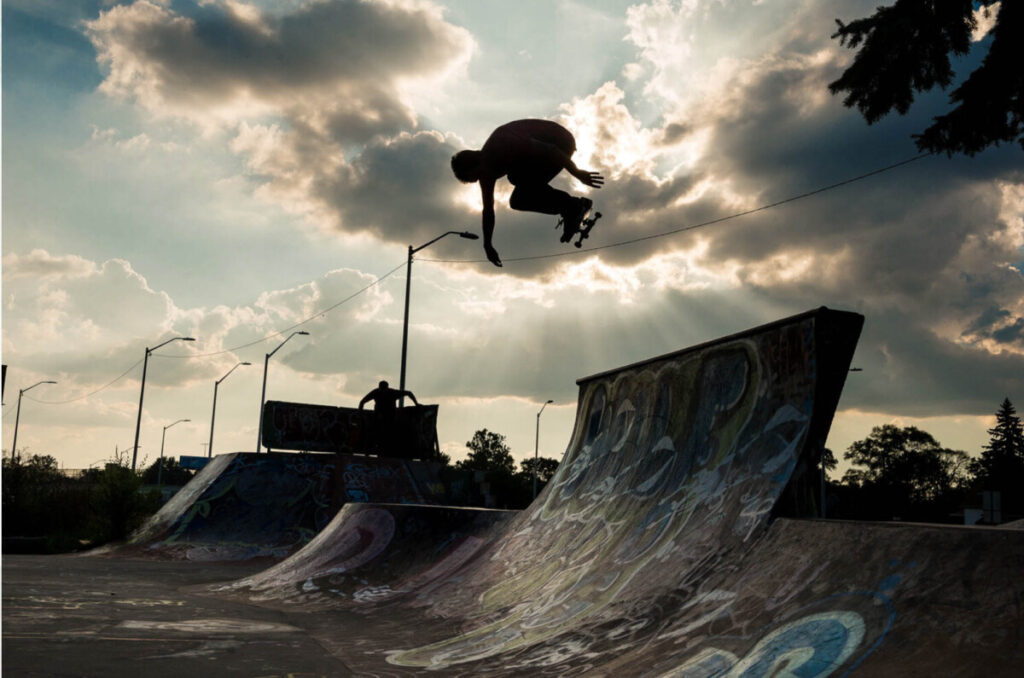
Photographer: Joe Brook
How to freeze motion:
- Use a shutter speed of 1/ 500, 1/1000 or faster.
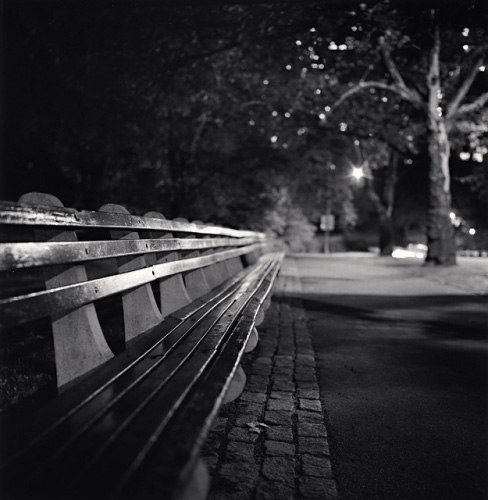
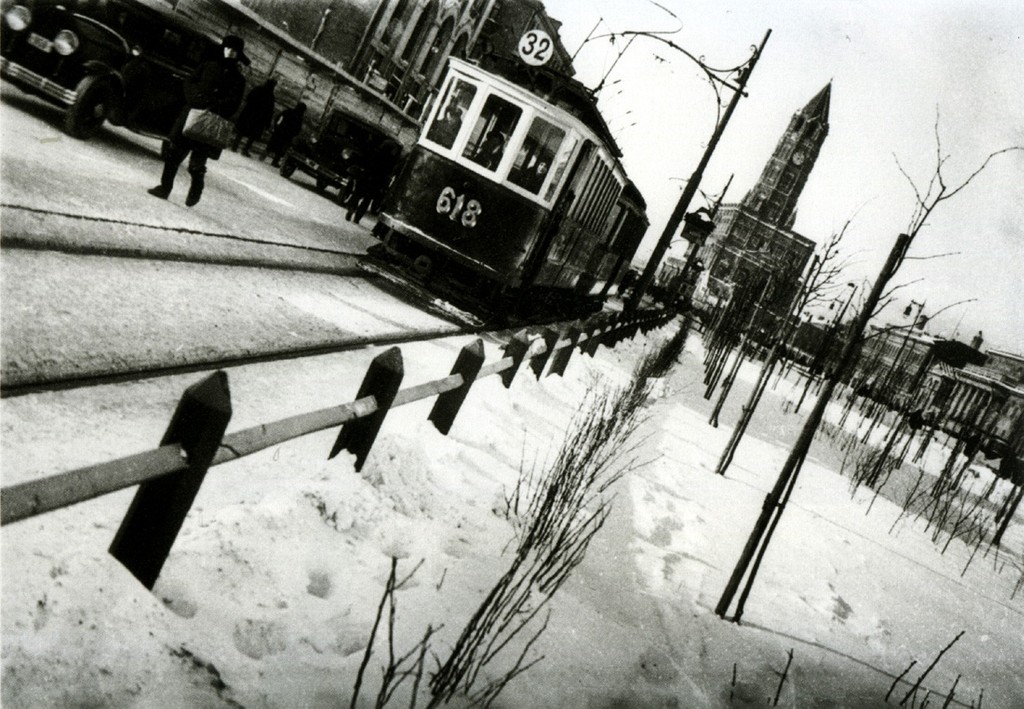
Blurred motion-moving elements blur with a longer shutter speed.

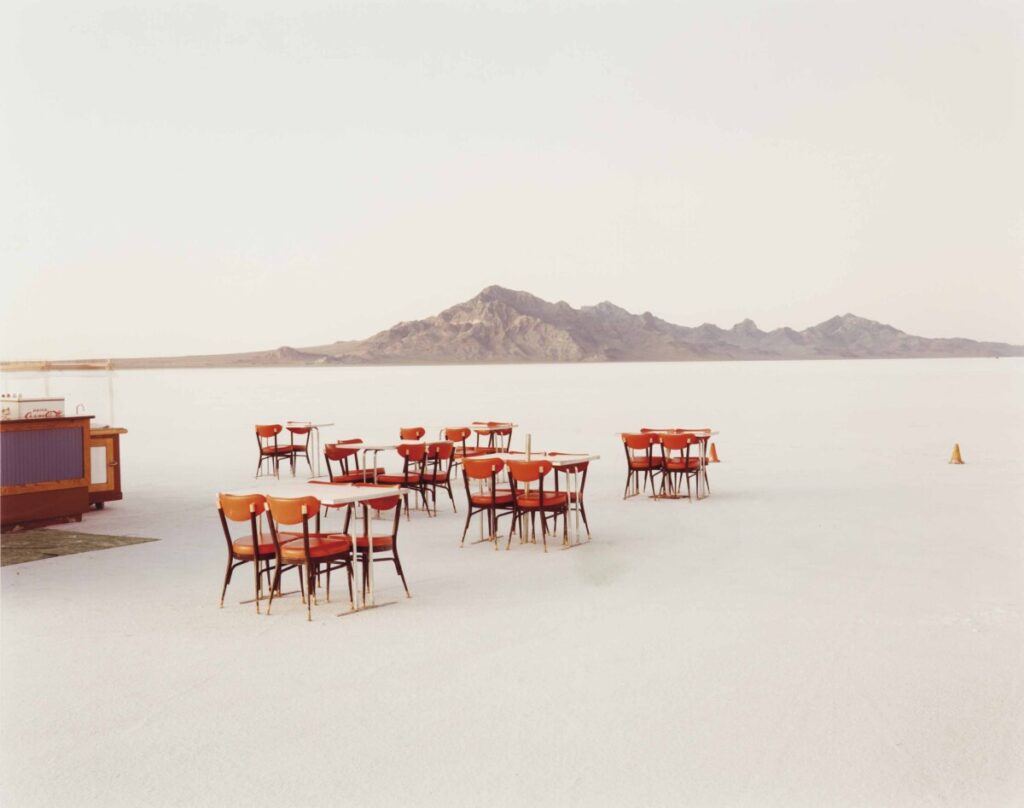
Matthew Pillsbury 
Matthew Pillsbury 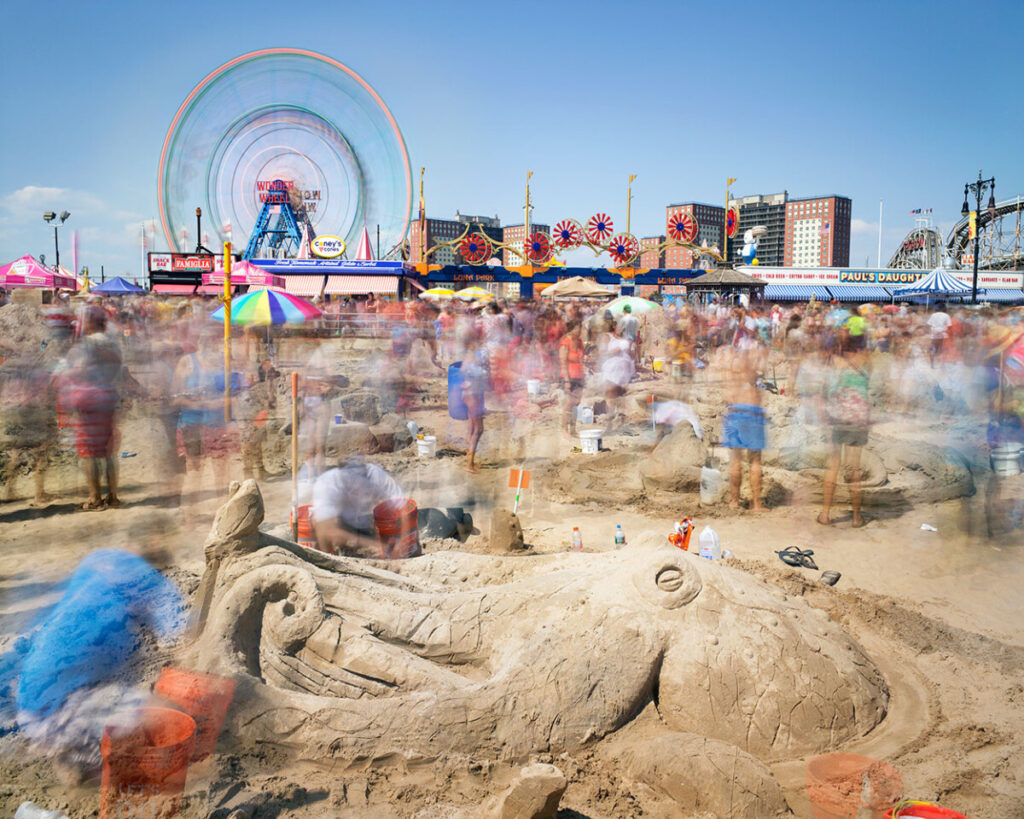
Matthew Pillsbury 
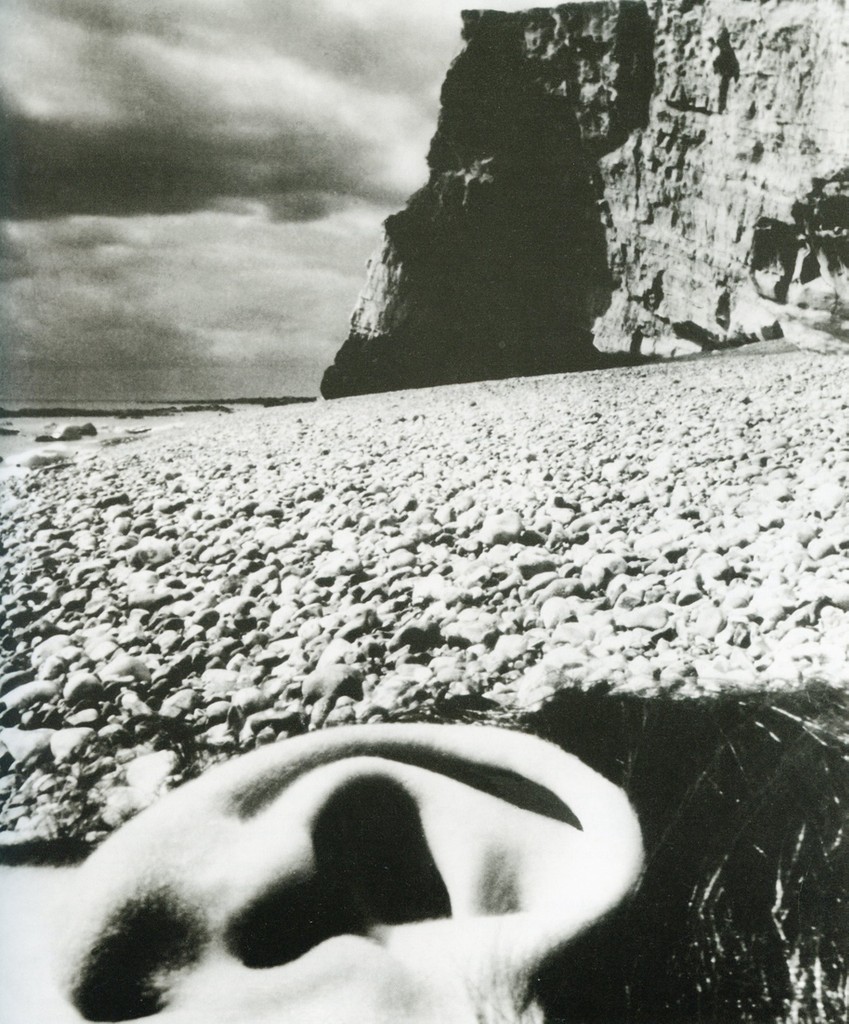
Duane Michals 
Duane Michals 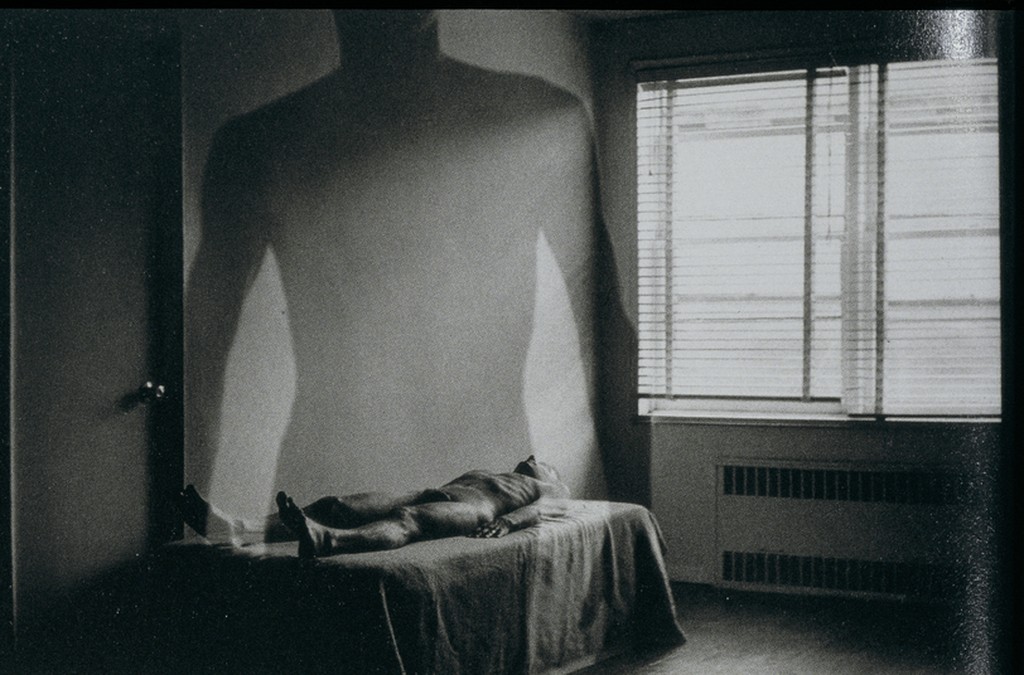
Duane Michals
How to blur motion:
- Use a slower shutter speed – 1/4 sec to 30″ or even longer
- Direction-if the subject moves parallel to the picture plane there is more visible movement than if the subject moves toward or away from the camera.
- Focal length-a subject will appear blurrier when photographed with a telephoto lens than when photographed with a wide-angle lens.
Timing
The exact moment that you take the picture is as important as how long the shutter speed is. This is often called:
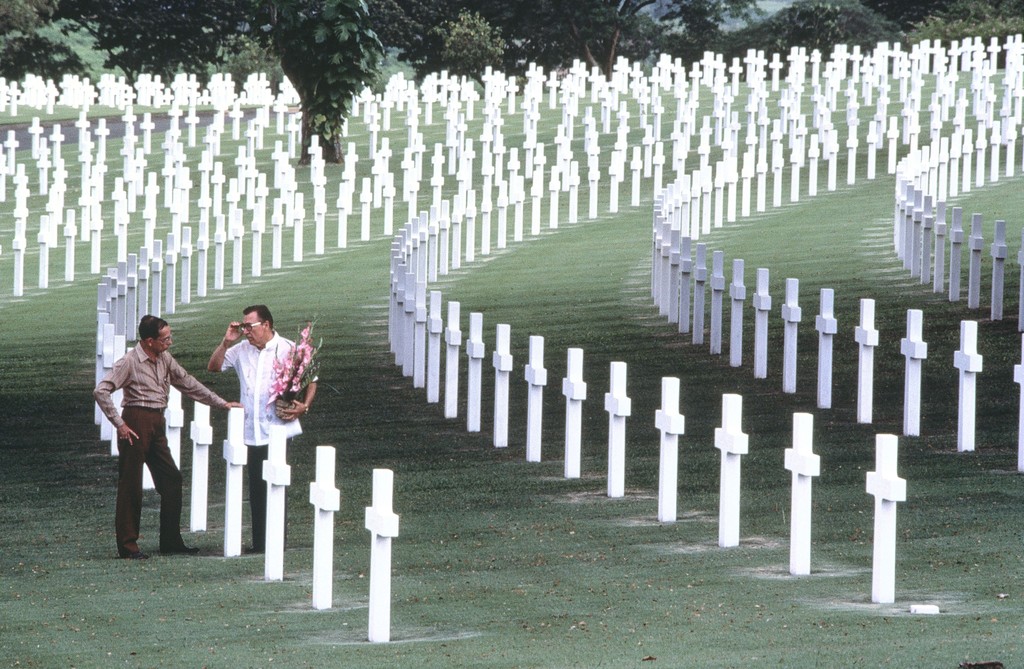
The Decisive Moment: A term coined by Cartier Bresson- “the simultaneous recognition, in a fraction of a second, of the significance of an event as well as the precise organization of forms which gives that event its proper expression.”
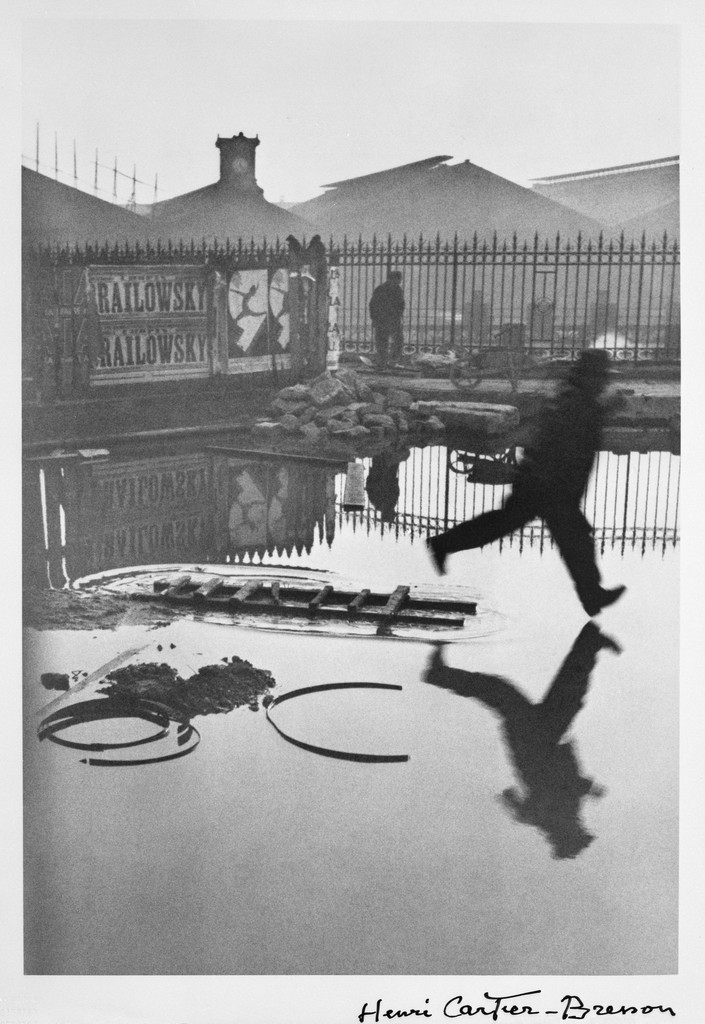
Photographer: Henri Cartier-Bresson


Recent Comments