Now that you have a course site of your own, you will need to make it your own. You are the administrator of this site, which means you can make changes to just about anything. Take a look around!
The site comes pre designed with pages for common information like the Syllabus, Schedule, Grading Policy, and Contact & Communications, which will need to updated for your section. It also has some example assignments, class agendas, discussion, and survey, which you can choose to use or delete. Finally, it has a number of built-in resources, including links to the Help & Resources, and more.
The WordPress Dashboard
Before sharing your Course with your students you will want set up your Course Site with your contact information, syllabus, schedule, assignments, and student post categories. This will help you to meet the recommended Course Information Best Practices. To do this, you need to go behind the scenes of your site, using the WordPress Dashboard.
The OpenLab runs on WordPress, a free, open source publishing platform that powers over 35% of sites on the internet. If you are new to WordPress the Dashboard may seem a bit intimidating at first, but you’ll soon get the hang of it!
Learn more about the Dashboard in OpenLab Help or contact the OpenLab team for guidance.
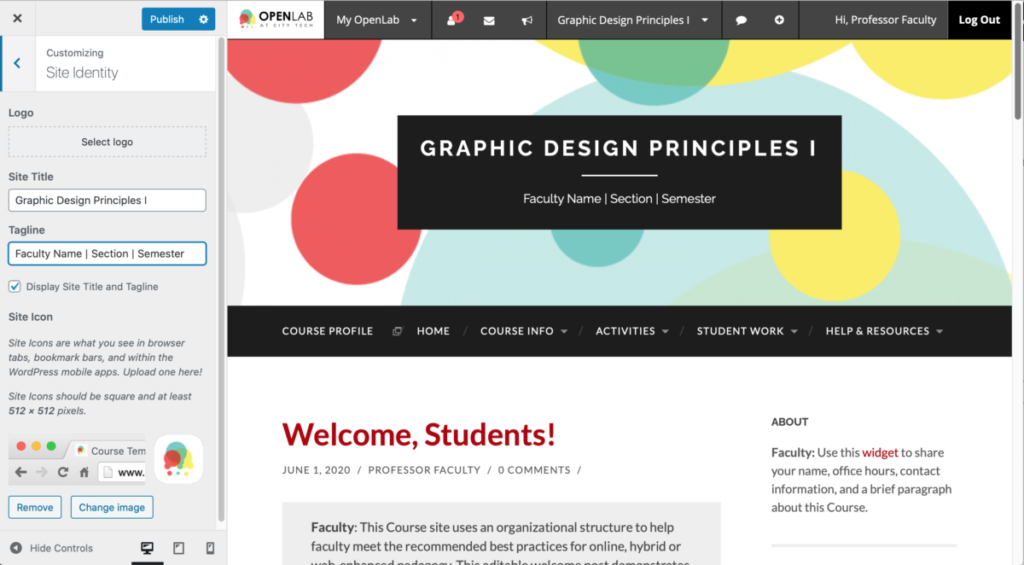
Update the Site Header
The first step is updating the header area of your site to personalize your course site.
- Go to the Dashboard and click Appearance in the menu, then select Customize.
- Click Site Identity and adjust the Site Title and Tagline, replacing the Faculty Name, Section, and Semester with your course-specific content.
- You can also change the header image for your site. This could be your own image, an image with a Creative Commons license, or an image in the public domain.
- Use the blue arrow to go back to the Customizer menu and choose Header Image. Follow the guidelines for uploading your custom image.
- Publish your changes when you’re done.
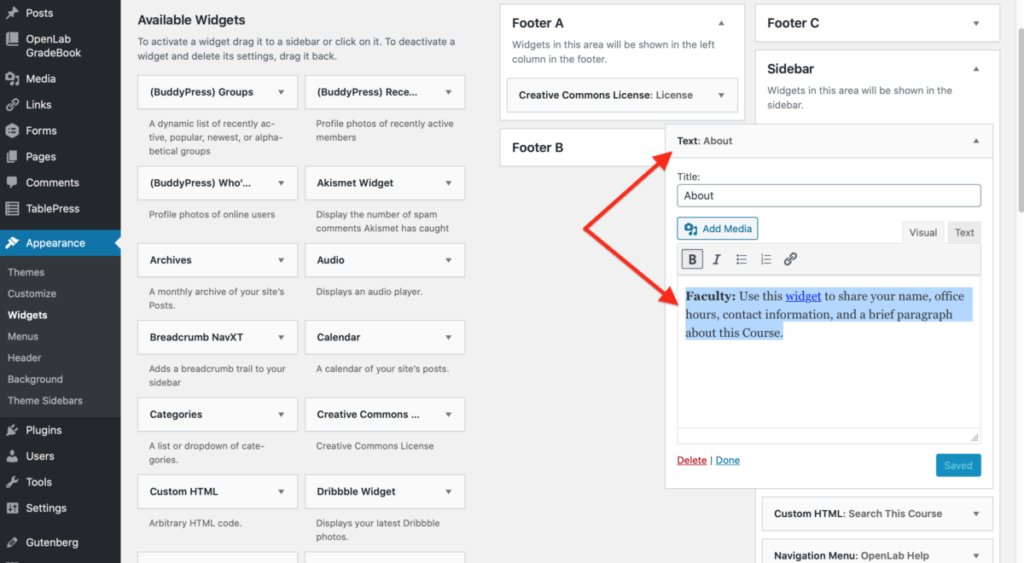
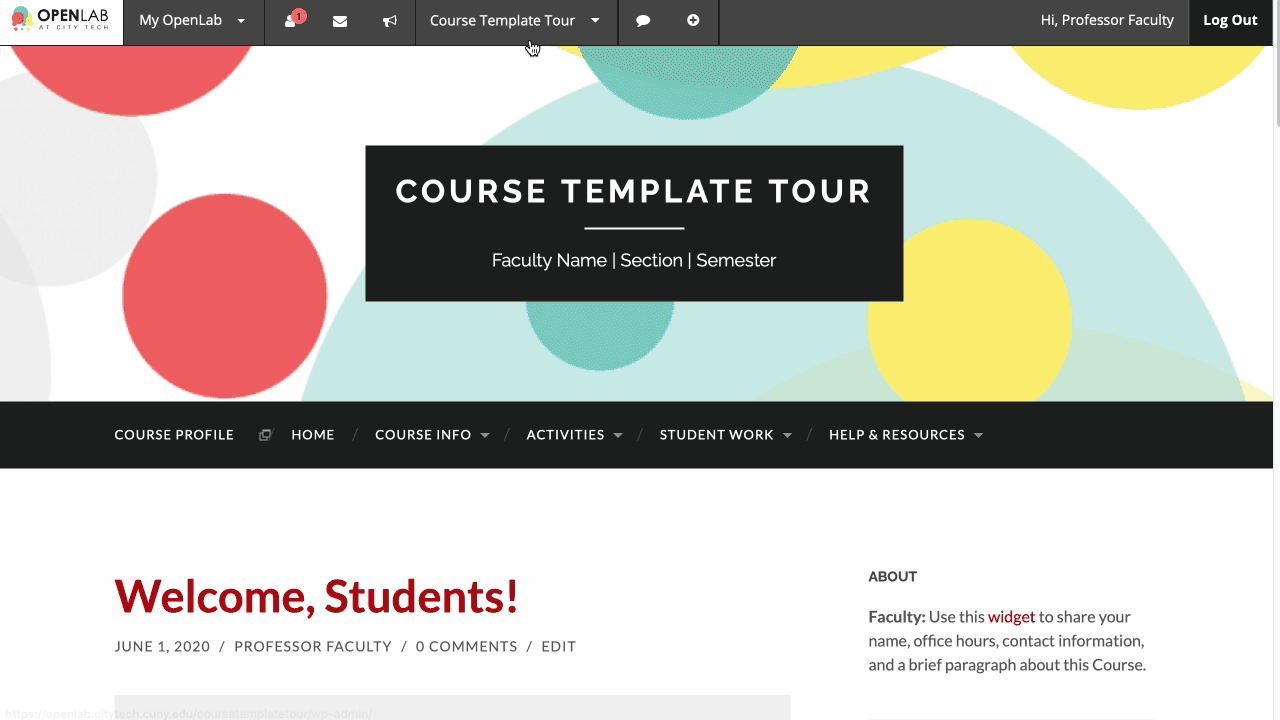
Edit the About Widget
On the frontend of the site, in the Sidebar area, you’ll see a widget that displays information about you and your course. Let’s edit the About widget.
- In the Dashboard, go back to Appearance in the menu, then select Widgets.
- Expand the Sidebar widget, select and delete the placeholder text.
- Type in your name, office hours, contact information, and a brief paragraph about this Course. You can format the text using basic HTML tags.
- Save your changes.