
1st week
I get handed the project and what the shows needs the computer to do. I Start my research looking for the Dimensions of the computer and use the image they gave me as my source. While I was doing that I measured the one they had in rehearsal and used in the previous shows. (please refer to the 2 pictures below. one on left is the original and the other is the rehearsal)
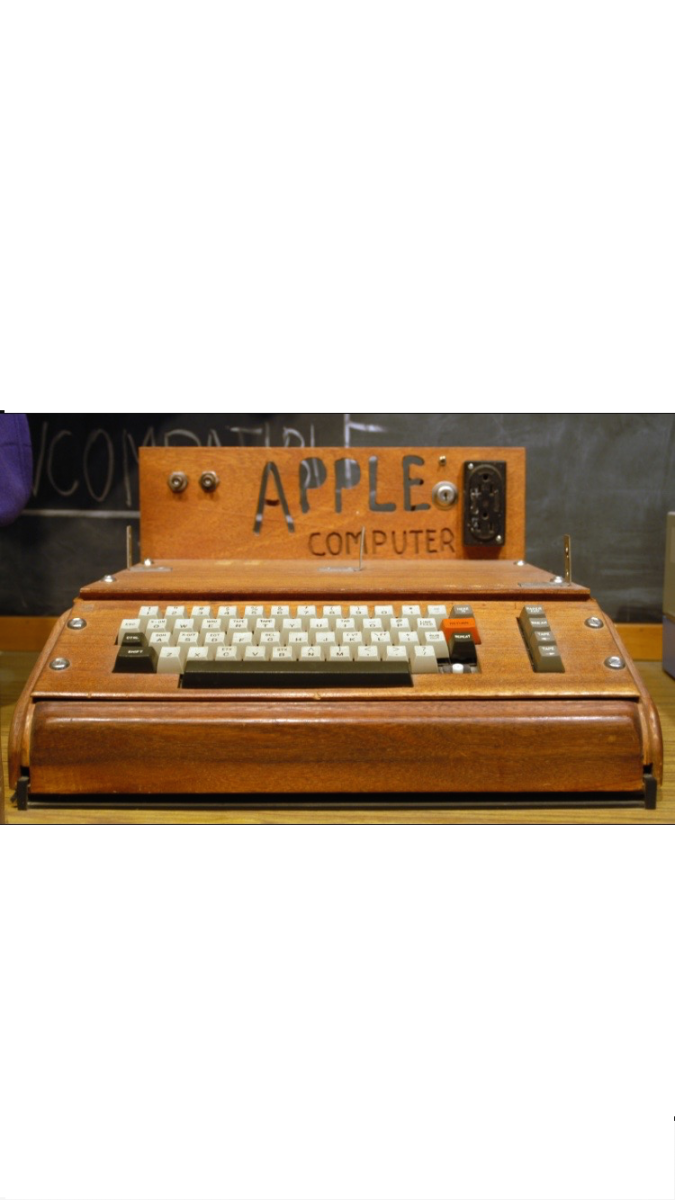
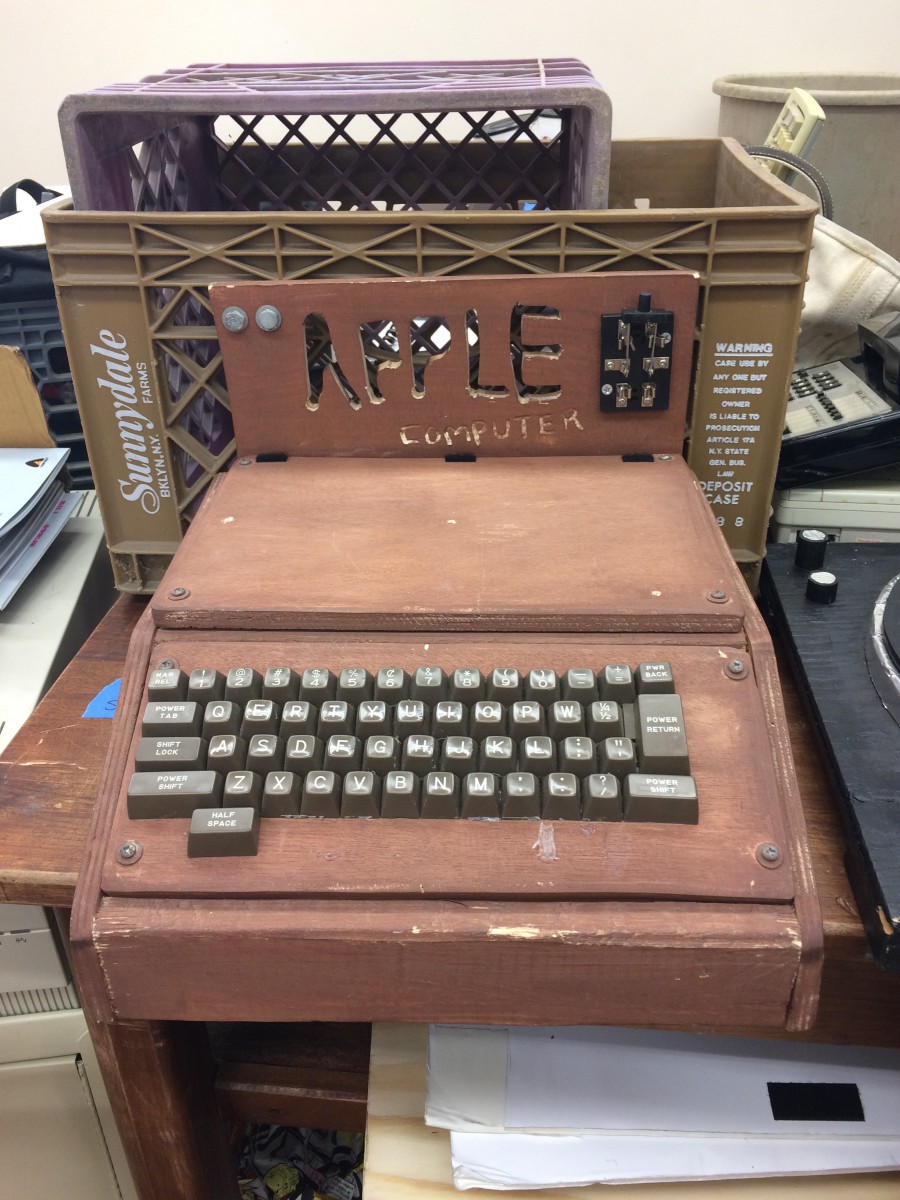
the problem with finding the dimensions of the apple computer was that it dependent on the person who made it, since apple did not supply the housing for it. i eventually found an article that referenced the Atlanta Historical Computer Society. I was able to reach them through contacting the church where they held the meetings. The chairmen couldn’t answer my my questions so he put m in contact with with three different people who could. These people were all curators and own a computer museum, in their respected state. The curator in Georgia was the one really able to help me. he didn’t have the exact one I needed but based off what he had we were able to roughly assume the dimensions. Most of the communication happened through email and then he sent me pictures of what he had with a tape measure next to it.
2nd Week
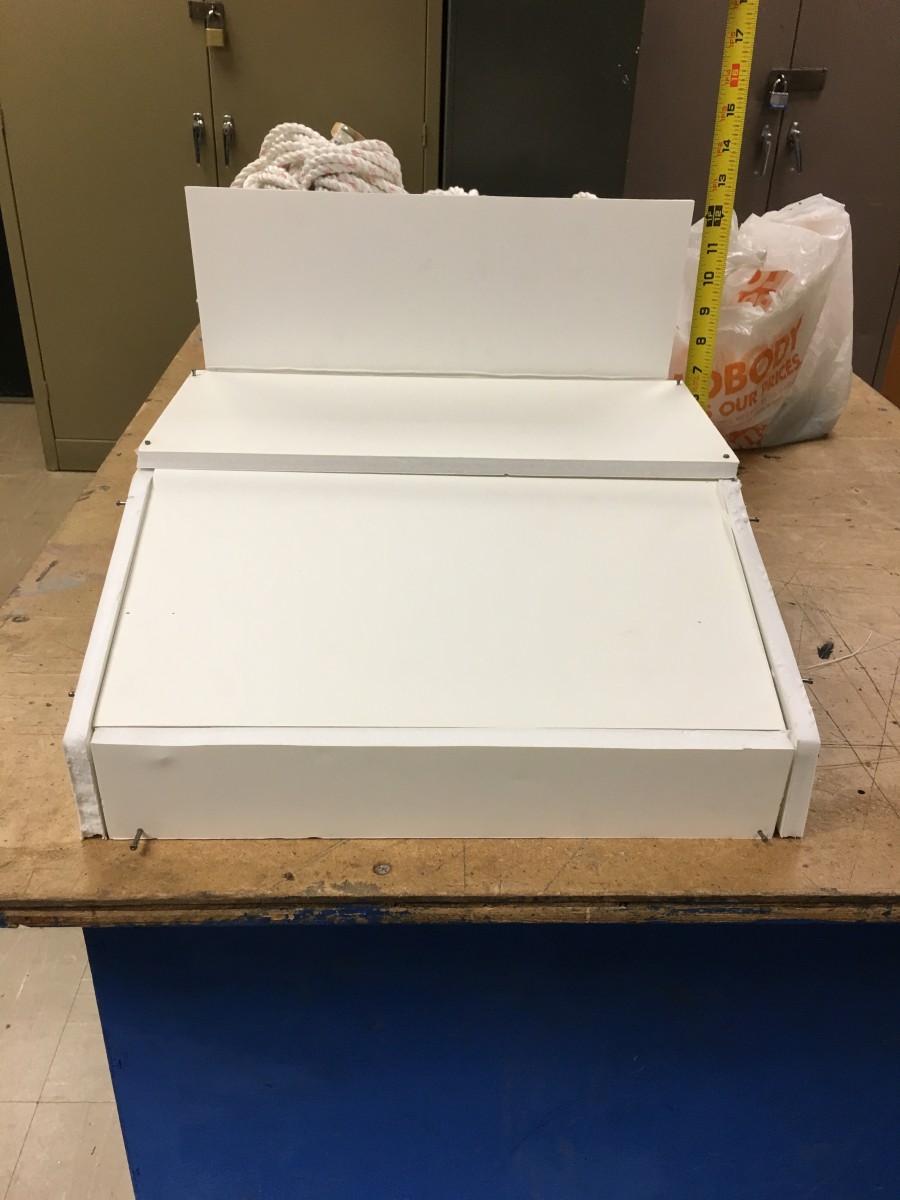
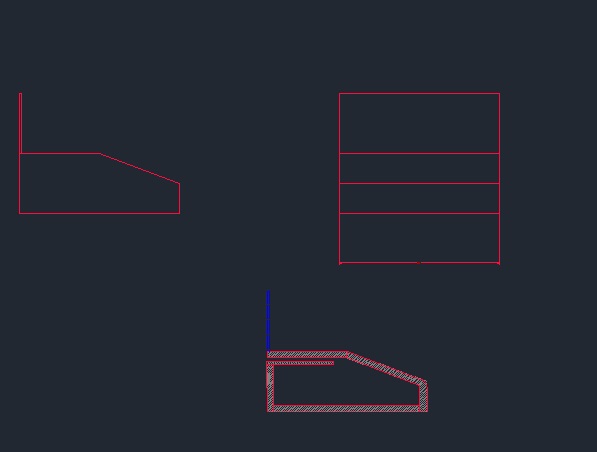
I was able to finalize the dimensions on Monday. then the rest of Monday I drew out the box in auto cad. Tuesday I made a white model. I used different sizes (as close to the wood in size that I would be buying) of foam board.
Wednesday I went on my first round of shopping. I went to the HomeDepot hoping to get everything but I got what I could and started cutting. I also had my first meeting with my technical Advisor, Will, and sent progress photos to Faye the prop designer.
Week 3
So I started assembly of the of pieces. I stapled and glued 1x to my 3/4″ ply side pieces and screwed it to the bottom piece. then I screwed the back plate. I was having issues with the hinges and I also met with Faye my boss with and discussed the finer details of the project and hinges. I also got someone to create the plug and made from clay. ordered Keyboard.
Mid Week 3
Broadway show was canceled. was told stop all work.
- It was a shock, and a bit devastating. But I had people from the Entertainment Technology rally around me and gave me the support to continue with this project
Rest of Project Time
I did not touch this project for an entire month. I got busy with school and working on Broadway. Then in the month April my body just broke down. I had pushed my body too much in the last three months my body needed to recoup.
I decided that I want to keep my three week time line. so that left me with three days to finish the project. I had to cut the piano hinge, cut the keyboard so it can be inset, attach aux cable, the outlet, stain, key lock, attach superficial hardware and do the back plate.
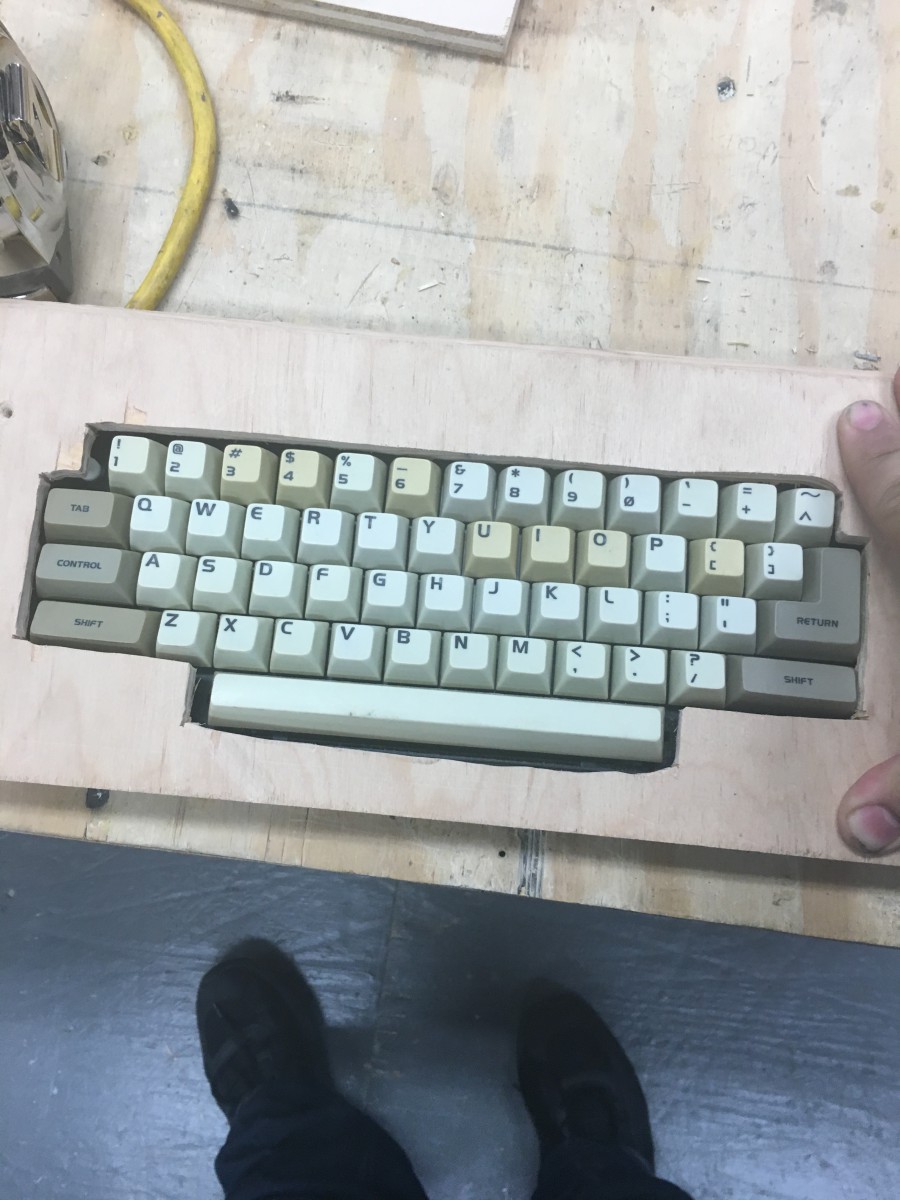
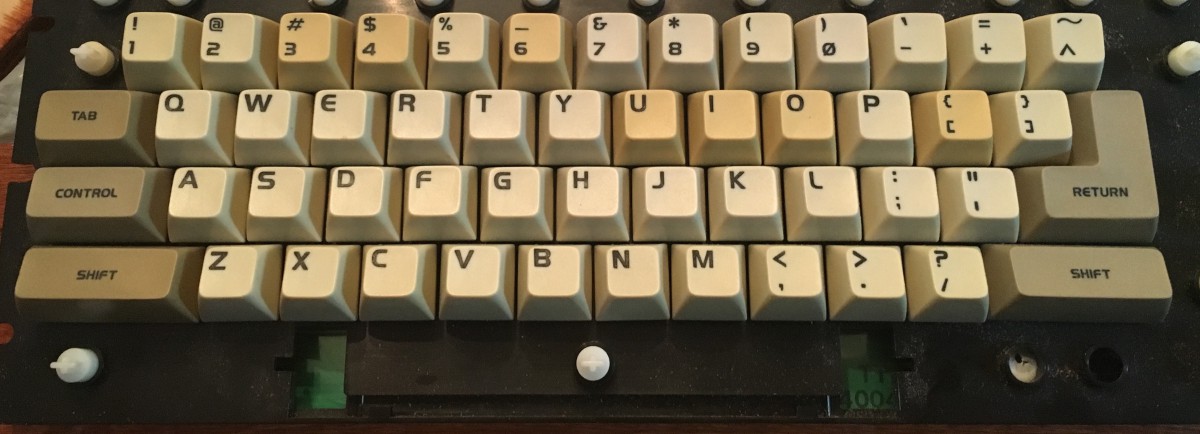
I first tackled the the keyboard. I knew before I cut the wood I would have to do it again. when I finished cutting the hole out I found that the Keyboard sat flush. That wouldn’t work (after looking at 1/4″ ply and comparing) so i decided to pop the keys and epoxy each key individually
The Back plate I drew out in Auto Cad and outlet.
- The back plate happened on the last moment. I was inquiring about when I could use the CNC router and i was told pretty much it needed happen to happen now. I drew the font on auto cad cut a new back plate and went to the CNC Router

My last day I had to work I stained, attached and left an hour so I can cut the lock since i didn’t have the proper tools at my place.
I was’nt able to get my outlet done on time but since my initial meeting time was reschedule i took advantage got it 3D printed. which meant i went over my time limit.
then I had my final meeting with Will and he wanted me to make a few minor changes, which is fine because in the props world this will always happen even though you try to avoid it

