Contents
LESSON 2 Introduction to Architectural Drawings: Measuring, Dimensioning, Drawing

Students of architecture must become familiar with the drawing types used in the typical architectural practice. Over three class periods, students review and practice the use of drafting strategies introduced in ARCH 1112 and apply these methods to a more complex drawing problem. Concepts covered will include review of orthographic projection drawings, introduction architectural graphic standards and notation. Students will develop an understanding of the co-relation between different drawing types.
This class presents methods for surveying and documenting measurements. Students will use the architectural scale to translate an existing building to orthographic representation of its elevations.

Measuring
All built objects have a size that can be measured. When architects receive a commission for a building they are given measurable conditions either as a site or as an existing building. The site must be measured to know its exact dimensions and likewise, an existing building must be measured to ascertain its exact dimensions.
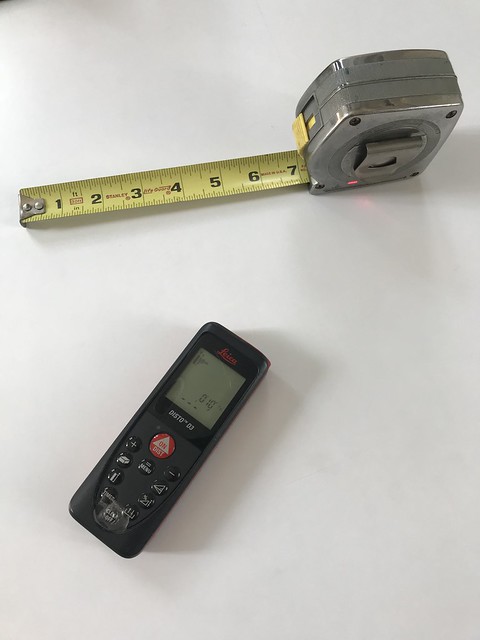
There are several means by which an architect can take measurements. Often a tape measure is used; for larger distances a laser is used.
Sketching
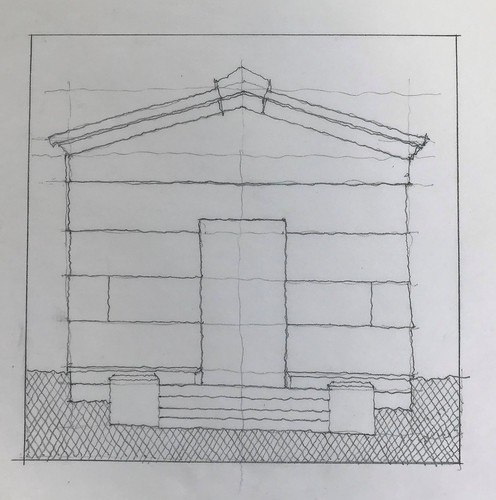
After measurements are taken, the numbers need to be recorded on a sketch of the object. Hence, before taking measurements, the architect must freehand sketch the object as accurately as possible, and large enough to fit all the dimensions.
Dimensioning
In the United States, all measurements are in the English system (feet and inches); most other countries use the metric system (based on multiples of 10). Interestingly, the English system is a product of the building industry where builders could “step off” distances on the construction site.
Dimensions on architectural drawings are represented as feet and inches. For example, a measured distance of six feet and ten inches is represented as 6’-10”; a distance of 5 inches is represented as 0’-5”. Fractions of an inch are represented with a diagonal line ½” and not with a horizontal line as in arithmetic: 12’-6½”

Scaling
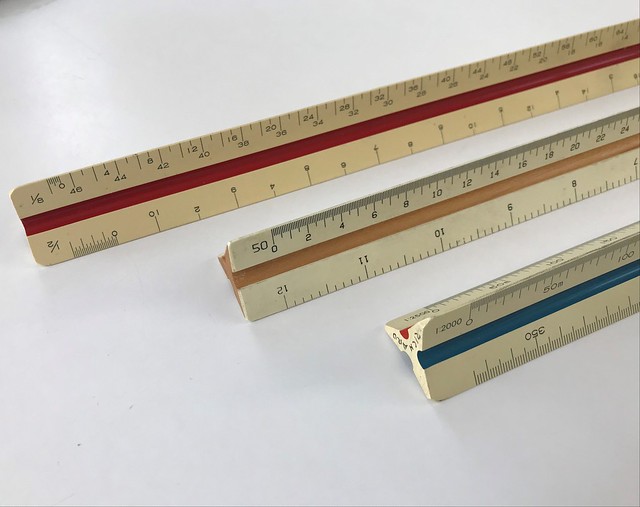
Once you have recorded the measurements on your sketch, you are ready to draft it to scale. Your sketch is an approximation of what you see; drafting it according to the measurements you took will give you an accurate representation of what you measured. By scaling, we can represent full-size objects at different sizes depending on the amount of detail we want to show. In general, there three types of scales (multi-sided rulers) that architects use:
The Architect’s Scale: there are six different sides to the architect’s scale; one is similar to a ruler you would have used in grade school to measure things. It is 12 inches long and broken down into increments of 1/16 of an inch. The other five sides correspond to different sizes (scales) that you can draw: 1/8”=1’-0”, 1/4”=1’-0”, 1/2”=etc., 1”, 1 ½”, 3”, 3/8”, 3/4″, 3/32”, and 3/16”. The architect’s scale is the one we will use in this class. The scale of an architectural drawing is always written as x/y = 1’- 0” where x/y is one of the scales above. (There are special scales that include 1/32”=1’-0” and 1/16”=1’-0”.)
The Engineer’s Scale: when working on a site plan or a landscaping plan, an engineer’s scale is used. It is multisided as the architect’s scale but it is divided into inches which are in turn divided into increments that are multiples of ten (10, 20,30, 40, 50, 60, 100). Engineer’s scales are written 1”=x’ where x is equal to one of the scales listed above (e.g. 1” = 40’).
The Metric Scale: similar to the engineer’s scale but where centimeters are subdivided into metric quantities.
Class Schedule
Discussion: Homework writing assignment – Vitruvius
Demonstration: Introduction to drafting
Exercise: Using the architectural scale: drawing a simple shape at 1/16, 1/8, ¼, ½ scales.
Lab:
1. Sketch the four sides of a chosen object in the classroom. Each sketch should resemble its proportions.
2. As a class, measure the object and mark the dimensions on your sketches.
3. The class will pick an appropriate scale and you will draw the four elevations, plan, and section.
Assignment
See Assignments on Menu Bar

