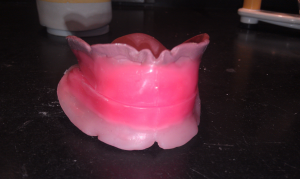
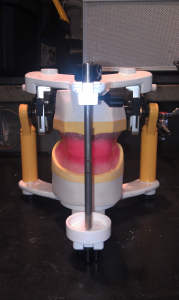
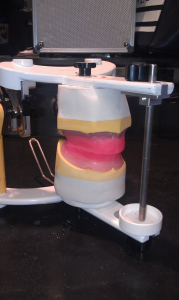
the steps to make occlusal rims are as follows:
- first you take and make the baseplates for the upper and lower casts either out of shellac or light cure material then you take and cut the extra off and fold it up on the shellac material to create a thicker rim. If you make it out of the light cure material after you cut off the excess make sure to check if it’s too think because you don’t want it to break on you.
- Next you cure the light cure material for five minutes then you remove it front the cast and flip it upside down and cure it for one minute. After the two base plates or (structures) are dry you take pink wax otherwise known as baseplate wax and you heat it up carefully just to the point where it is flexible enough to fold. You fold it three times. Be sure to make sure that there is no air bubbles in it. Next gently place it on the rims and press down.
- After you press it down take your #31 waxing spatula to seal the wax rim down to the baseplate. You can also use this to smooth out the wax around the rim. If you have any slight bumps in the rim you can take your alcohol torch light it and use it to make an even smoother surface.
- For the upper case you need to make sure that the measurements are correct for the maxillary rim. From the anterior part of the rim from facial to lingual its from 6-8 millimeters and the height of the anterior is 22 millimeters the height of the posterior is 18 millimeters and the with from buccal to lingual is from 8 to 10 millimeters.
- The measurements for the maxillary differ from the measurements’ for the mandibular. The mandibular cast is 18 millimeters all the way around anterior and posterior and the thickness is from 8 to 10 millimeters.
- After you do this you find your midline and then you adjust the bight and the occlusion of the wax rims. Next you take and place the rims on the articulator using plaster you mix it water to powder and place the plaster on the articulating circular plates. Then you make sure the cast in aligned. You use a rubberband to make sure the curve of spee is straight you get a bird’s eye view from the top and make sure it is centered and using the inscisal guide pin, make sure the midline is correct.
- Next you take and remove the excess plaster from the model after it has set a bit. Then you take and smooth it down with the sandpaper used for wet environments. Then you follow the same procedure for the upper, smoothing it out after your done with the sandpaper after this is done you place the articulated cast back on the model


